Today I'm sharing a project that I did as a farewell gift for a lady at work. She was about to move interstate (again), so I thought something to do with travelling would be rather fitting.
I’ve wanted to make this little suitcase box from the Summer Holiday SVGCuts kit for quite some time now and I knew that this would be the perfect occasion to try it out. So this is what I came up with...
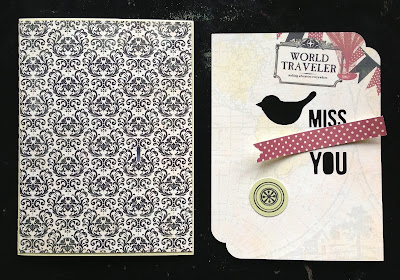
I also made a farewell card to go with it. The file I used is the from the Five-Minute Cards kit. This is a great kit as there are cards for every occasion and they are all amazingly quick and easy to put together.
I used digital paper and elements from the CartaBella Well Travelled collection and I added a few bits and bobs (brads, twine, inks etc.) from my crafting stash.
To start off, I opened all the svg’s I wanted to cut in Silhouette DE.
I also added a few elements from the Well Travelled digital collection that I wanted to add to my project.
I then started to fill each shape with different types of digital designs from the “Fill Pattern” window. I usually import all of my digital papers here, as it’s a lot easier to choose the perfect design for each piece when they’re all in one place.
To fill my shapes, all I clicked on each piece and then selected the preferred digital design from the menu on the right hand side of the page. I love this function as you can click on different designs until it looks just right and coordinates perfectly with the rest of your project.
Once I have filled all of my pieces, I was able to print it – ensuring that my registration marks were on. Because I don’t have a 12×12 printer, I have to make do with my A4 printer and A4 cardstock. Whilst that can sometimes be a bit restrictive, it’s still working for me at the moment.
Next I needed to ensure that the cut settings for each piece was turned on in the Cut Style Window.
Some weren’t, so I had to select each of them and go over to the right hand side of the screen where I applied a cutline to the perimeter of the selected shapes. When I did this, the lines turned red which meant that the cut lines were turned on. I repeated this step for each item until all the lines were red before I loaded my mat in preparation for the next step.
I then placed the printed page onto my cutting mat and loaded it into my Cameo
I always let the software detect registration marks automatically as I find it too fiddly to do it manually. After adjusting my blade and cut settings on the machine, I was ready to start cutting. I was so pleased with the results of the automatic detection - it is so accurate!

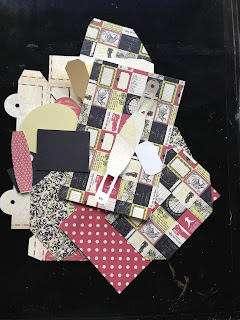
I repeated the abovementioned steps until I had all of the pieces cut out for both the suitcase box as well as the card. As you can see, there were quite a few pieces!
This is where the fun part started! I really love the assembly and decorating stage of every project. I followed the assembly tutorial from SVGcuts to put the box together.
But first, I dry embossed a few of the panels with my BigShot to add some texture. I also inked the edges of each piece before I glued them together.
Once my suitcase was assembled, I lined up the little holes on the lid of the box with the holes in the handles so that I could push a brad through to attach it
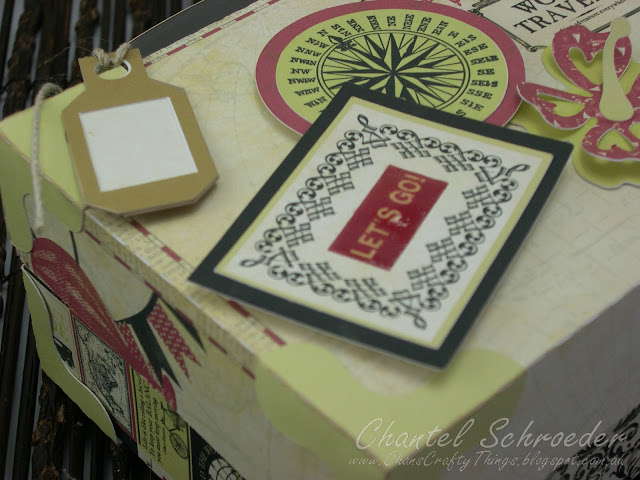
I then used some glue dots to attach the elements I cut out and I adhered the tag with some baker’s twine. Here’s a close-up of my embellishments. I was really happy with the printed colour of the digital elements and also pleased that my trusty Cameo cut each piece out perfectly.

Next was the card... As my pieces were already cut out, all that needed to be done was to play around with the configuration before I glued it all together.
As a final touch, I adhered the circular embellishment with a glue dot and added some glossy accents for dimension.
Here’s another picture of the final product.
I had so much fun with this set! Thanks for looking and please stop by again soon.
Thanks for stopping by!


