Showing posts with label SVGCuts. Show all posts

Saturday, 16 August 2014

Back to School Gift Crate - SVGCuts DT Project

Hi everyone,

Yes, it's that time of year again... Summer holidays are coming to an end!  For some this means finally getting back into some sort of routine, whilst others are dreading the end of summer and are desperately trying to make the most out of the last few days before going back to work and school.  

So I made my latest project with the latter in mind, in the hope that it will put some fun into going Back to School again... It's also my first official post as a member of the SVG Cuts Design Team (whoop, whoop!) and I am thrilled to share it with you today!  

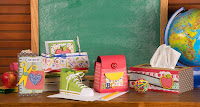
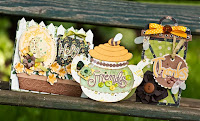
I made a gift crate filled with lots of back to school goedies for a teacher.  It includes a candy jar with decorative doily, an apple (which can be filled with treats as well), a useful notebook and of course, a matching card. 

For full details and instructions on how to make this set, hop on over to the SVGCuts Blog


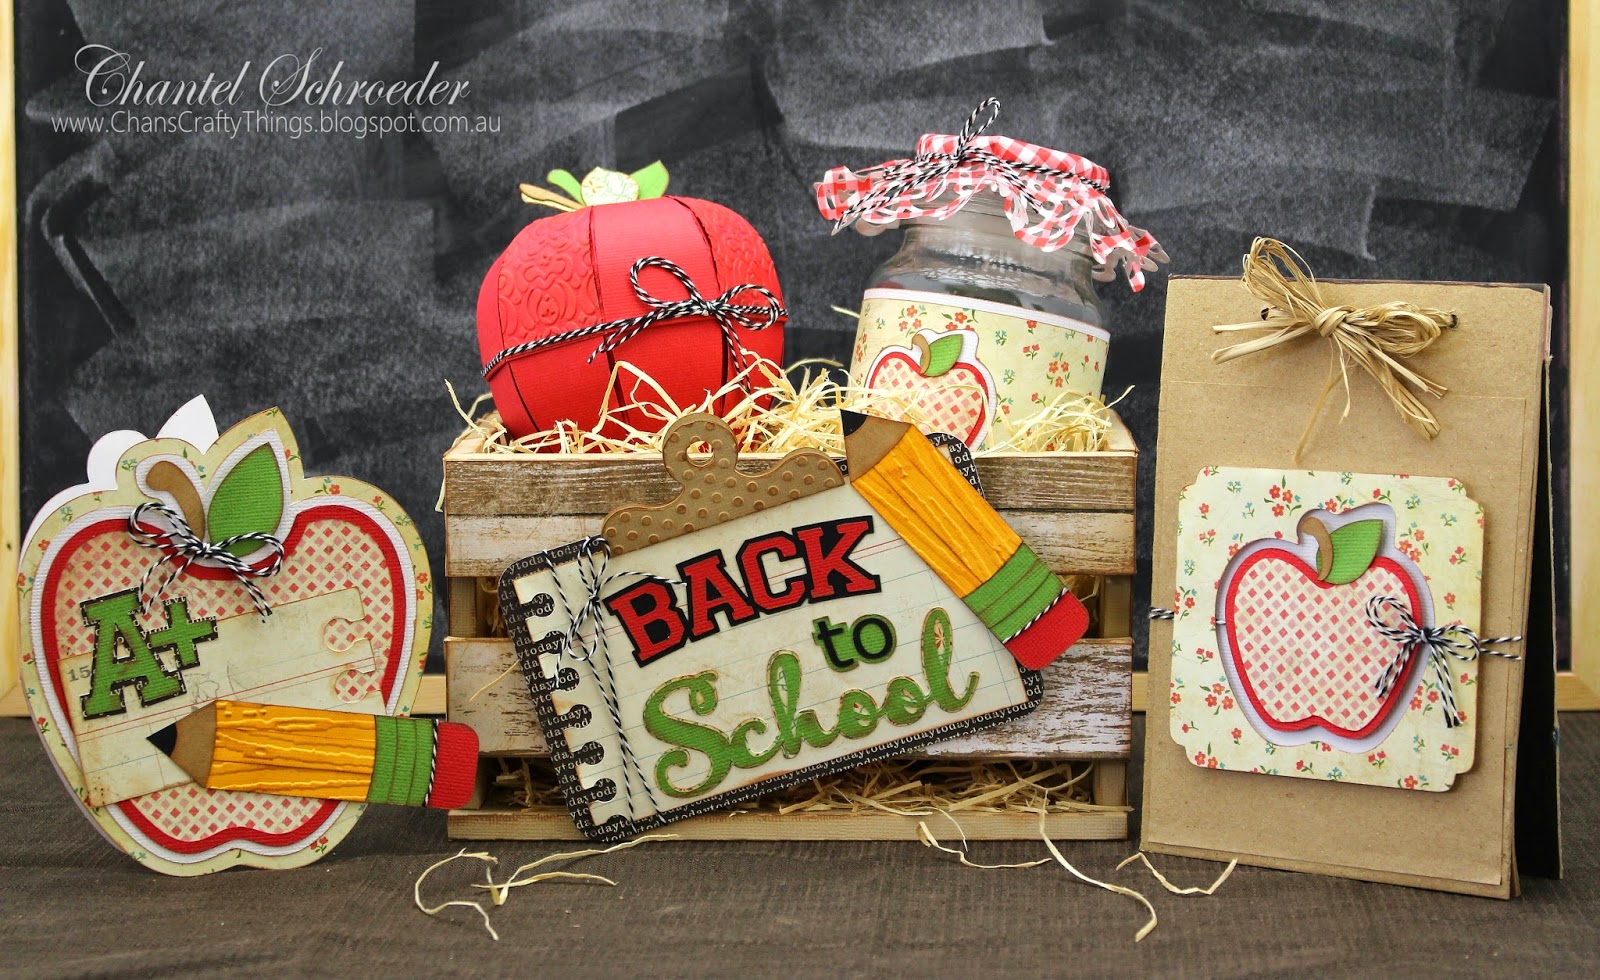
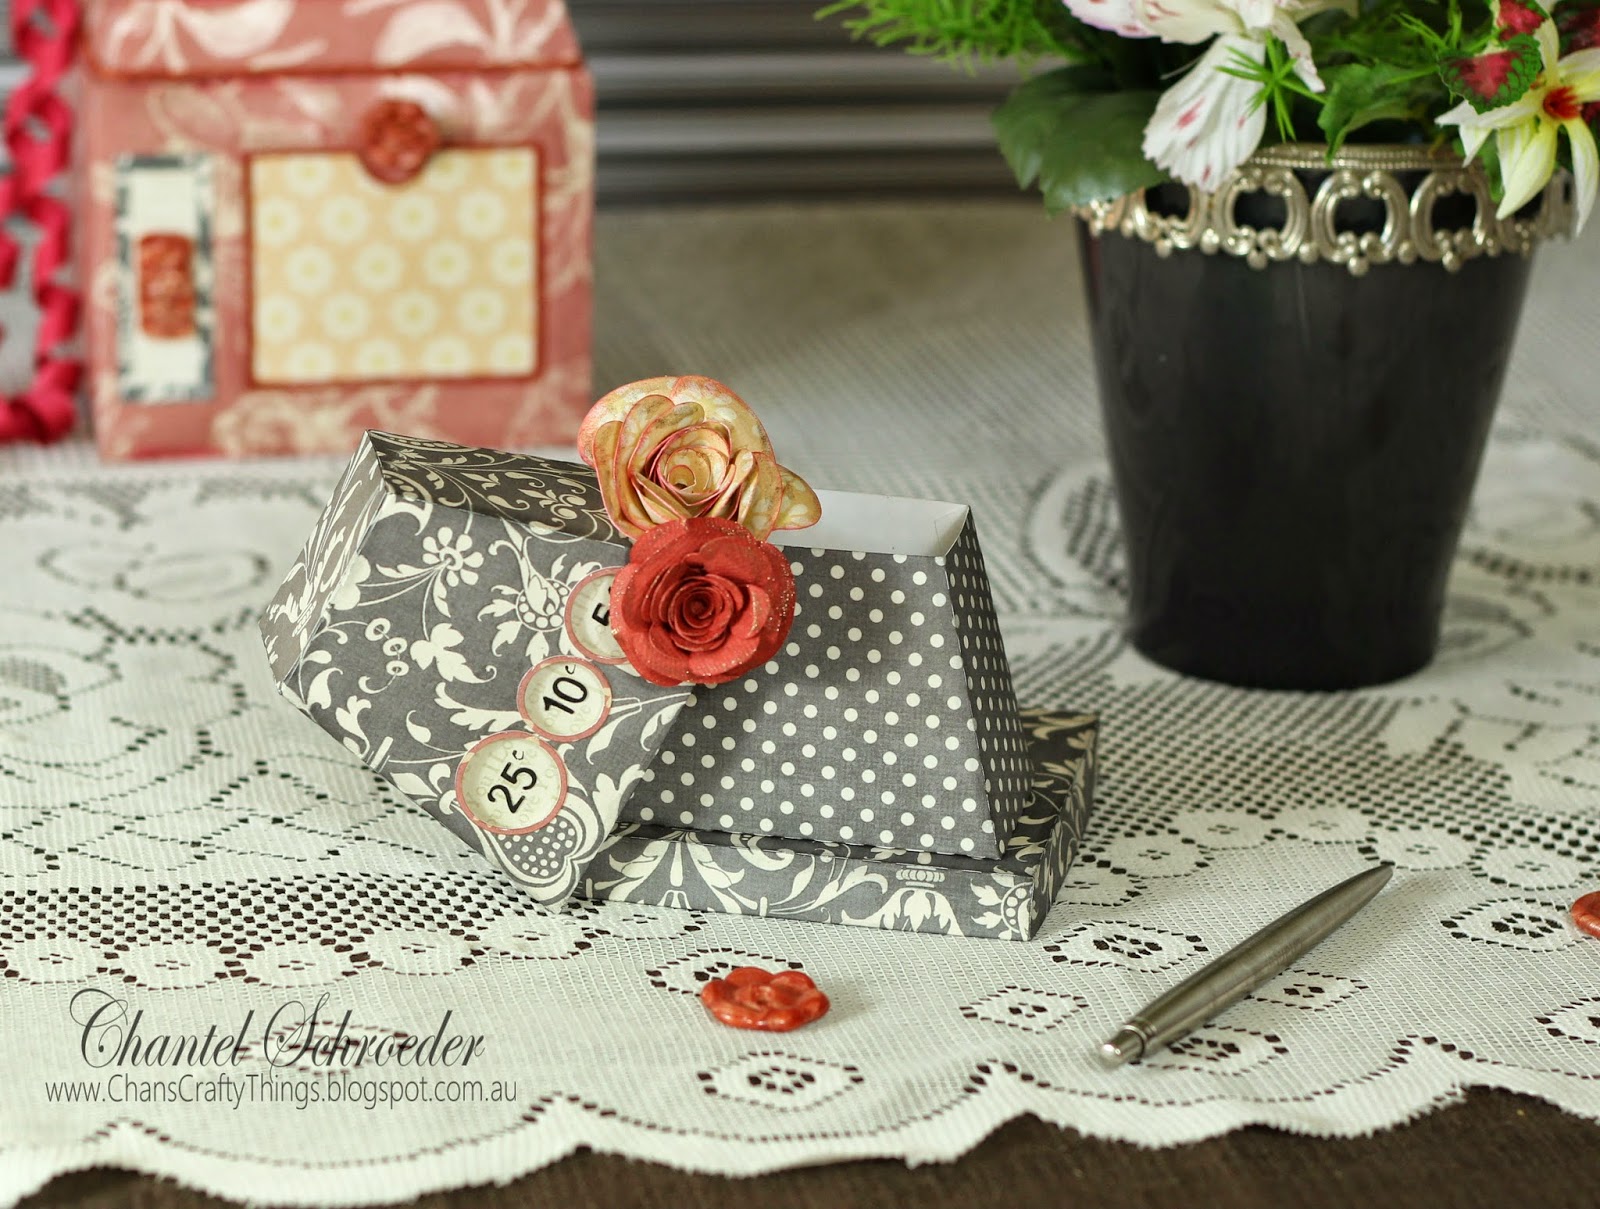
Here's a close-up of the little crate - my favourite item in the set:


When I showed it to my husband, he first thought that it was only a photo prop and asked me where I had found such a cute little crate.  Well, let me tell ya, he was absolutely amazed when I explained that it was part of my project and that I had actually made it out of paper as well!  

Don't you just love it when you can still surprise people with what you can make out of paper?

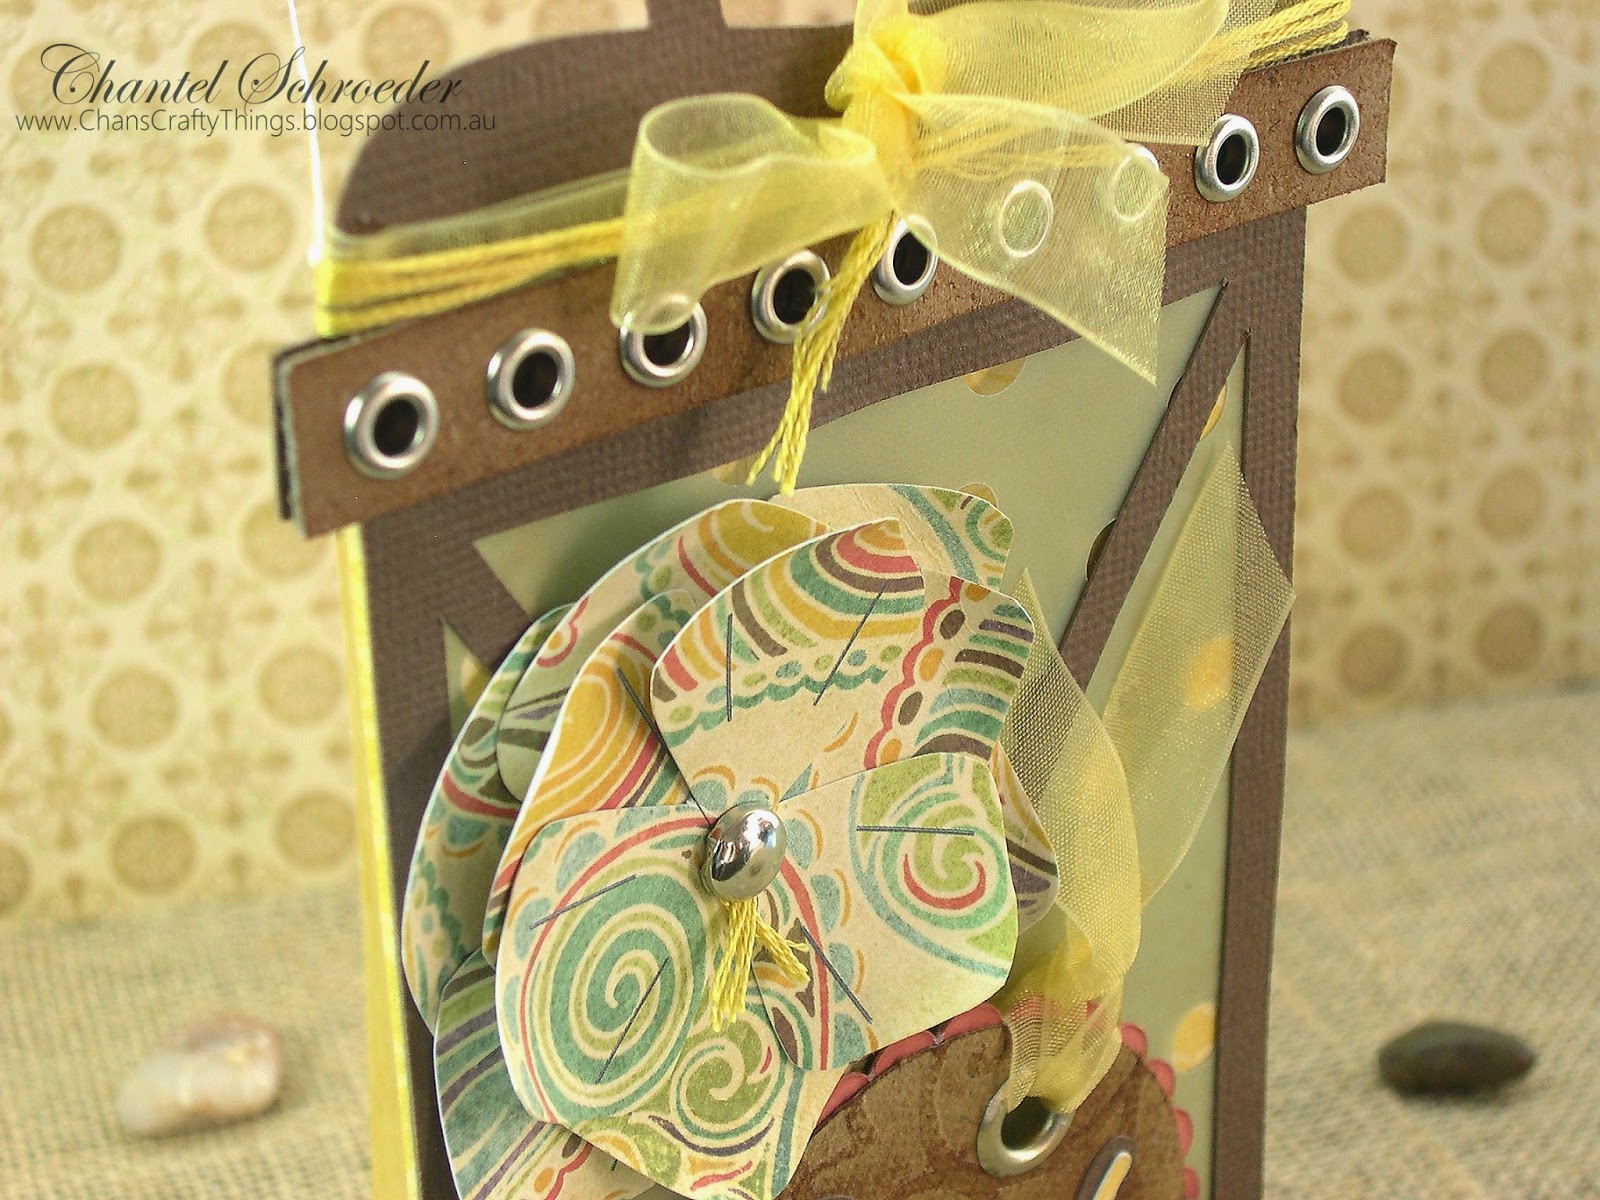
Here are some close-ups of the other elements too: 
Doesn't the apple look good enough to eat?  It's such a cute file and I cannot believe that it's taken me this long to make one!  I also really like the doily on the jar, tied down with some "Bessie" Whimsy Farm Twine.

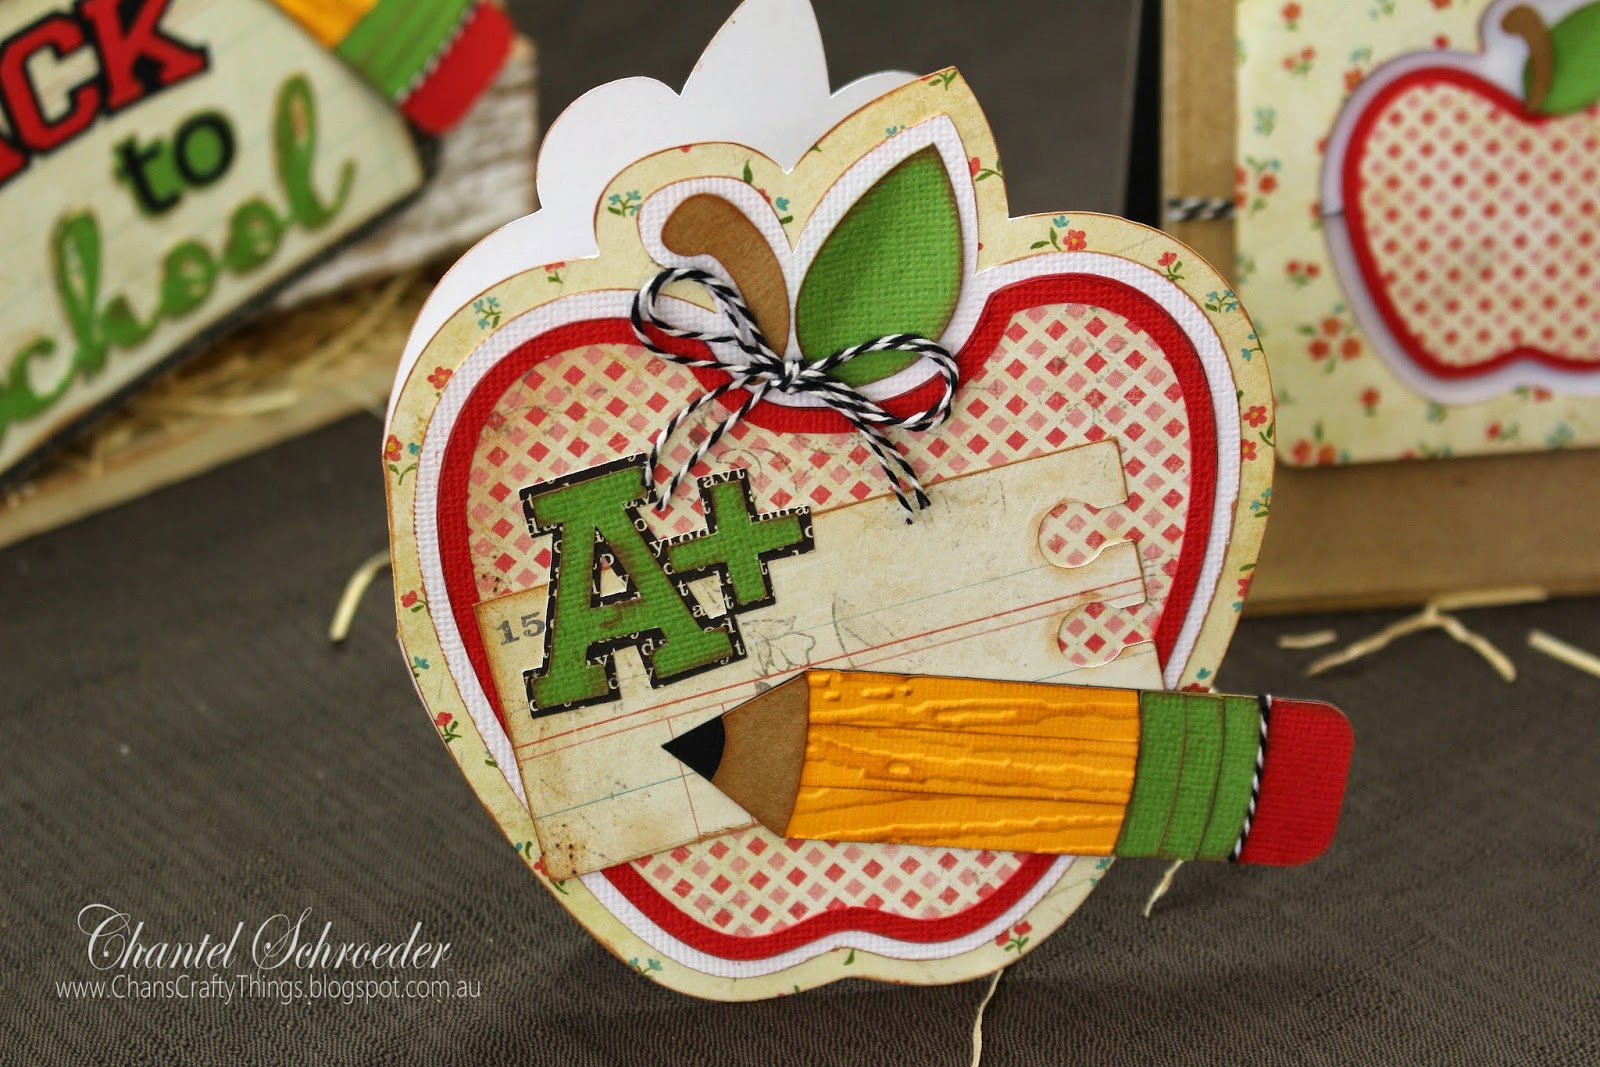
I used the same apple file for the jar, notebook and card and simply resized it to suit.  Such an simple and effective way to make a matching set of, well, almost anything...
Whilst I had a small notebook lying around the house, I think it would be just as easy to make one.  Just cut out a couple of rectangles from some chipboard to make the front and back cover, then cut some paper to size, punch a couple of wholes in the top and bind together with ribbon, string or twine. Easy peasy!

But for those who would just like to know which kits I used, here's the list:
Thanks for stopping by!


Image Hosted by ImageShack.us


Saturday, 9 August 2014

Retro Payphone - SVGCuts Guest Design Team Project

Hi everyone,

Today I am sharing my latest project for a guest design post for SVGCuts!  I am super excited about the project, not to mention the opportunity to be featured on the SVGCuts blog again!

So here is what I've created... an old fashioned, retro payphone!  Do you remember these? I'm sure the Generation Y peeps will wonder what on earth this contraption is, but I clearly remember the days before mobile phone when you had to walk halfway around town looking for a payphone to make that ever-so important phonecall!  Anyways, without getting too far down memory lane, let's have a look at some pics...
The payphone itself has three different compartments to put lots of goodies in.  Here, I added some chocolate coins along with a few of my personal favourites...
For those of you who are interested, here's a list of all of the SVGCuts kits and collections I used:

See the "bling" on the roses?  I achieved this look with my new Wink of Stella Brush pen - I love how it just adds a little something to the roses.
I also used some glossy accents in various places to give it some more "bling" as well as dimension.

For the exact measurements and details on how to create this project, just click here.

If you happen to get stuck on step 2 or 3 - here are a couple of screenshots of what I did. Hopefully it will make sense, but if not, please send me an e-mail. 

Step 2
Step 3

I really hope that you've enjoyed my retro creation!  If you decide to make one yourself, please share it on Facebook - I would love to see what you create!

Thanks for stopping by!


Image Hosted by ImageShack.us


Saturday, 26 July 2014

Girly Dress Form

Hi there,

Today I am sharing a little gift that I made from my friend's crafty daughter.  She celebrated her eleventh birthday last week so I wanted to make her something really special.

I've been waiting for the perfect occasion to make the dress from from the Dress Shop SVG Kit and knew that this would be it... 

The paper is by Kaisercraft and I just love it on this dress form.  It's so soft and subtle - very girly and ladylike!  I added some white tulle around the waste and finished it off with a piece of satin ribbon and some pearls (also by Kaisercraft).

For something extra, I poked a couple of small holes in the neck and worked some purple wire through.  I like the little beads on top - gives it that final touch of "bling" that every girl needs. I hope you like it!


Thanks for stopping by!


Image Hosted by ImageShack.us

Sunday, 13 July 2014

Cupcake Card and Pillow Box

Hi there, today I am sharing a gift combo I made for a young lady at work last week.  

As some of you may know, another one of my crafty addictions is soap-making...  So I whipped up a soap loaf (hope to do a blog post on that some time) and needed a small bag/box that would hold a single slice of soap.  As I was looking through the tons of great boxes in the SVGCuts library, I came across the pillow box in the Christmas Bags and Boxes SVG Kit and the dimensions were perfect for my soap bar.

So I pulled out some playful birthday paper from my stash (sorry, I don't know the brand as I've had it forever) and cut out my pillow box.  Here it is... super sweet and fun for a young lady.

Onto the card... which was totally inspired by the cupcakes on the paper.  I went straight to the Happy Birthday to You SVG Kit as I've wanted to make the cupcake lever card for ages.  I'm so glad I finally did - it's such a sweet card and so easy to assemble.  


As the paper I used for this project is quite bold and busy, I decided not to do the flower on the card but rather to keep the embellishments to a minimum.  The cupcake is so cute by itself so I thought just a little embossing for texture would be enough to finish it off. 

Thanks for stopping by!


Image Hosted by ImageShack.us


Sunday, 29 June 2014

UTEE Embossed Butterfly Card

Hi, another quick post for today...

Here's a card I made for a friend a little while ago.  I used the No. 6 card from the Sweet Designer Cards and Envelopes SVG Collection. and stamped some swirls onto the top layer of plain cardstock and added some Perfect Pearls for a soft shine.


I then took a chipboard butterfly cut-out from my stash and covered it with a few layers of black UTEE.  I added some perfect pearls onto the hot UTEE and then hit it with the heat gun for a few more seconds before stamping some swirls into it. 


I love this technique - the texture of UTEE is awesome and the shine from the Perfect Pearls is just so pretty.  Hope you like it too...


Thanks for stopping by!


Image Hosted by ImageShack.us

Saturday, 17 May 2014

Lantern Card

Hi everyone,

Just wanted to share my take on the lantern card form the Chamomile Friendship Cards SVGCuts Kit.  

I used grunge paper from Tim Holtz for the top strip on the card and also on the tag.  I love this stuff as it cuts really well in my Cameo and there is so much you can do with it.  Here I ran it through my BogShot and then used some distress ink to make the embossed pattern pop.


I initially thought about using gold eylets and brads but then decided on the silver for a bit of contrast.  This is such a unique card and it was fun to do something a little bit different. Hope you like it! 


Thanks for stopping by!


Image Hosted by ImageShack.us