Showing posts with label BigShot. Show all posts

Saturday, 17 May 2014

Lantern Card

Hi everyone,

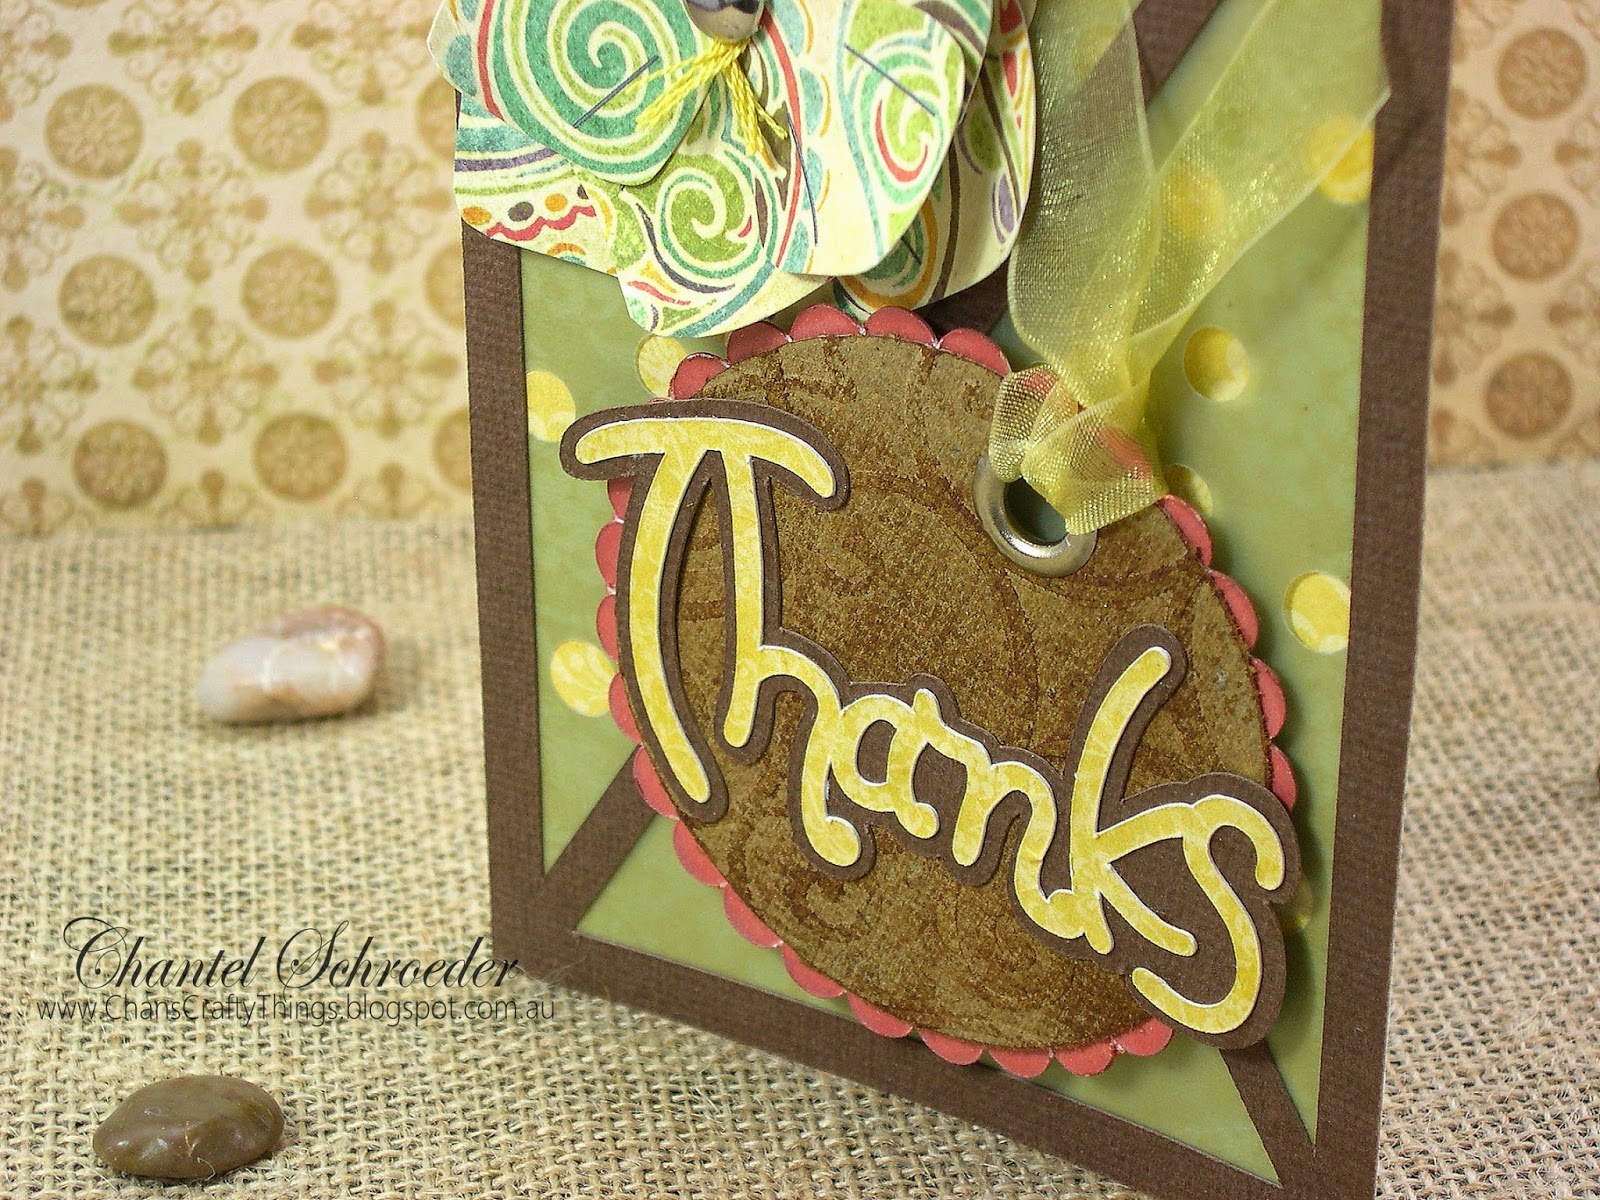
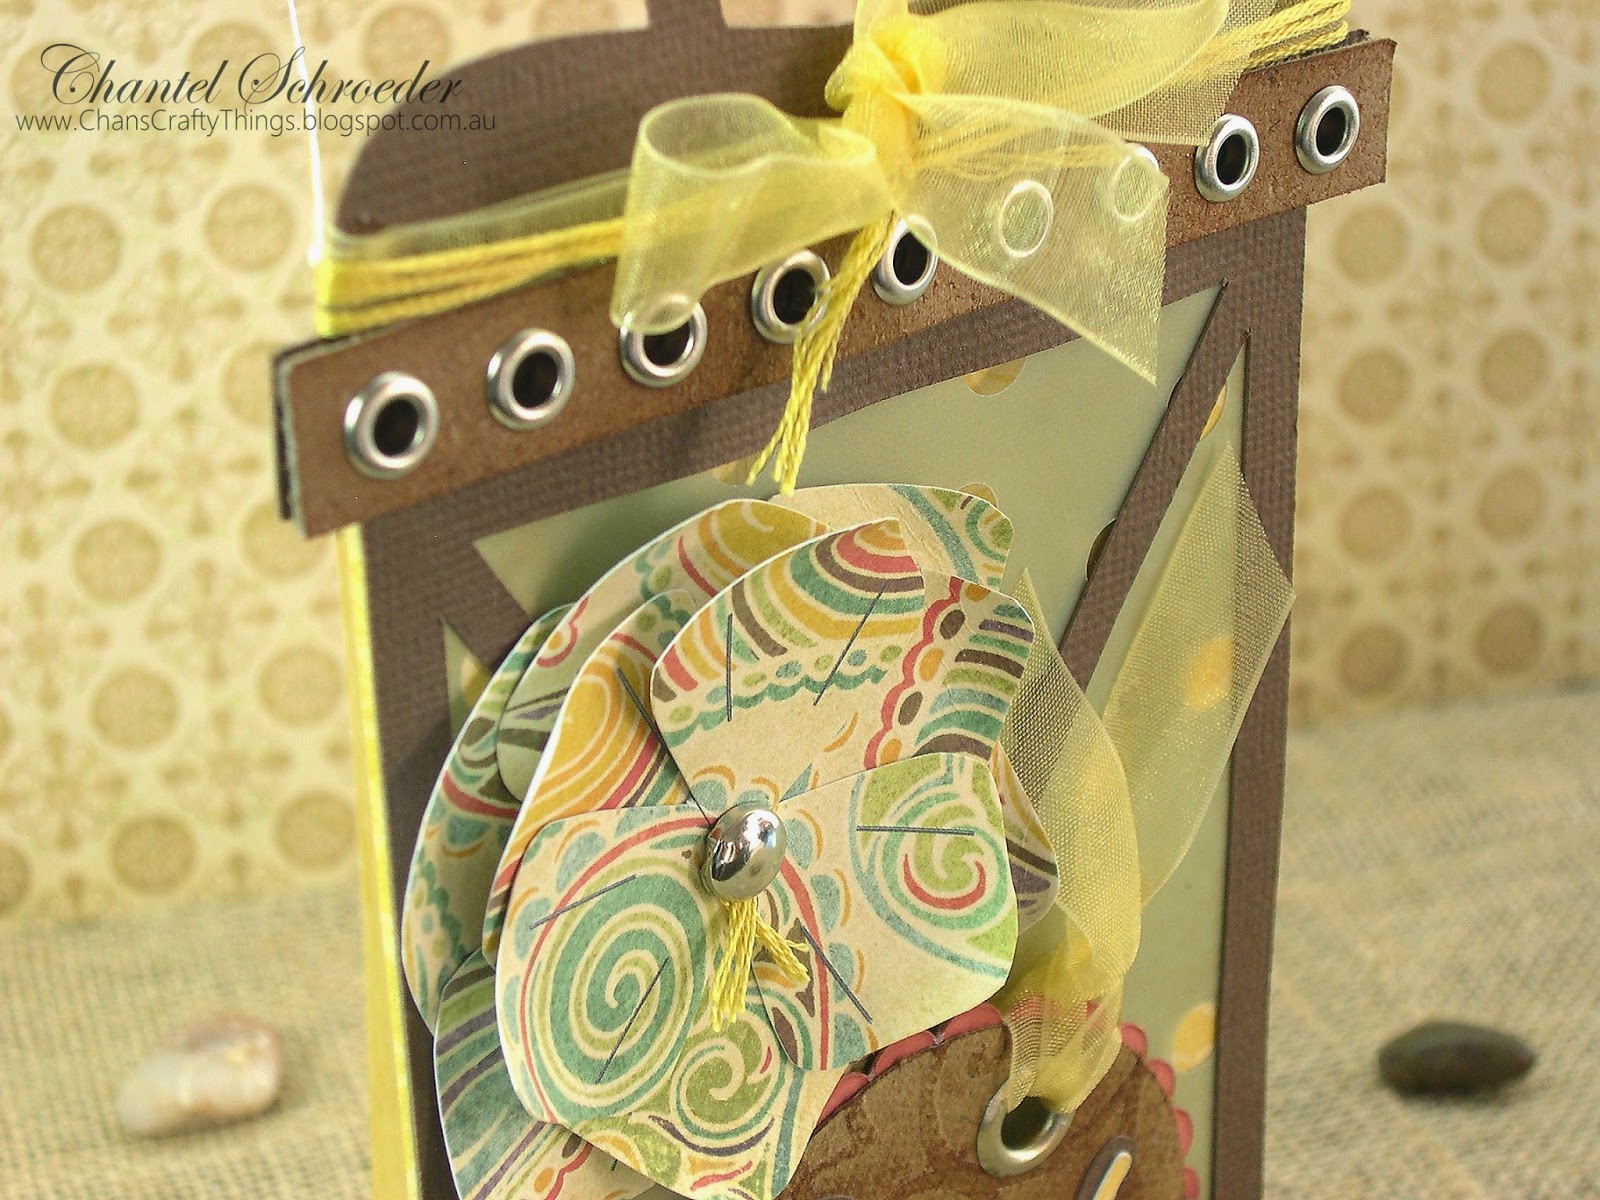
Just wanted to share my take on the lantern card form the Chamomile Friendship Cards SVGCuts Kit.  

I used grunge paper from Tim Holtz for the top strip on the card and also on the tag.  I love this stuff as it cuts really well in my Cameo and there is so much you can do with it.  Here I ran it through my BogShot and then used some distress ink to make the embossed pattern pop.


I initially thought about using gold eylets and brads but then decided on the silver for a bit of contrast.  This is such a unique card and it was fun to do something a little bit different. Hope you like it! 


Thanks for stopping by!


Image Hosted by ImageShack.us

Friday, 4 April 2014

Upside Down Miniature Cake Box - SVGCuts Guest Post!

As you all know, I am a super big fan of SVGCuts and have been for quite a few years! So, you can just imagine how excited I was when I was asked to do a guest post for the SVGCuts blog!!!

I still have to pinch myself as I can't believe that this actually happened to little old me... but apparently it really did!  My guest designer post went up on the blog yesterday and I am so SUPER excited to share it with you today:)

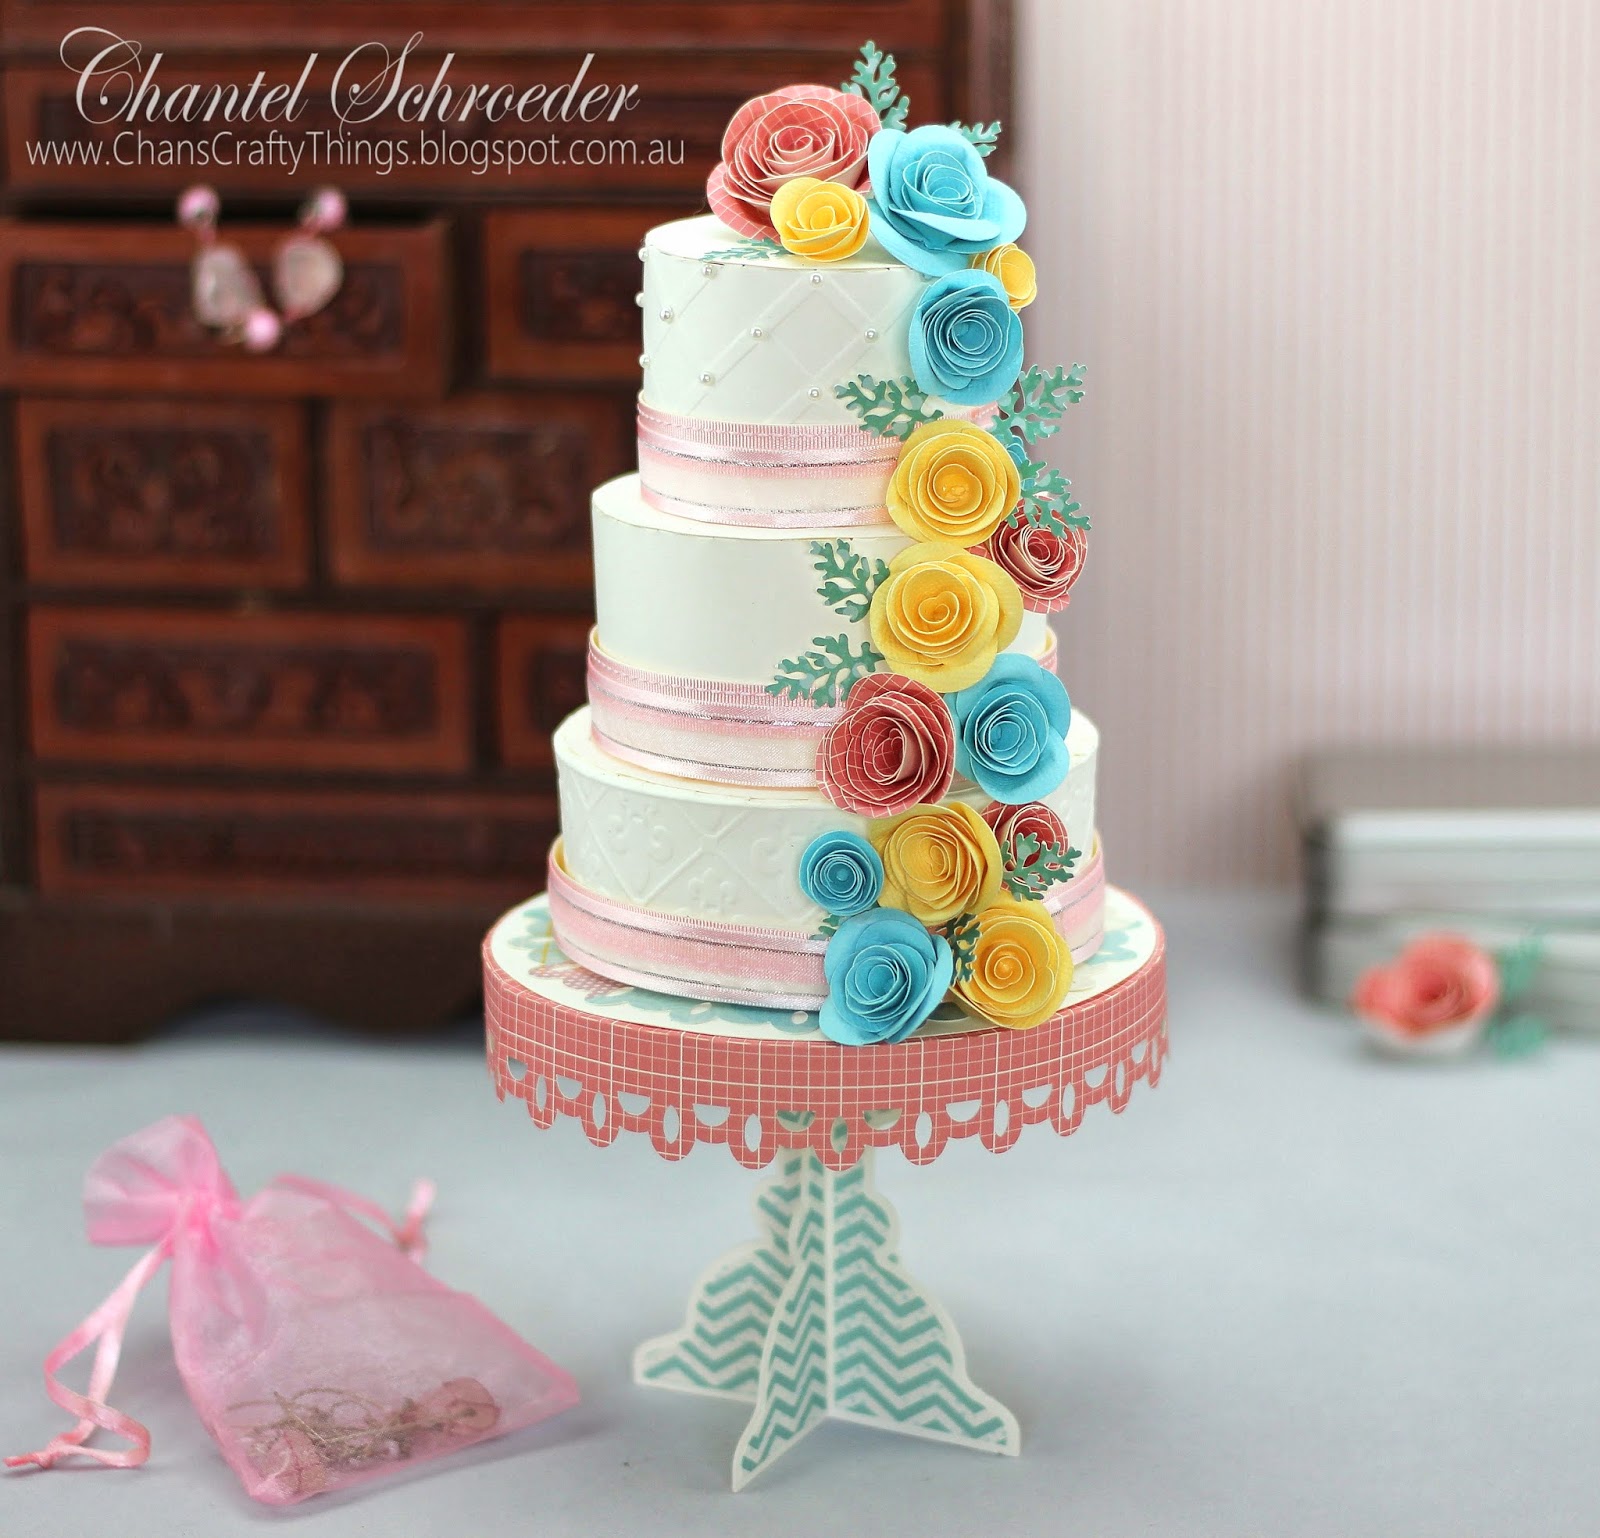
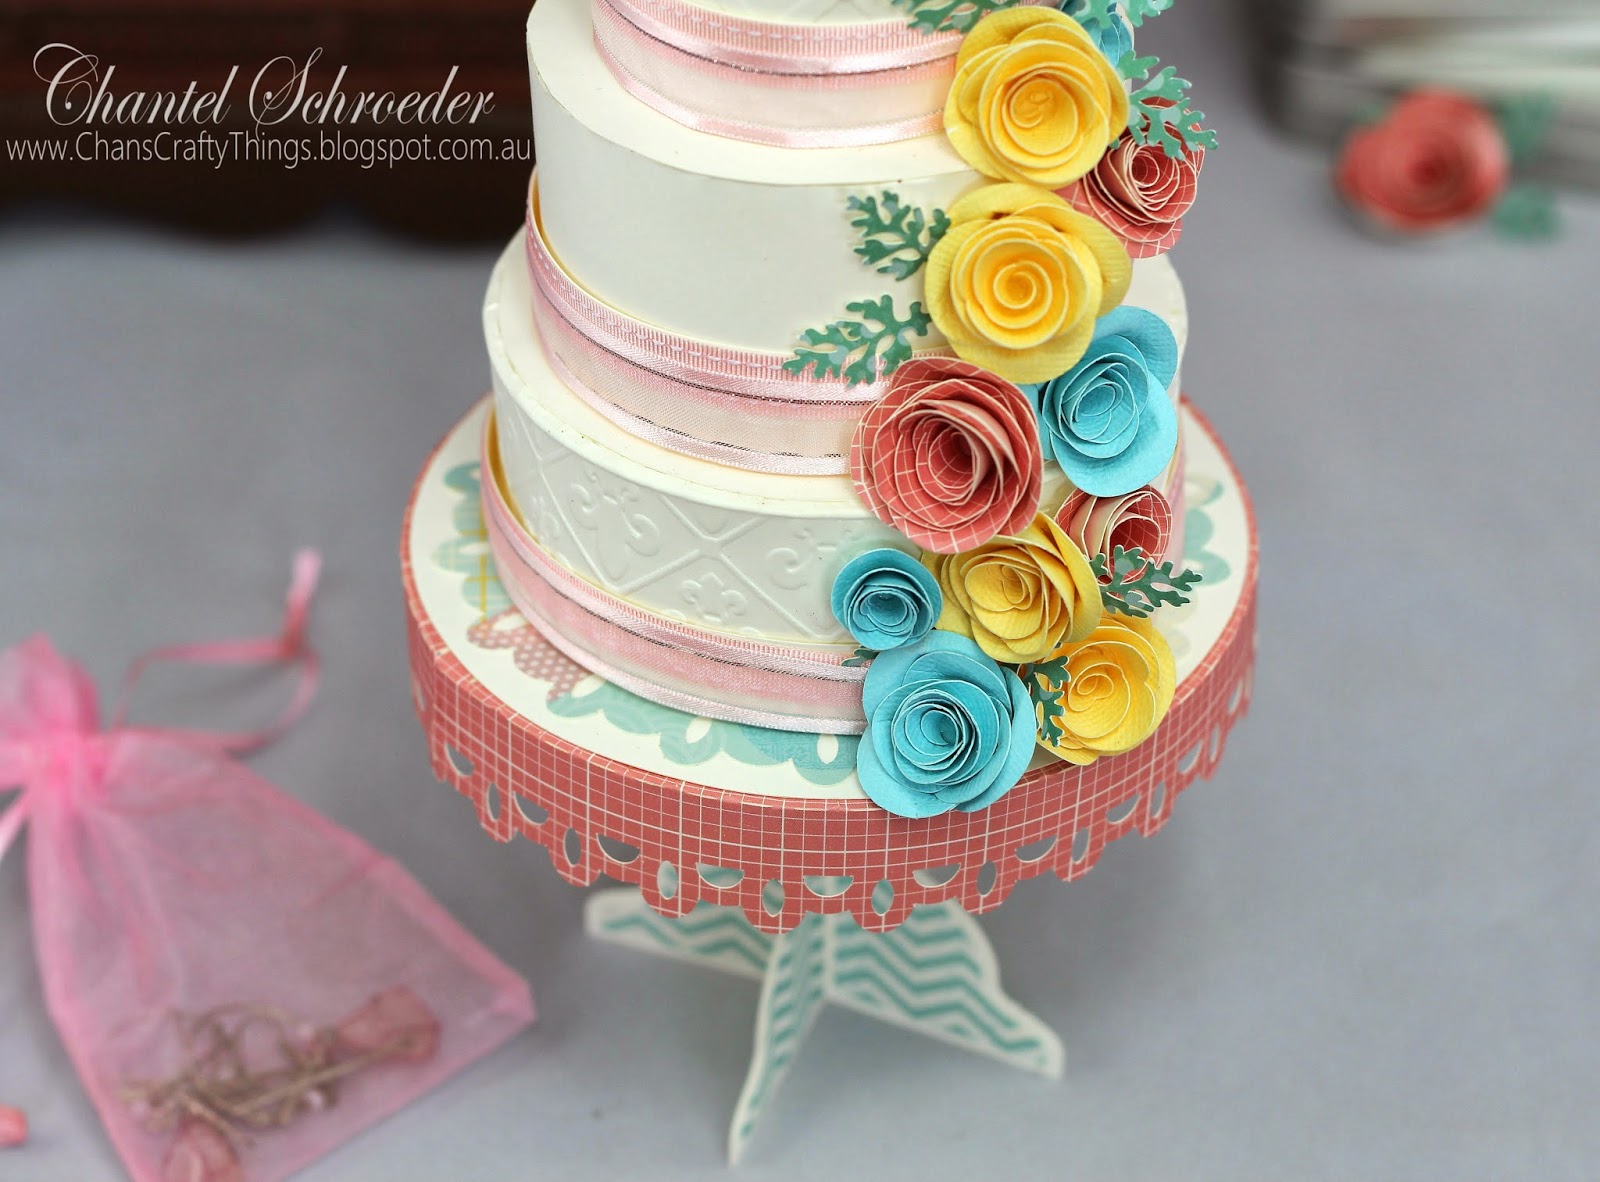
For my project, I used a combination of kits to make a miniature upside down cake box on a stand with a matching card.  You can find complete instructions on how to make this project here on the SVGCuts blog.


For the stand, I used the pedestal file from the Happy Birthday to You SVG kit.  The round box files that form the cake is from the Poplar Street Tulips SVG kit. I sized them down quite a bit so that the cake would fit on the stand.   


All the boxes were assembled as usual after I ran the side panels through my embossing folder.  I then adhered the three boxes upside down on top of each other so that the lids become the "ribbon" around each of the cake tiers.  I then decorated it with ribbon and roses from the Crush on You Boxes SVG kit.


As the cake is made up out of three separate boxes, each can be used to store small items such as jewelry.


The card file is from the Breezy Backyard Lever Cards SVG kit however, I decided to embellish it with some leftover roses I made for the cake, along with a few cut-outs from the DCWV Sunday Afternoon paper stack I used for the rest of the project.  


I'm really pleased with how this project turned out.  If you would like more details, please stop by the SVGCuts blog and remember to share photo's if you decide to make one yourself.  

Thanks for stopping by!


Image Hosted by ImageShack.us

Sunday, 26 January 2014

Super Quick Hello Card

Hi there, 

Just a super quick post for a super quick card I made earlier!  

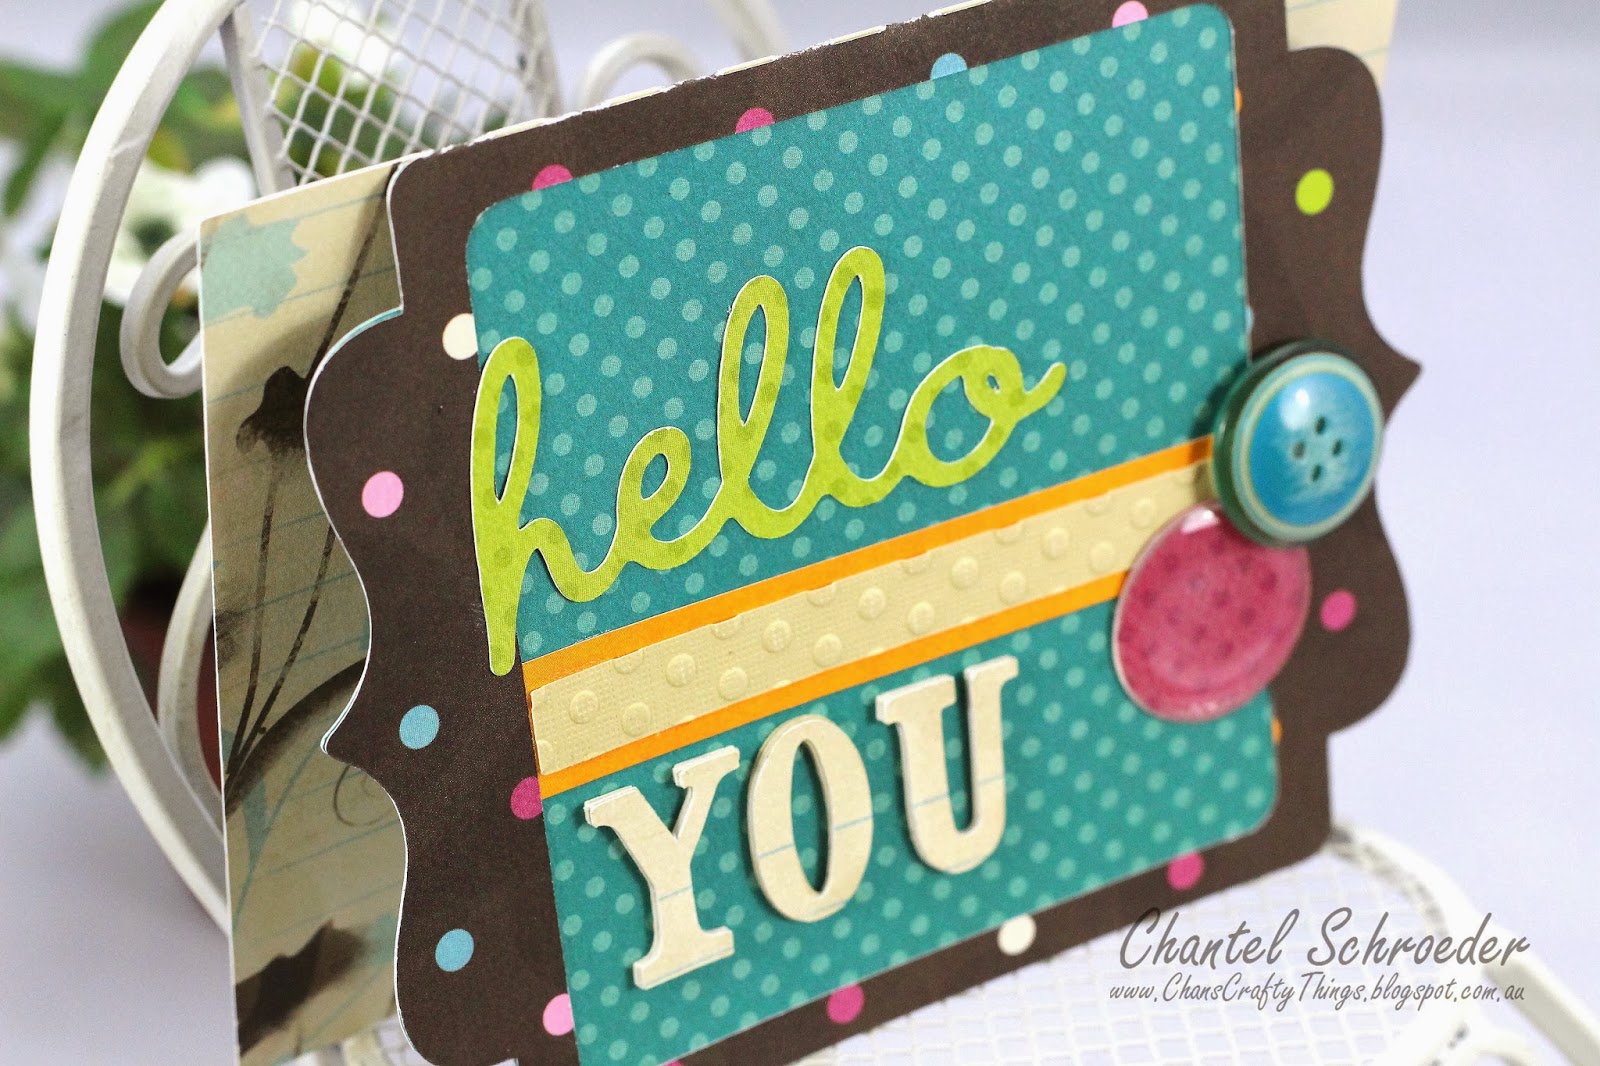
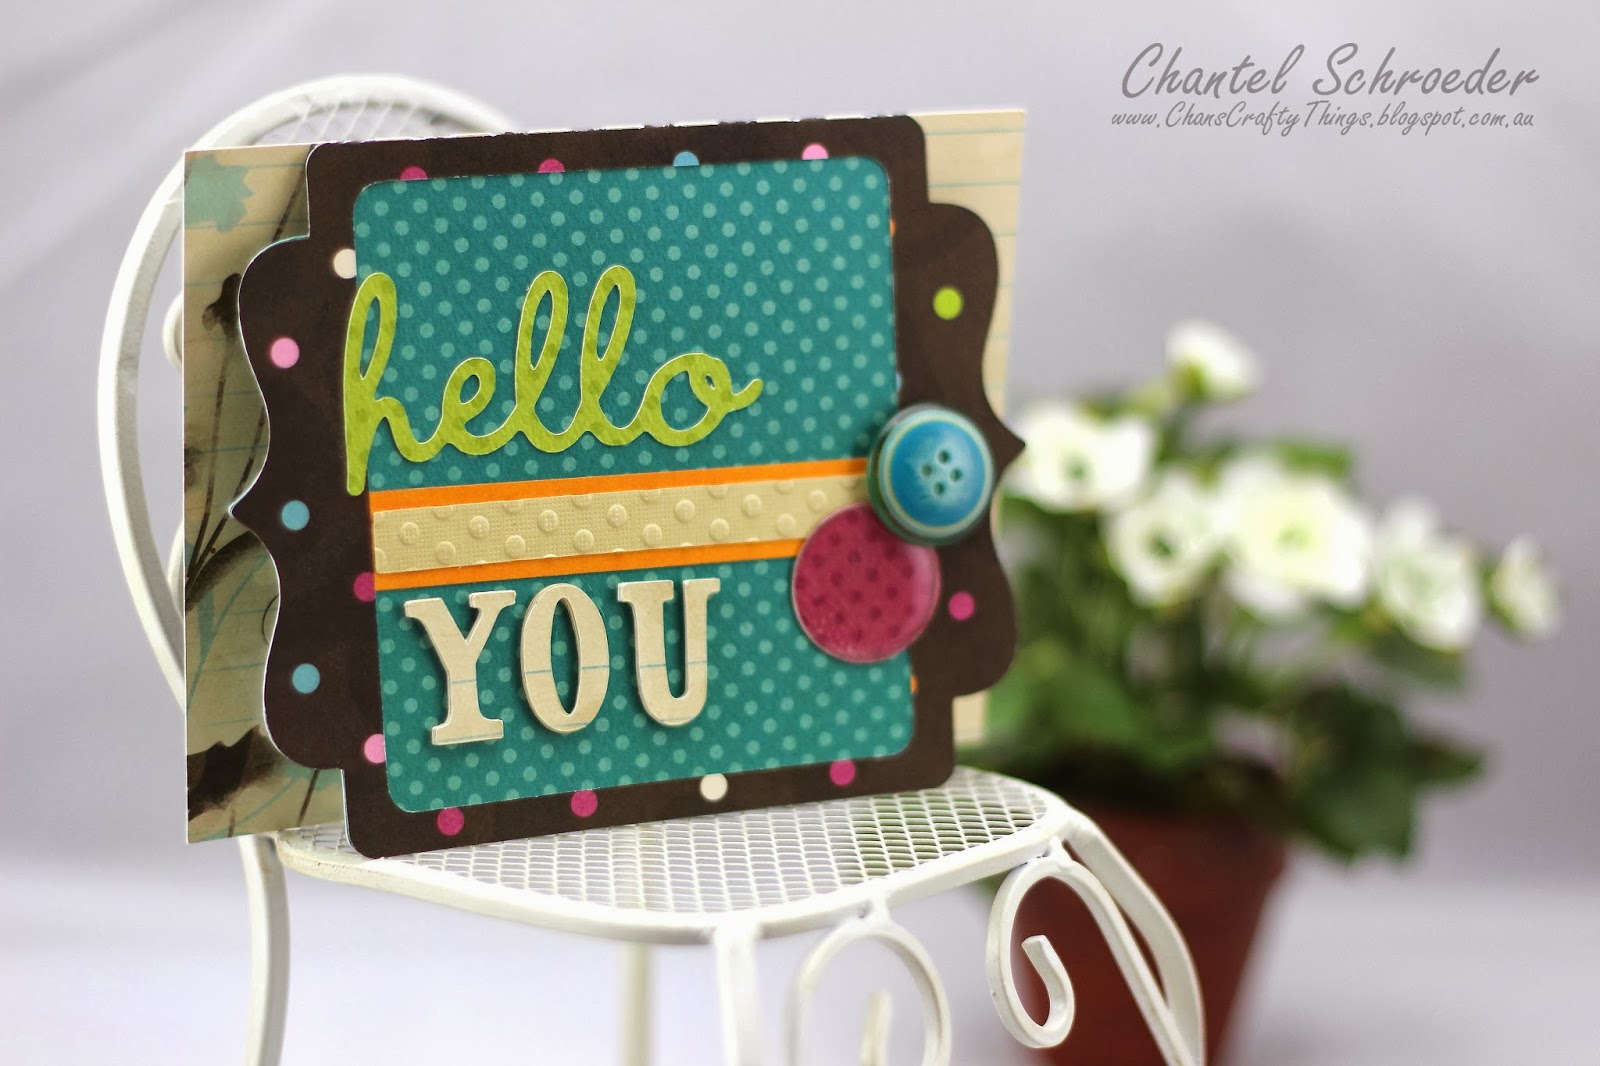
I used the Hello You card from the Everyday Cards SVGCuts Kit with paper from BoBunny's Back to Basics line. I added a thin strip of light yellow AC card stock which I ran through my BigShot and then embellished with a couple of buttons from my stash.  It literally took me 5 minutes to finish this card!


After I took the photo's I realised how obvious the white core of the paper was so I ended up inking the edges slightly to finish the card off nicely.  Hope you like it...

Thanks for stopping by!


Image Hosted by ImageShack.us

Friday, 22 November 2013

Rosette Christmas Tree

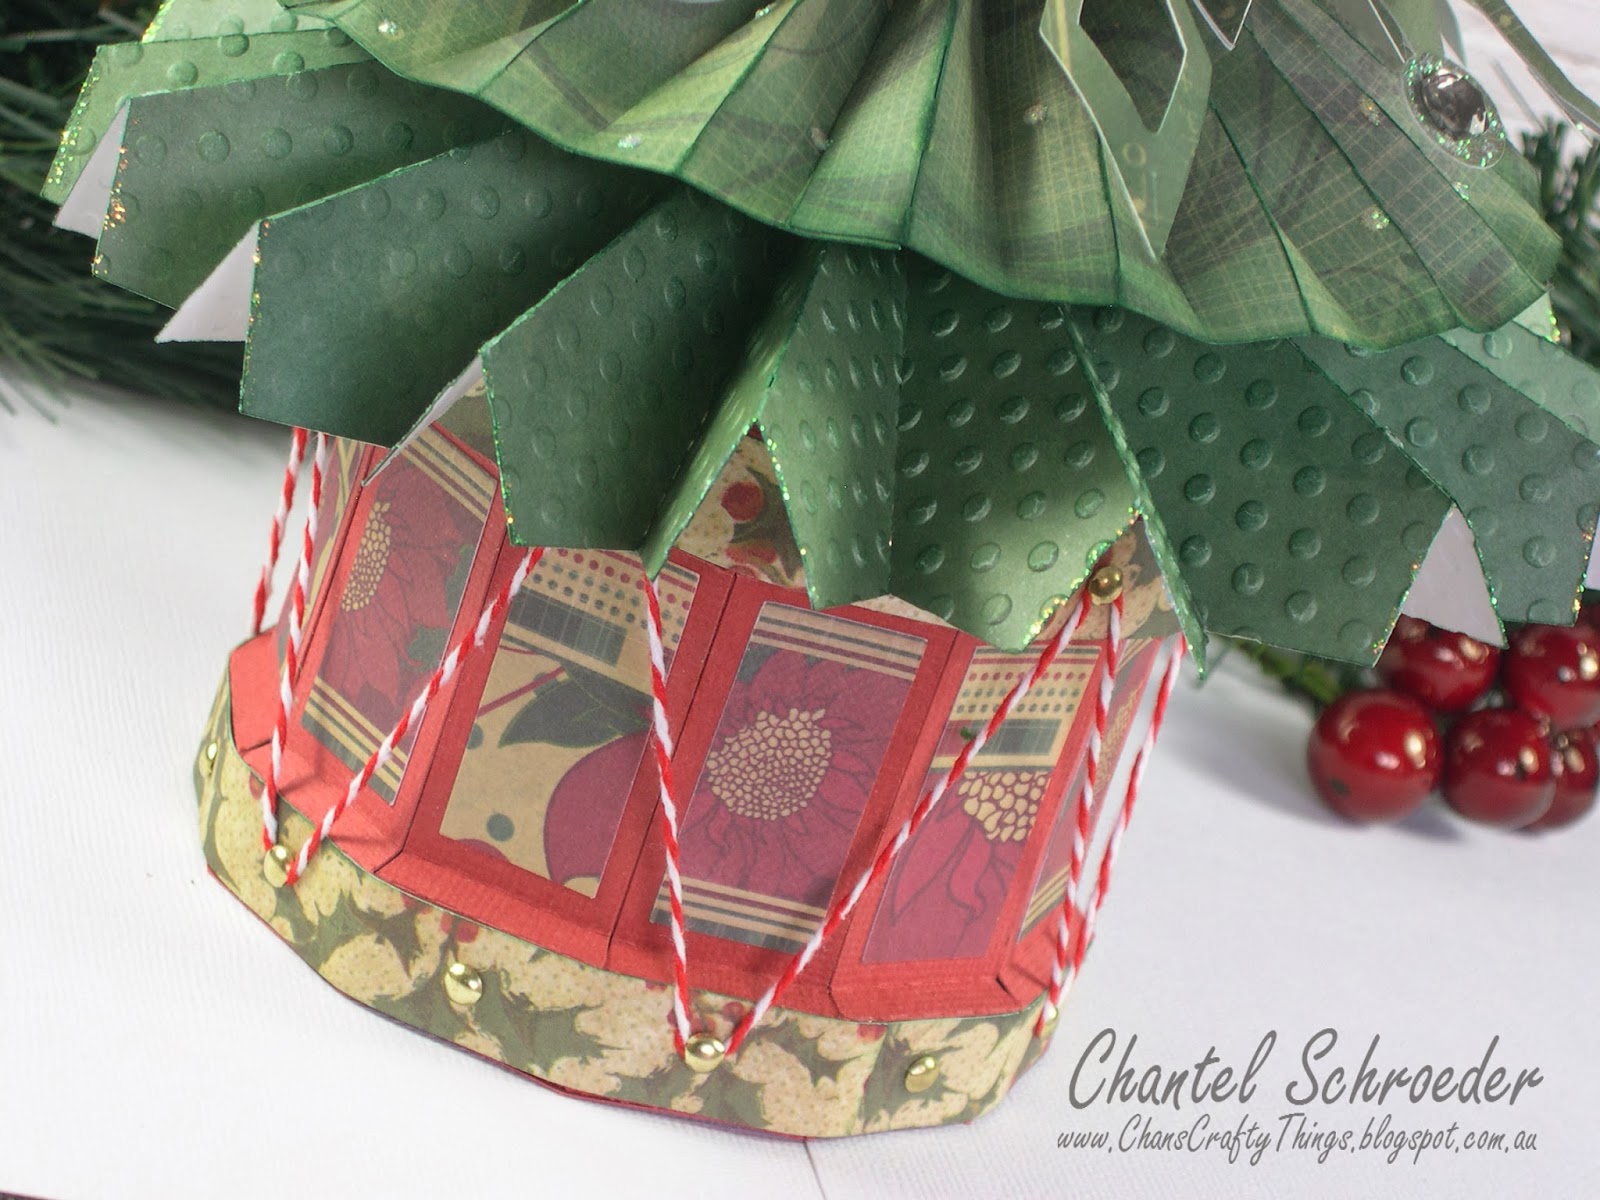
Here's a miniature Christmas tree I made for my desk at work. 

I used one of the files from the Christmas Ornament SVGCuts kit along with the rosette file from the Made in the USA kit and cut them out in different sizes.  I assembled all the rosettes first (but at an angle and not flat like you usually would when making a rosette) before I poked the dowel stick through them.  I glued each layer in place with a hot glue gun.

To make the star on top of the tree, I cut six stars from the Stars and Stripes kit, folded them in half and glued them together.  The base of the tree is made from the drum file in the Stanta's Visit kit with a piece of florist foam in it to hold the tree up.
I can't wait until I can put this one up in my office.  It's so cute...

Thanks for stopping by!
 

Image Hosted by ImageShack.us


http://www.svgcuts.com/affiliates/jrox.php?id=3640&jxURL=http://svgcuts.com/index.php?main_page=product_info&cPath=3&products_id=329
http://www.svgcuts.com/affiliates/jrox.php?id=3640&jxURL=http://svgcuts.com/index.php?main_page=product_info&cPath=47&products_id=266
http://www.svgcuts.com/affiliates/jrox.php?id=3640&jxURL=http://svgcuts.com/index.php?main_page=product_info&cPath=3&products_id=283

Saturday, 26 October 2013

Getting ready for Christmas!

I realised this morning that it's just over 8 weeks until Christmas! This year has flown by way to quickly, don't you think?
 
Christmas is my absolute favourite time of the year! I love everything about it... the sounds, the food, the smells and of course, the cheer!   People just seem more happy and carefree around Christmas time.  But mostly, it's the excitement that gets me - I still find it hard to sleep the night before Christmas!  The anticipation of a day spent with loved ones, gift giving and eating until you feel you're about to explode, is just the best ever!
 
But unfortunately, Christmas has been a lot quieter for my husband and I since we immigrated to Australia almost 6 years ago.  We now find ourselves thousands of kilometres away from friends and family back in South Africa, the USA and Canada.  We have wonderful friends who always share the day with us but it's never quite been the same...
 
That said, we haven't let it put a damper on our enthusiasm around Christmas time.  We are like two big kids who decorate the house from top to toe, inside and out and spoil each other rotten with presents.  We still cook as if we're expecting a hundred people too!   
 
The only thing is, I have to start thinking about Christmas a lot sooner than most to ensure that everyone receives their gifts and cards in time for the big day.  I usually start at least two months in advance and in looking at the date... it appears it's that time again. 
 
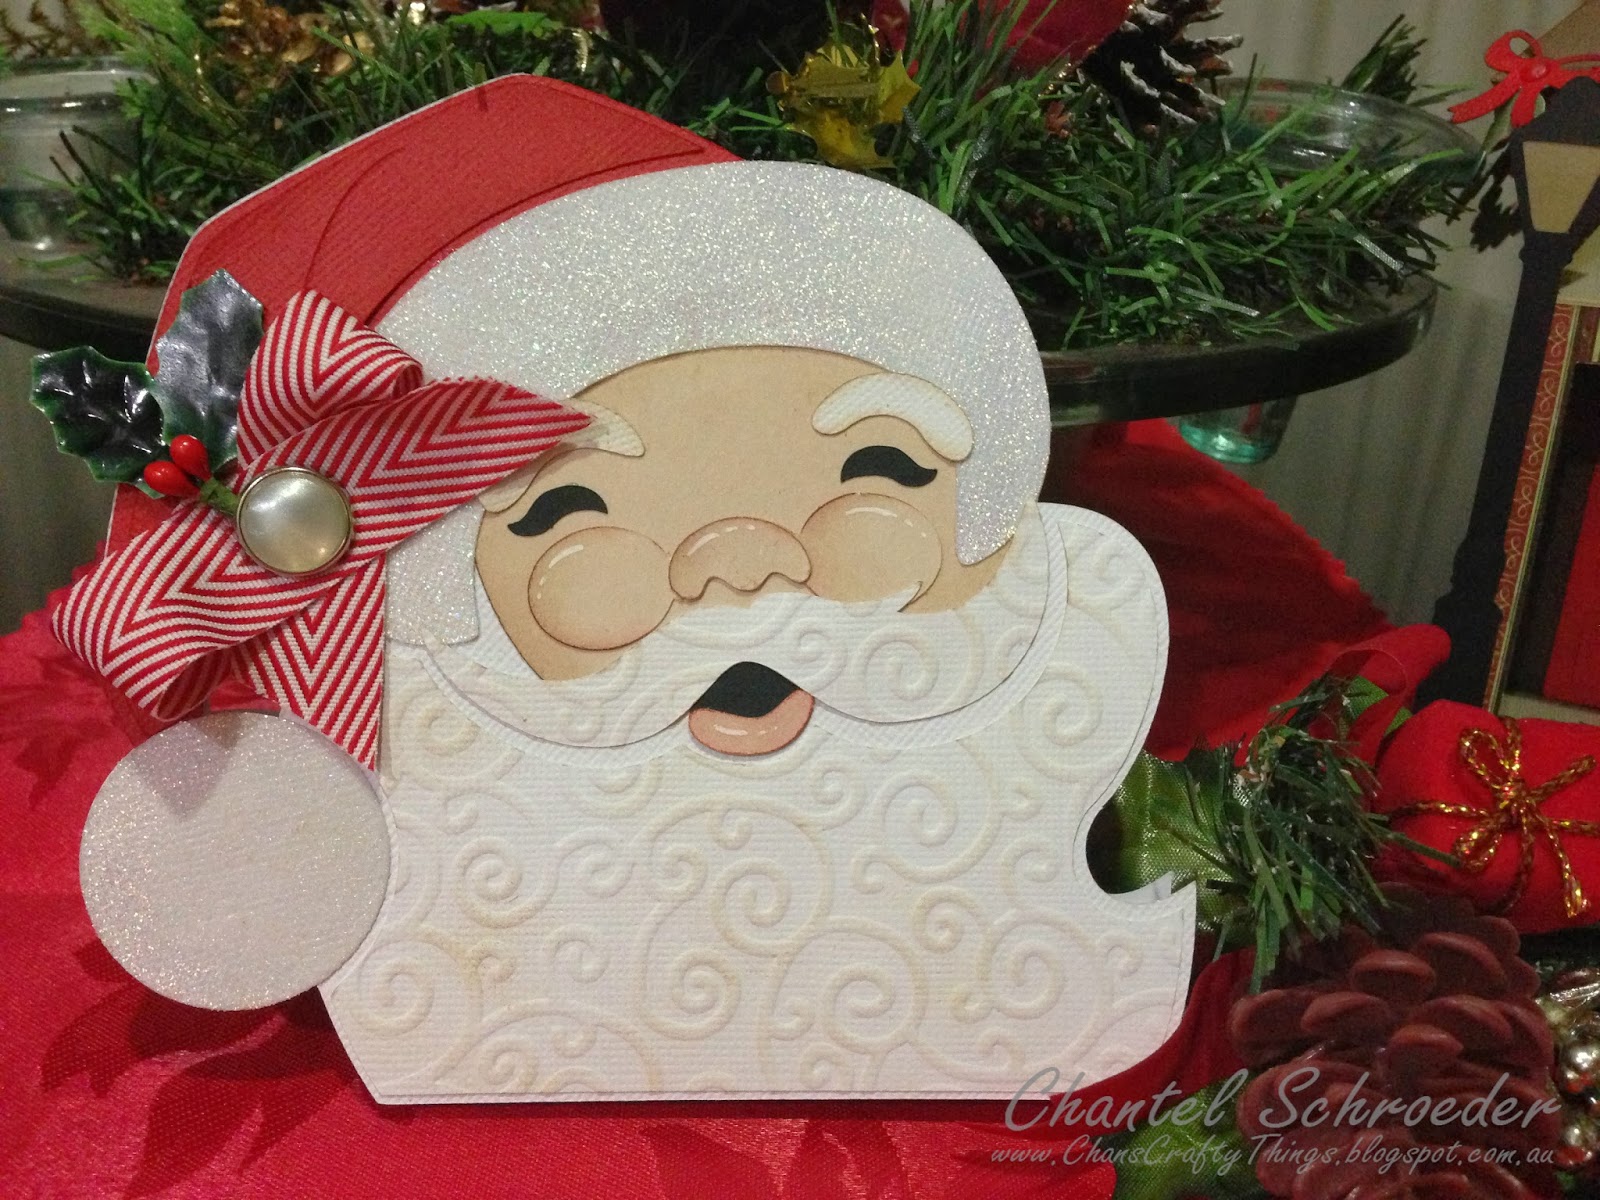
So in the spirit of preparing for Christmas, I thought I would share this cute Santa Card today.  It's from the Christmas Open House SVGCuts Kit and it is just so adorable!   
I used AC cardstock for the hat, beard and face and ran the white bits through the Big Shot to give Santa's beard and moustache a few curls.  I cut the white bits for Santa's hat out of glitter card stock for a bit of bling and then added a brad and ribbon from my stash. 
 
I just love this card!  It's so quick and easy to make - and I think it is super cute! 
Thanks for stopping by!
 

Image Hosted by ImageShack.us


Sunday, 20 October 2013

Clown Diaper Cake

So I finally got around to finishing the diaper cake for which I made the clown topper a few weeks ago.  I made it for a baby shower we hosted for a co-worker.
I folded a blankie to make one long strip and then pinned it in a circle to form the bottom tier of the cake.  I then commenced with the task of individually rolling up an entire box of new born diapers to arrange inside the circle. 

I used the print and cut feature on my Cameo to make the scalloped stip.   The digital paper is the same as what I used for the clown - Big Top Birthday by Samantha Walker.

I did the same thing for the smaller top tier and then glued the clown on top with my hot gun.  Originally, that was all I had planned and it did look nice - but after I was done, I thought it looked a bit bland and definitely needed something else... 

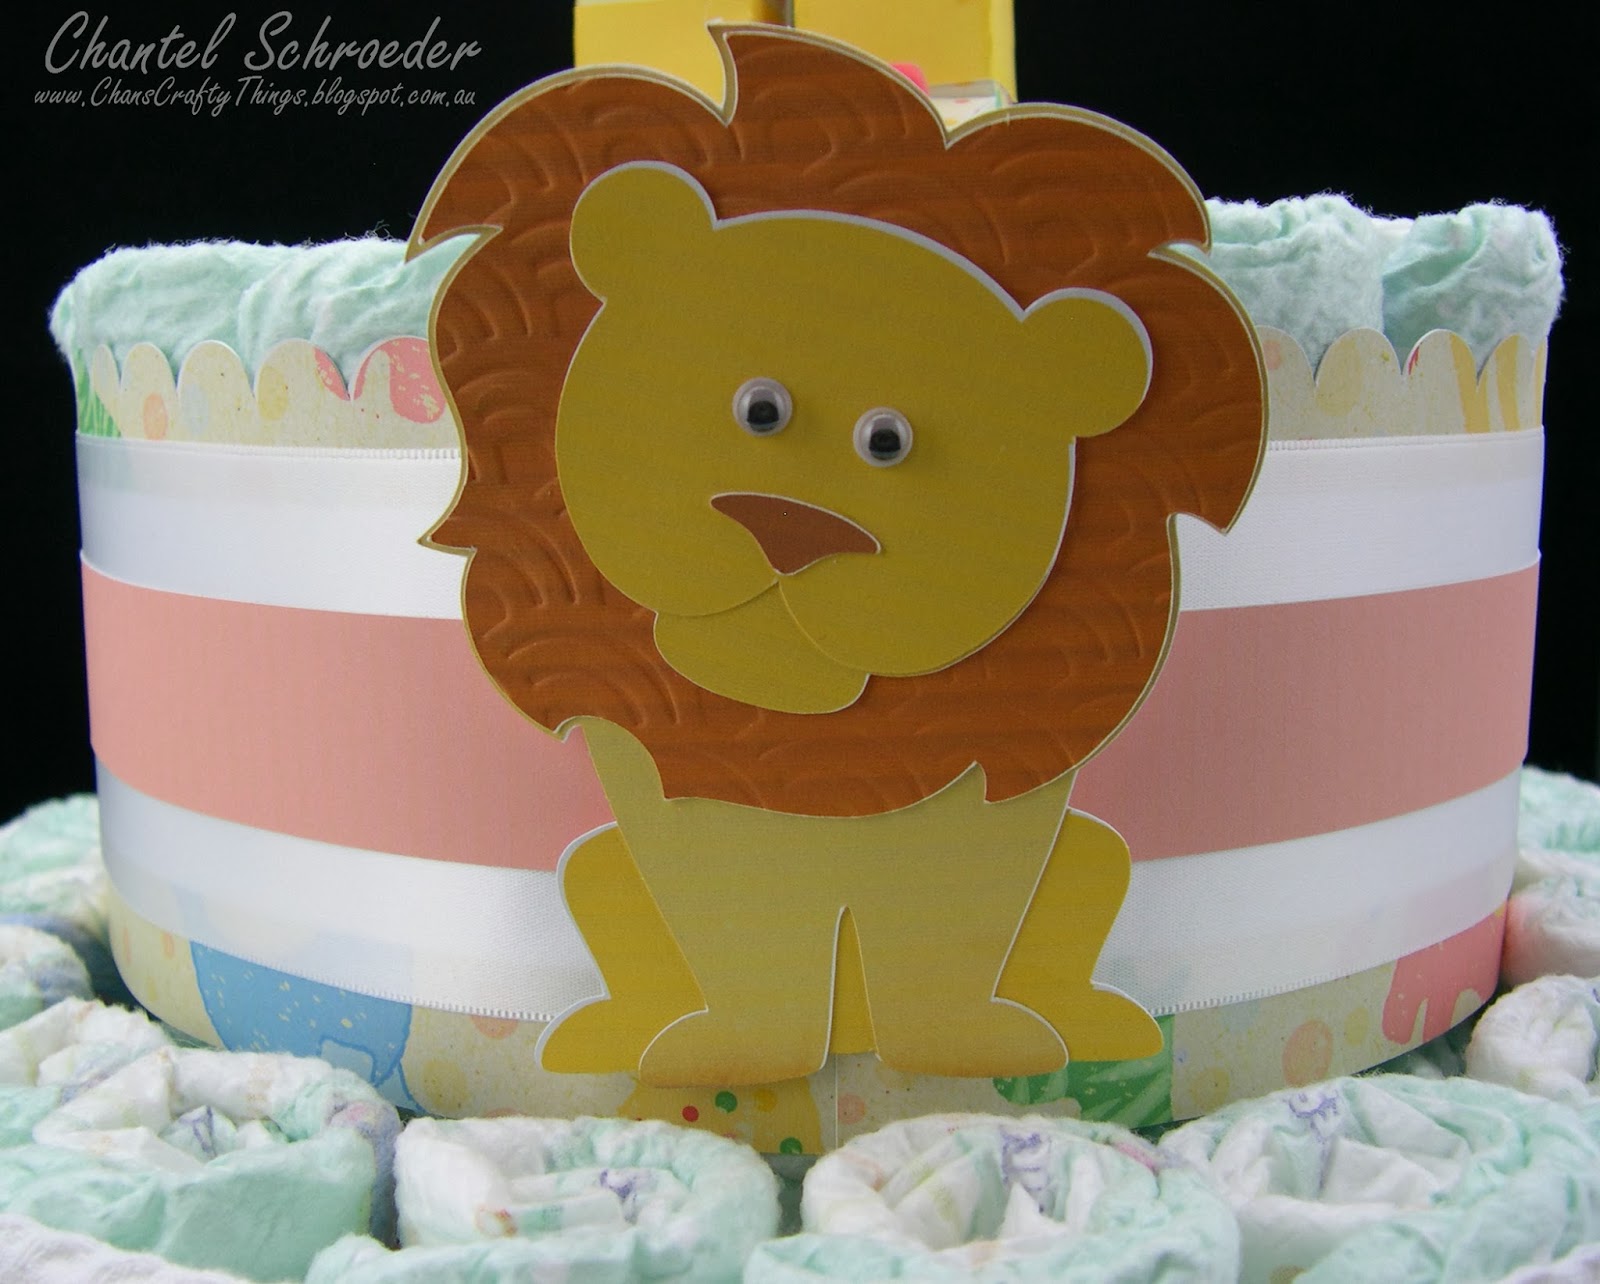
So  I went to SVGCuts to see what I could find - and there I found the cutest little collection of animals in a great little collection called Wild Child.  I just knew these guys would be perfect for my cake...  
After I cut them out, I ran a couple of pieces through my Big Shot for texture and then added little googly eyes to finish them off...
I just LOVE googly eyes - I think it really gives the little guys a bit of life...
The baby shower was a lot of fun and I'm pleased to say that the mommy-to-be was so very happy with the diaper cake too.

Thanks for stopping by!
 

Image Hosted by ImageShack.us

Friday, 18 October 2013

Happiness is not a destination...

My friend's (very crafty) daughter received an invitation to a "Paris" party the other day.  Whilst shopping around for a birthday gift, they came across one of those inspirational hanging plaques with a beautiful picture of the Eiffel Tower on it.
When I saw the picture, I just new that we needed to make the Eiffel Tower box from the Amelie's Accessories SVGCuts Kit to go with it. 
So, my crafty little helper (Keyra) and I set out to put something together for the birthday girl quickly.  This is what we came up with...


The paper is from a Kaisercraft stack I have in my stash.  I think Keyra did an amazing job at inking all the edges to match the colours in the plaque.  It was also the first time she had a go at using the Big Shot to dry emboss, which was very exciting!

The little birthday tag with  baker's twine was Keyra's idea - the perfect touch to finish it off nicely, don't you think?
I just love this little box. I was really surprised how quick it was so assemble - and everything was done in no time (especially as there were 4 hands instead of 2 thanks to my crafty friend)!


Thanks for stopping by!


Image Hosted by ImageShack.us


Purple, Orange and Black Witch's Hat

Today I'm sharing my Halloween card I made for the monthly challenge at Scrapbook Boutique.   This month's challenge is to submit a project using the theme 'Halloween' or using the colours Purple, Orange and Black. 
 
I decided to do both...  So for my entry, I made this cute Witch's Hat card from the Haunted Hemlock Cards SVG Kit.  I was pleased with how my card turned out so I decided to enter it in the Halloween Hootery challenge over at Paper Issues as well...  


I used papers from the Bewitched stack from DCWV (which I picked up at Spotlight for half price!) as well as some black AC Cardstock for the main part of the hat.  
I inked the edges of all the individual pieces to give the final product a bit of a distressed look. I then added the flower (which I built up using Pop-Dots for added dimension) and then added a few pearls from Kaisercraft.


This is the picture that Scrapbook Boutique posted as inspiration for the challenge ... Aren't these cupcakes just the cutest?


Thanks for stopping by!
 

Image Hosted by ImageShack.us