Showing posts with label Roses. Show all posts

Saturday, 9 August 2014

Retro Payphone - SVGCuts Guest Design Team Project

Hi everyone,

Today I am sharing my latest project for a guest design post for SVGCuts!  I am super excited about the project, not to mention the opportunity to be featured on the SVGCuts blog again!

So here is what I've created... an old fashioned, retro payphone!  Do you remember these? I'm sure the Generation Y peeps will wonder what on earth this contraption is, but I clearly remember the days before mobile phone when you had to walk halfway around town looking for a payphone to make that ever-so important phonecall!  Anyways, without getting too far down memory lane, let's have a look at some pics...
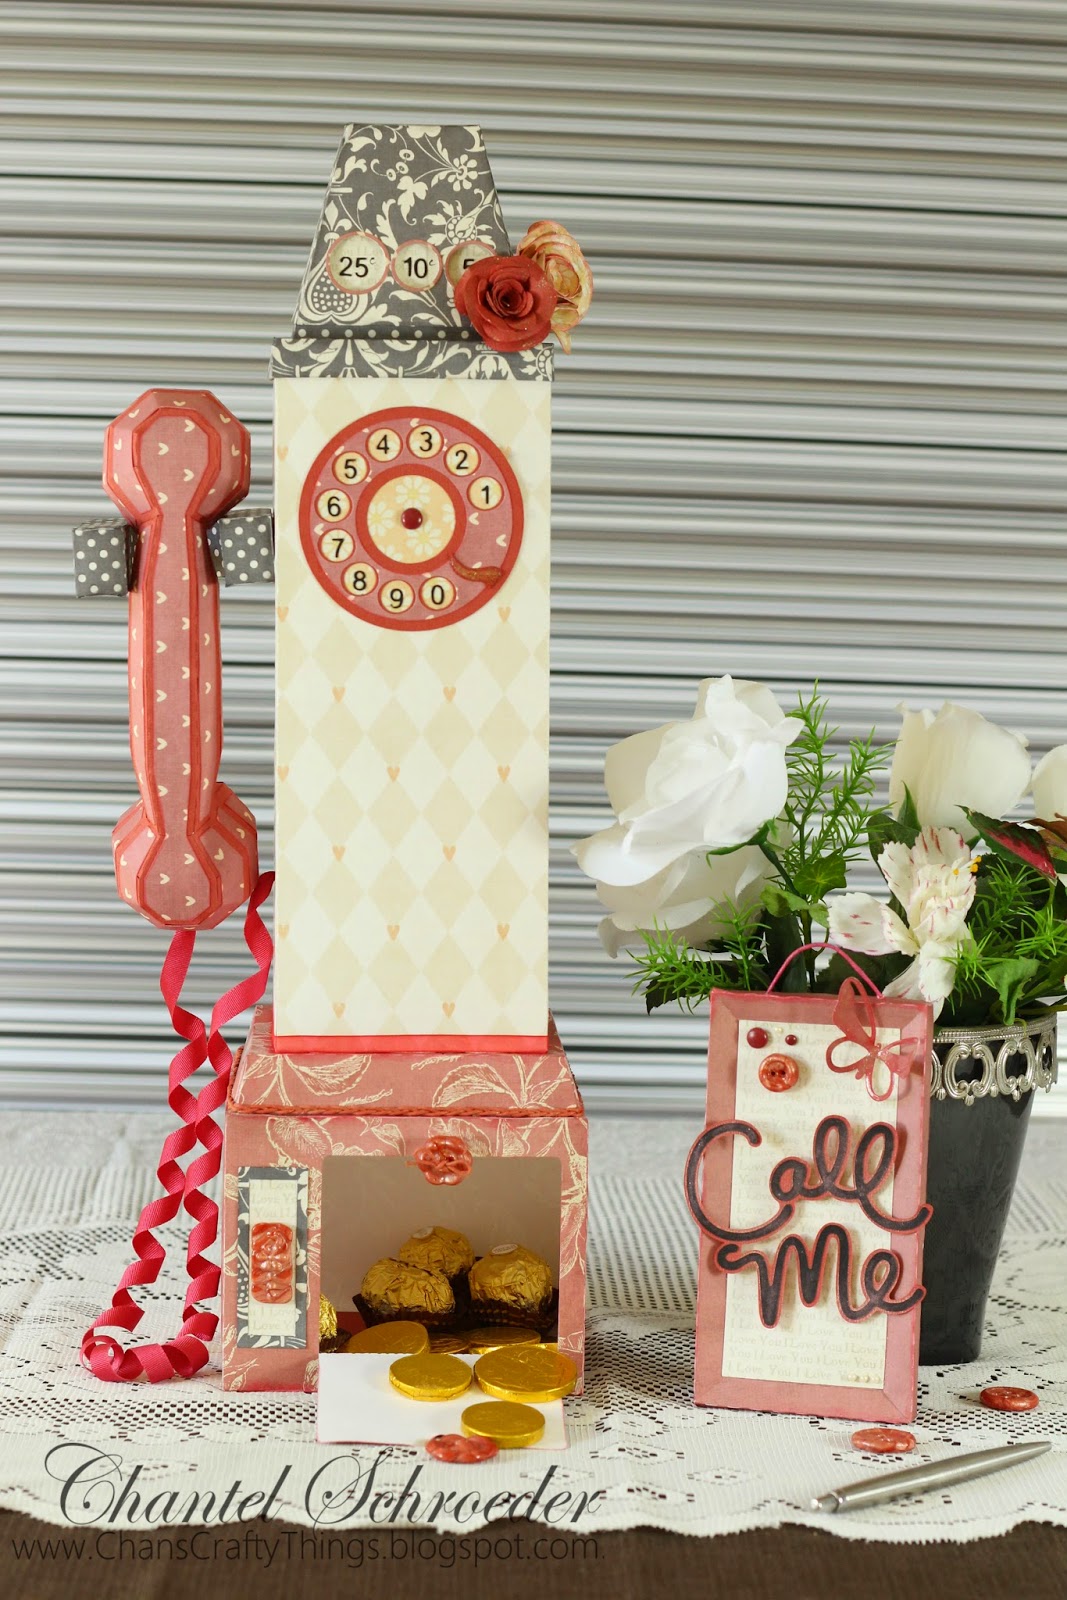
The payphone itself has three different compartments to put lots of goodies in.  Here, I added some chocolate coins along with a few of my personal favourites...
For those of you who are interested, here's a list of all of the SVGCuts kits and collections I used:

See the "bling" on the roses?  I achieved this look with my new Wink of Stella Brush pen - I love how it just adds a little something to the roses.
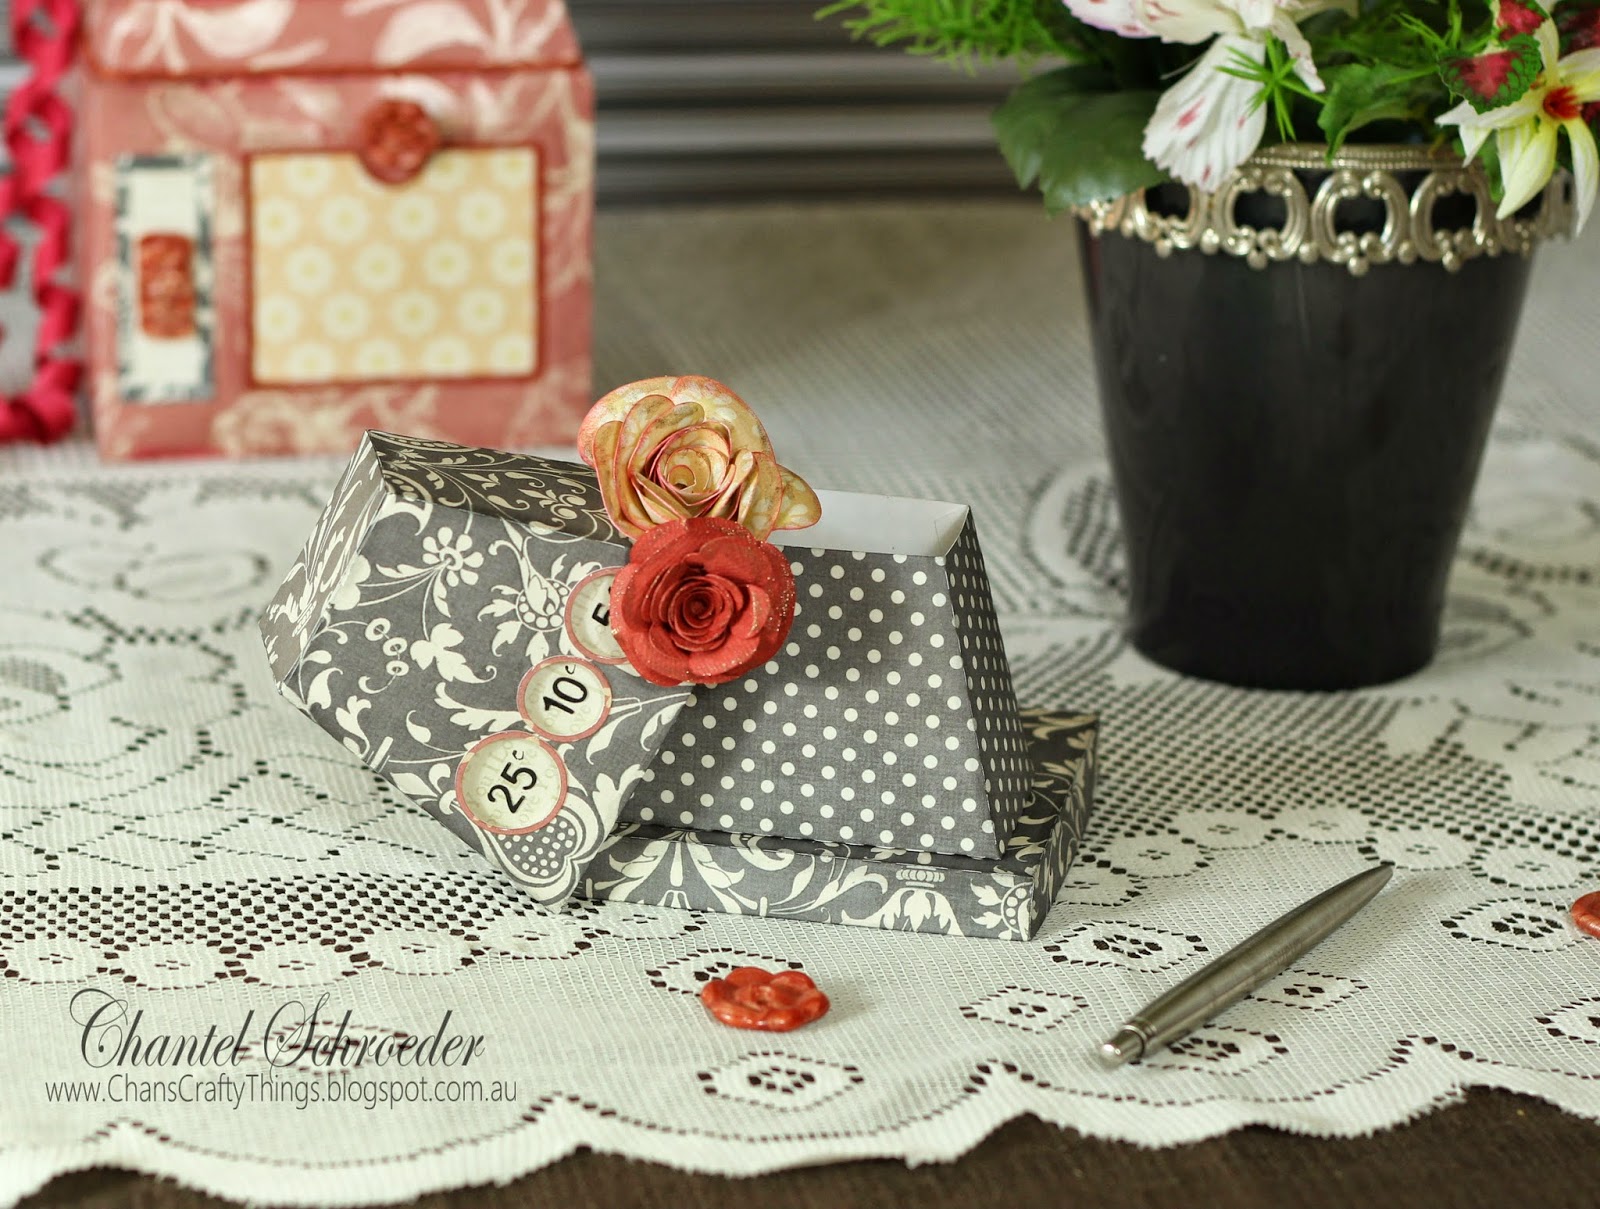
I also used some glossy accents in various places to give it some more "bling" as well as dimension.

For the exact measurements and details on how to create this project, just click here.

If you happen to get stuck on step 2 or 3 - here are a couple of screenshots of what I did. Hopefully it will make sense, but if not, please send me an e-mail. 

Step 2
Step 3
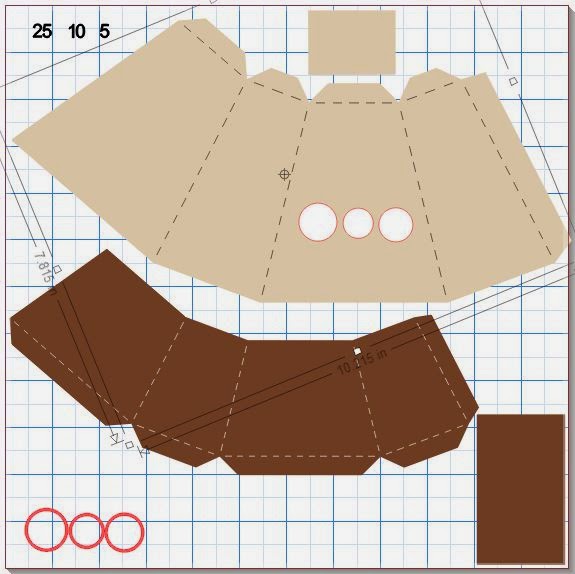
I really hope that you've enjoyed my retro creation!  If you decide to make one yourself, please share it on Facebook - I would love to see what you create!

Thanks for stopping by!


Image Hosted by ImageShack.us


Friday, 4 April 2014

Upside Down Miniature Cake Box - SVGCuts Guest Post!

As you all know, I am a super big fan of SVGCuts and have been for quite a few years! So, you can just imagine how excited I was when I was asked to do a guest post for the SVGCuts blog!!!

I still have to pinch myself as I can't believe that this actually happened to little old me... but apparently it really did!  My guest designer post went up on the blog yesterday and I am so SUPER excited to share it with you today:)

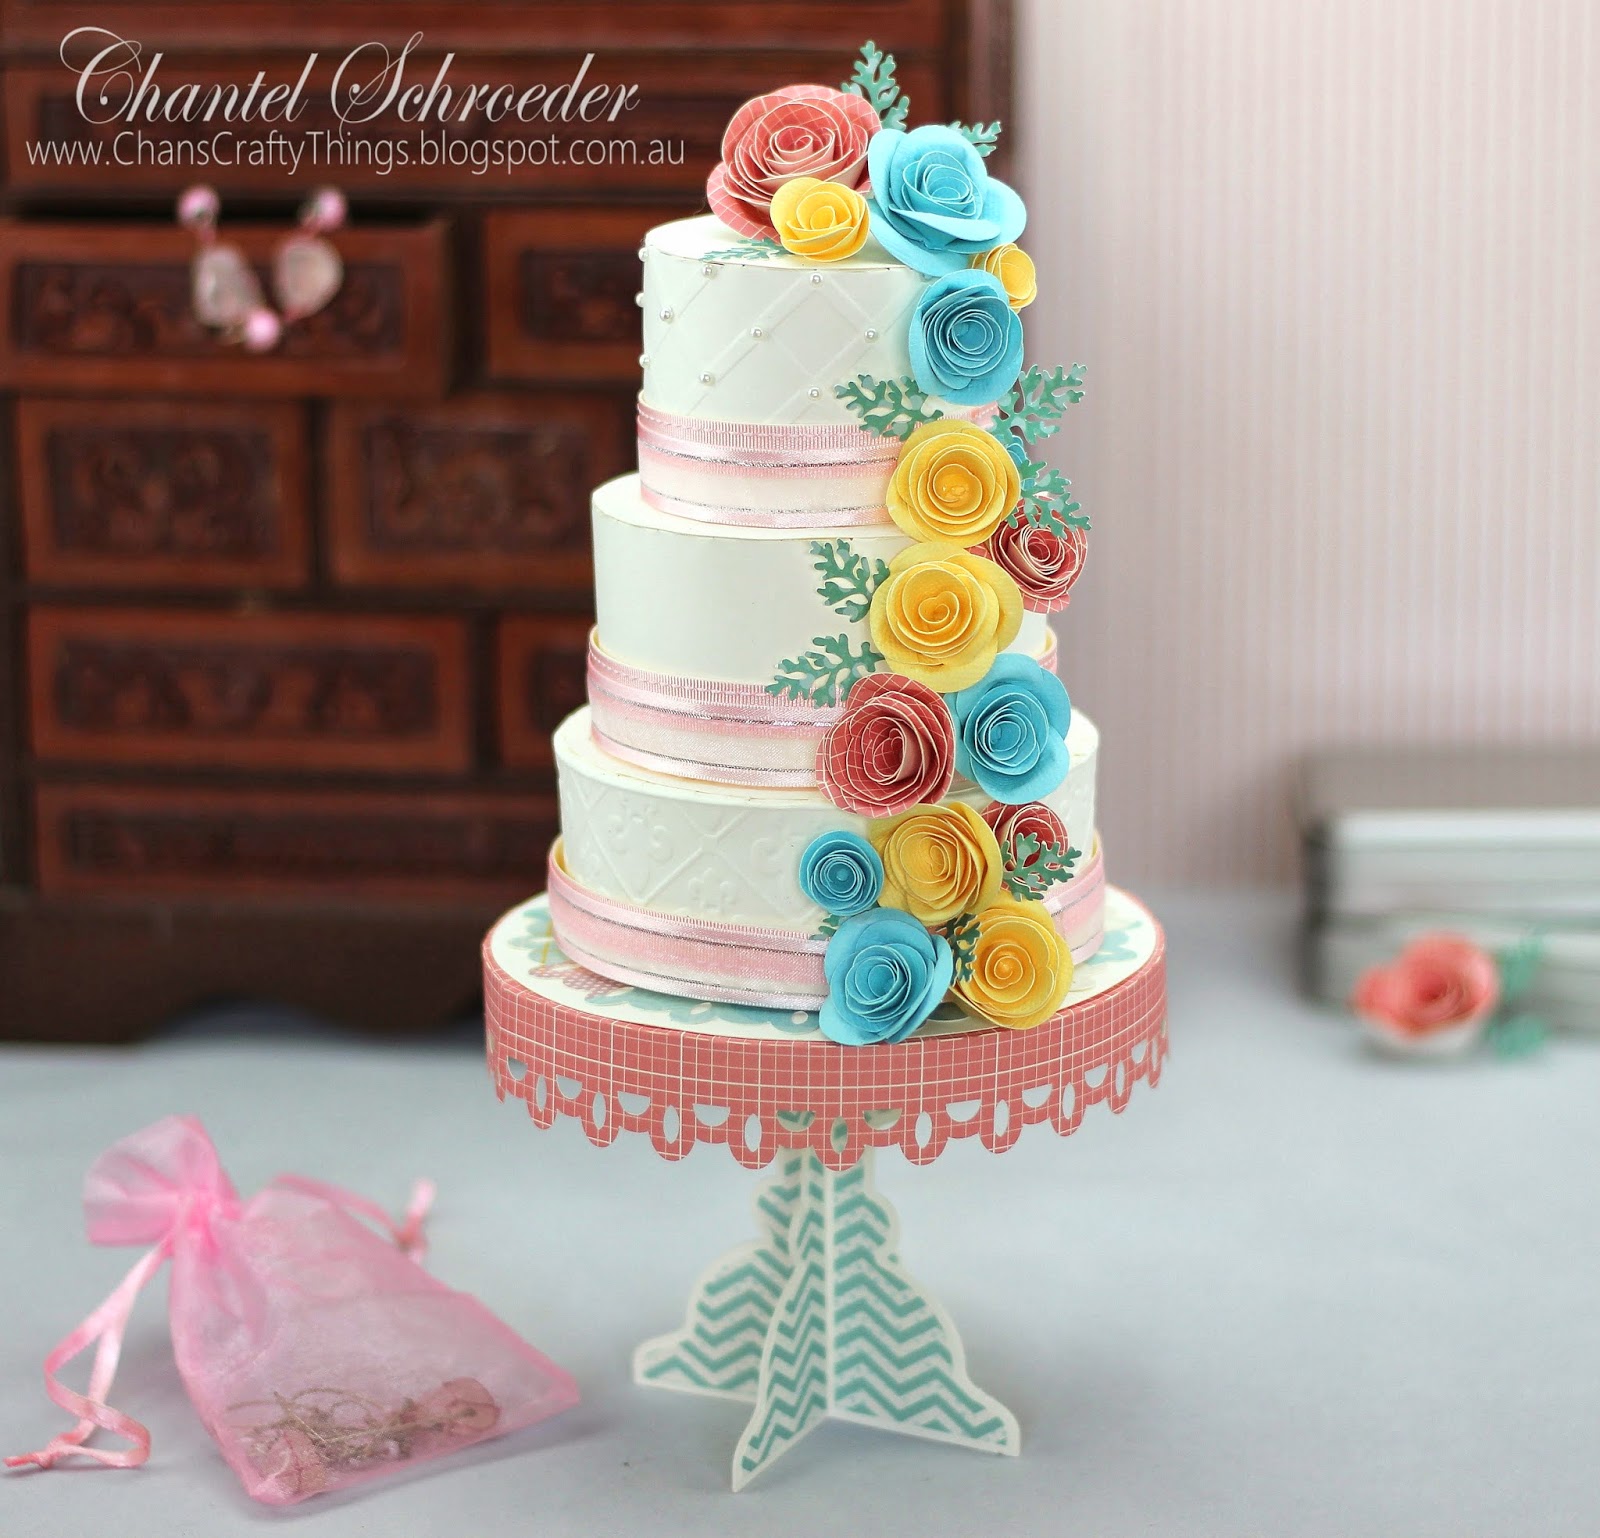
For my project, I used a combination of kits to make a miniature upside down cake box on a stand with a matching card.  You can find complete instructions on how to make this project here on the SVGCuts blog.


For the stand, I used the pedestal file from the Happy Birthday to You SVG kit.  The round box files that form the cake is from the Poplar Street Tulips SVG kit. I sized them down quite a bit so that the cake would fit on the stand.   


All the boxes were assembled as usual after I ran the side panels through my embossing folder.  I then adhered the three boxes upside down on top of each other so that the lids become the "ribbon" around each of the cake tiers.  I then decorated it with ribbon and roses from the Crush on You Boxes SVG kit.


As the cake is made up out of three separate boxes, each can be used to store small items such as jewelry.


The card file is from the Breezy Backyard Lever Cards SVG kit however, I decided to embellish it with some leftover roses I made for the cake, along with a few cut-outs from the DCWV Sunday Afternoon paper stack I used for the rest of the project.  


I'm really pleased with how this project turned out.  If you would like more details, please stop by the SVGCuts blog and remember to share photo's if you decide to make one yourself.  

Thanks for stopping by!


Image Hosted by ImageShack.us

Sunday, 26 January 2014

Valentine's Box with Heart Cut-outs and Rolled Roses

Hi everyone,

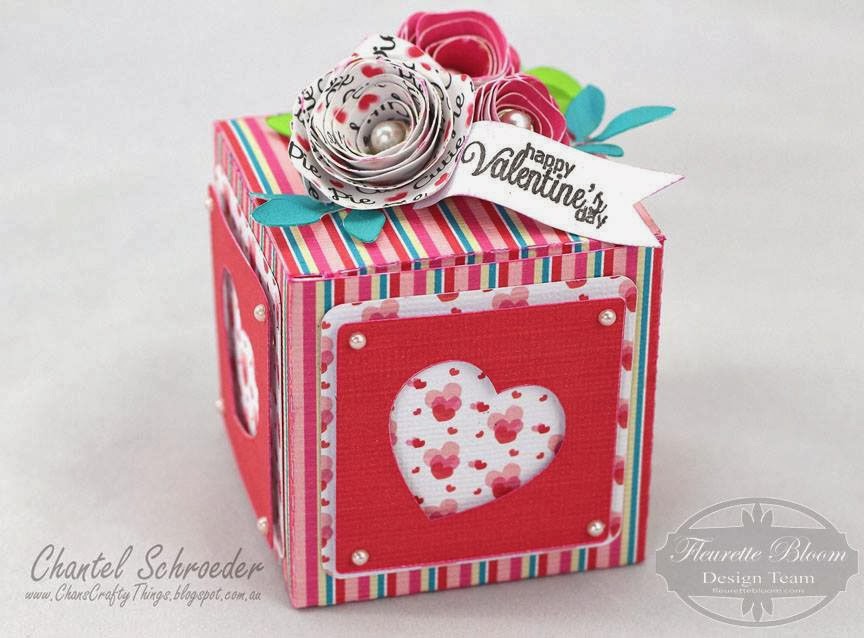
How cute is the new digital paper from Fleurette Bloom?  As soon as I saw it, I simply had to make something with it immediately! The collection is called Hearts a Flutter and you can get it here.   
The box cut file is from the Holly Days Boxes and Cards Kit / Collection.  I simply replaced the holly with a heart shaped cut-out from the Valentine Be Mine 3DSVG Kit.  The roses are also from Fleurette's shop, you can find them in the new Lush Flowers 3D SVG collection.

I hand-cut the little tag after I stamped the sentiment.  I'm afraid I don't know the name of the stamp set or the company as I bought a bunch of craft supplies from e-bay and the packaging wasn't included.  But the set is so cute - all very small stamps which are so handy for cards and little gifts like this one.
I used the print and cut feature on my Cameo for this project.  All the pieces and panels for the box was made with one piece of white AC cardstock.  The roses and leaves were done on an A4 sheet of cardstock to save paper. I just love how economical this method is!  You only print and cut what you need and you an use the digital paper over and over again... 

Hope you like my little gift box and that I have inspired you to make something cute for the Valentine in your life!  

Thanks for stopping by!
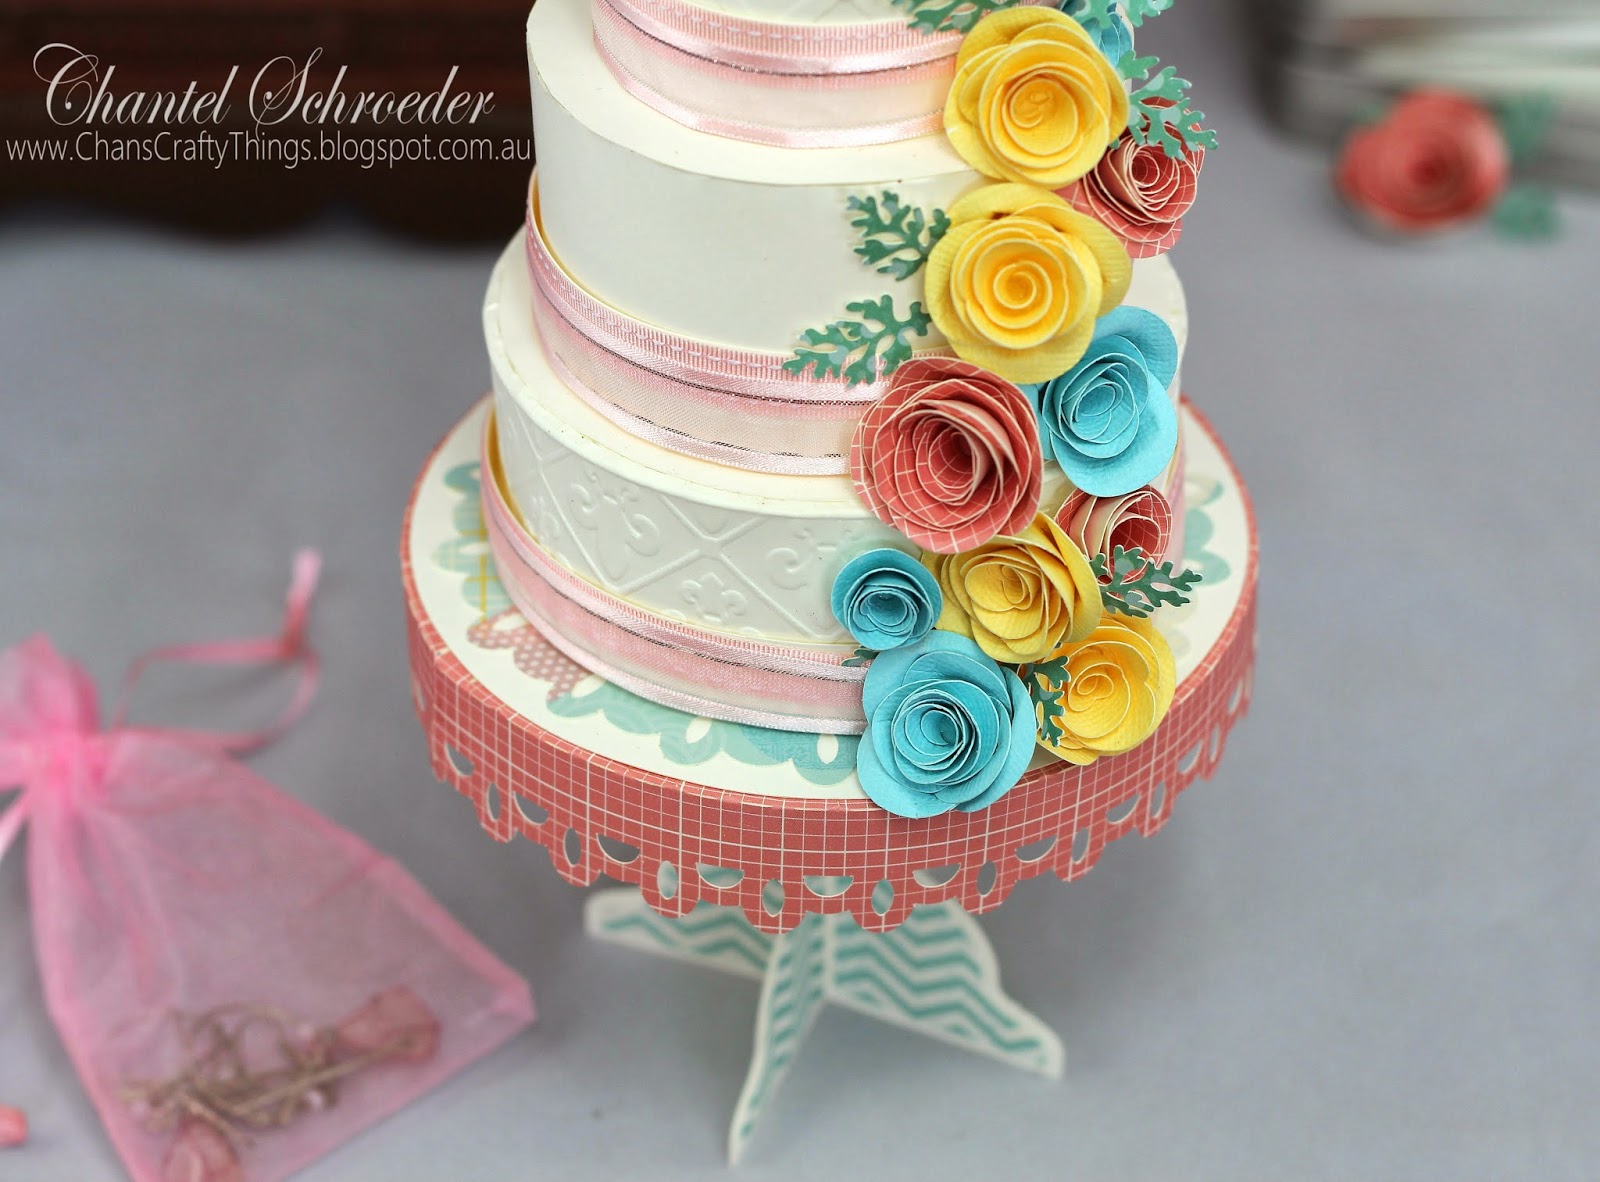

Image Hosted by ImageShack.us


Sunday, 1 September 2013

Birthday Roses

I finally got a chance to do a bit of crafting this weekend (yippee!). 

I've wanted to make the urn and roses from the Mom's Garden Gifts Kit from SVGCuts since it was released but just never got around to it.  So as I was going through my cut files in search for a birthday gift this morning, I came across this kit again and just knew that today would be the day!  This is what I came up with...
The paper is from the DCWV Fiesta stack.  My husband picked it out one day (yes, much to his dismay, I drag him into scrapbook stores on occassion) and I fell in love with it instantly!  The papers are all so bright and "happy" with great textures on each page. I really struggled to decide on which papers to use but in the end, I chose one of the very colourful, high gloss pages for the urn.  

The roses and leaves were also cut from the same stack.  Unfortunately the paper is only printed on one side so I inked the white sides and edges so that it would blend in with the coloured sides. 


I added a couple of elements from the stack and also cut a small banner from the For My Valentine Kit.  The "Happy Birthday" text was done with my Silhouette (pen function) before I cut the banner out.

I had so much fun making this and can't wait to give it to the birthday girl tomorrow!
 
Thanks for stopping by!
 

Image Hosted by ImageShack.us