Showing posts with label Flower. Show all posts

Sunday, 29 June 2014

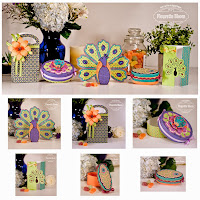
"Beautiful" Tiger Lilly Gift Bag

Hi there,


Wow, it's been ages since my last post... Things have been crazy around here with building a new house an preparing for our first baby all at the same time.


That said, I always seem to make a bit of time for crafting - not always blogging though... But I am happy to finally share this cute little bag I made for my Fleurette Bloom Design team project. 
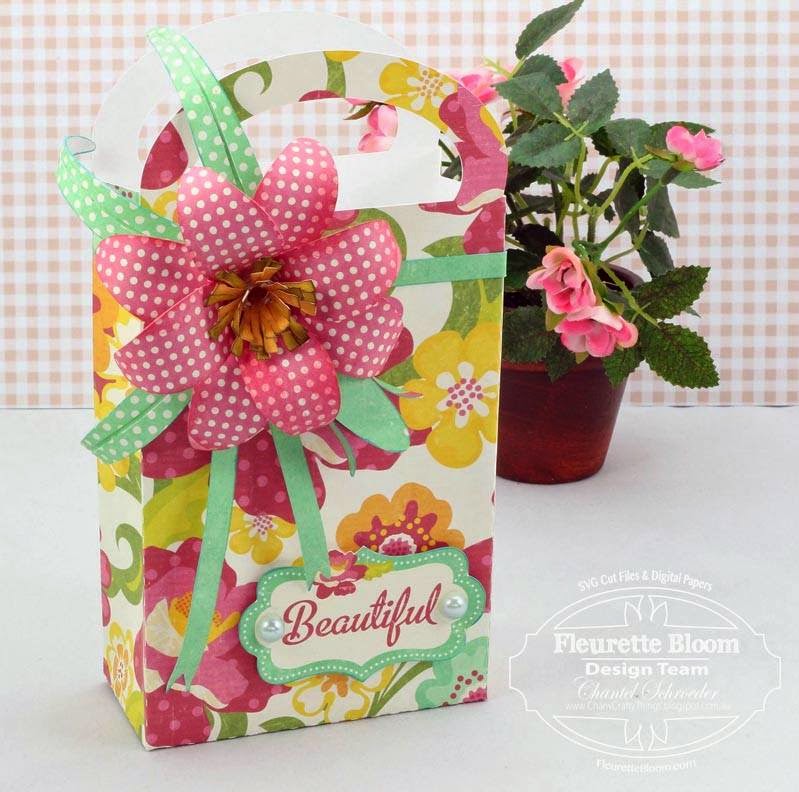


The gift bag cutting file is from the New "Peacock Palace" 3D SVG Kit - with Printables from Fleurette Bloom.  Such a fun bag to work with and I just love the Tiger Lilly embellishment. I wanted the bag to be a bit playful so decided to go with patterned paper for the lilly and leaves - rather than trying to make the flower look more realistic.
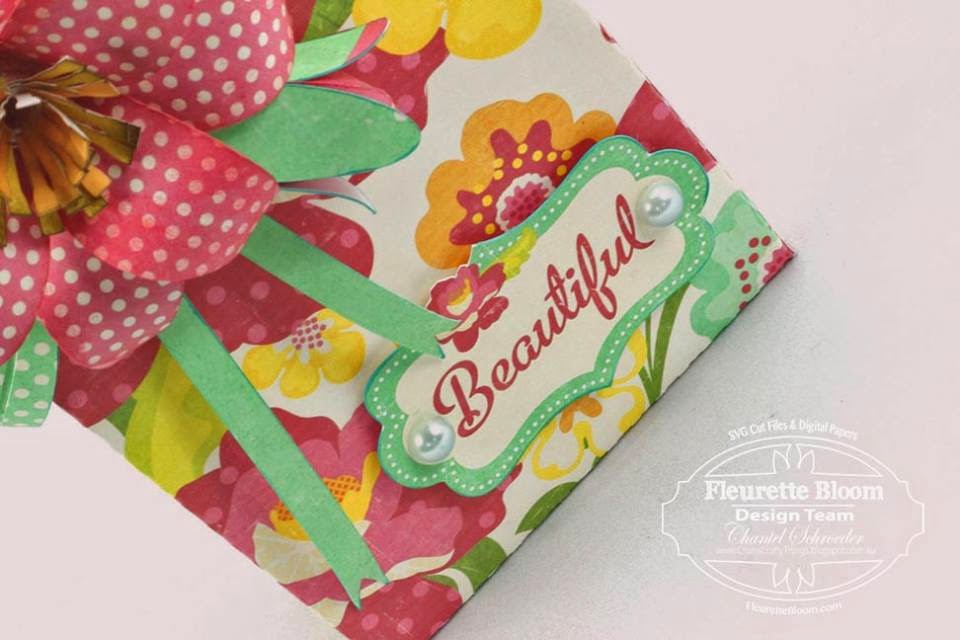


The digital papers are from Lori Whitlock's Maggie collection and so is the "beautiful" sentiment. The whole project was made using the print and cut feature on my Cameo - which as you know, is one of my favourite things to do.   


Another great file by Fleurette Bloom - super quick to put together and the perfect size for any little gift.


Thanks for stopping by!


Image Hosted by ImageShack.us

Sunday, 18 May 2014

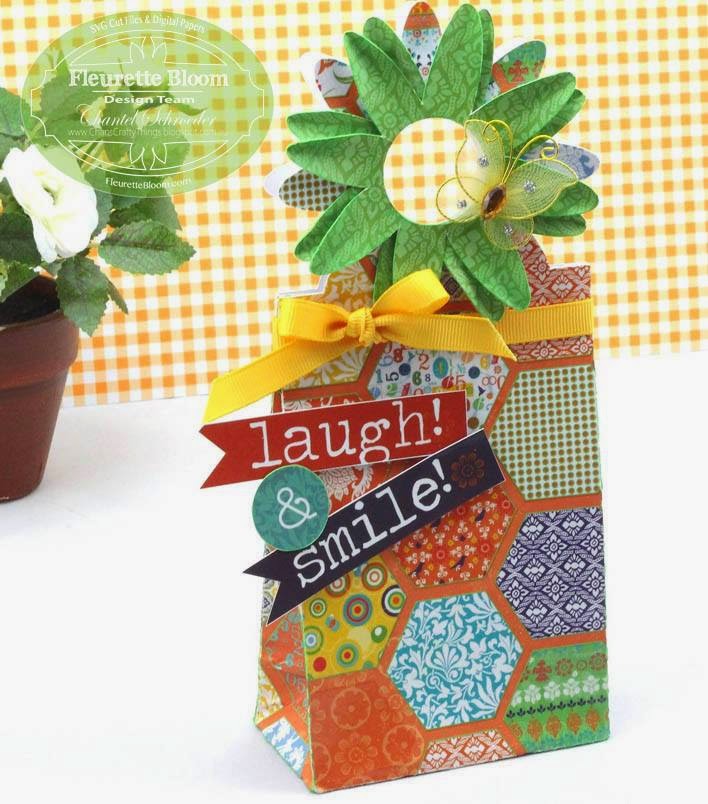
Laugh and Smile Flower Gift Bag

Hi everyone!


I'm excited to finally share this cute little flower gift bag I made from the New "Celebrations" 3D SVG Kit and Printables by Fleurette Bloom.

I cut and assembled the gift bag and then cut a couple of the extra flower elements from the same kit to add on top.  I then embellished with a small butterfly I had in my stash along with some hand cut elements from coordinating paper. I used the Fiesta paper stack by DCWV and just love all the bright colours.  

I finished the bag off with a bright ribbon as the final touch.  Really pleased with how quick and easy this one to put together and can't wait to make some of the other elements in this great new kit from Fleurette!

Thanks for stopping by!


Image Hosted by ImageShack.us

Friday, 4 April 2014

Upside Down Miniature Cake Box - SVGCuts Guest Post!

As you all know, I am a super big fan of SVGCuts and have been for quite a few years! So, you can just imagine how excited I was when I was asked to do a guest post for the SVGCuts blog!!!

I still have to pinch myself as I can't believe that this actually happened to little old me... but apparently it really did!  My guest designer post went up on the blog yesterday and I am so SUPER excited to share it with you today:)

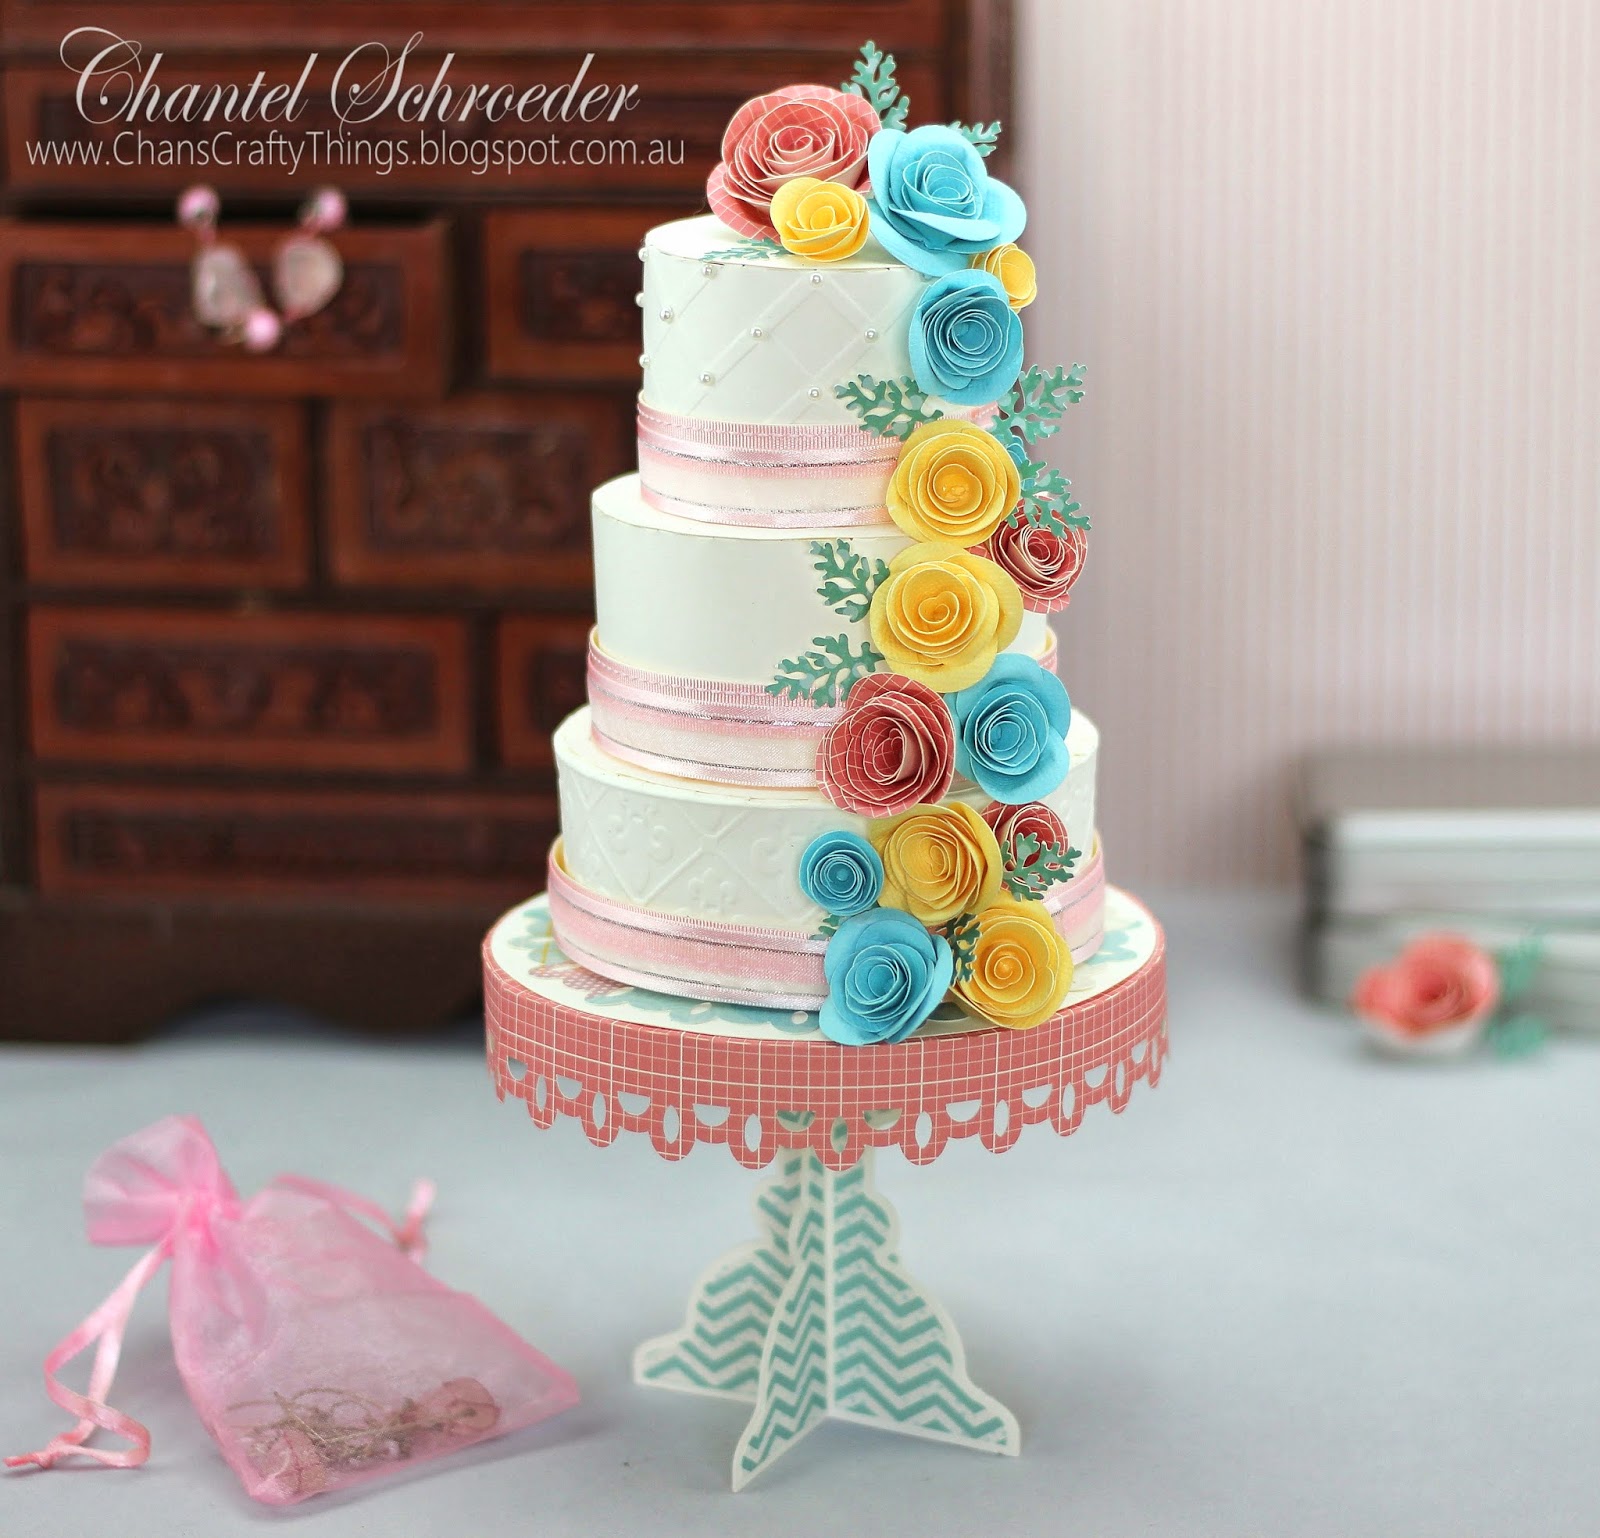
For my project, I used a combination of kits to make a miniature upside down cake box on a stand with a matching card.  You can find complete instructions on how to make this project here on the SVGCuts blog.


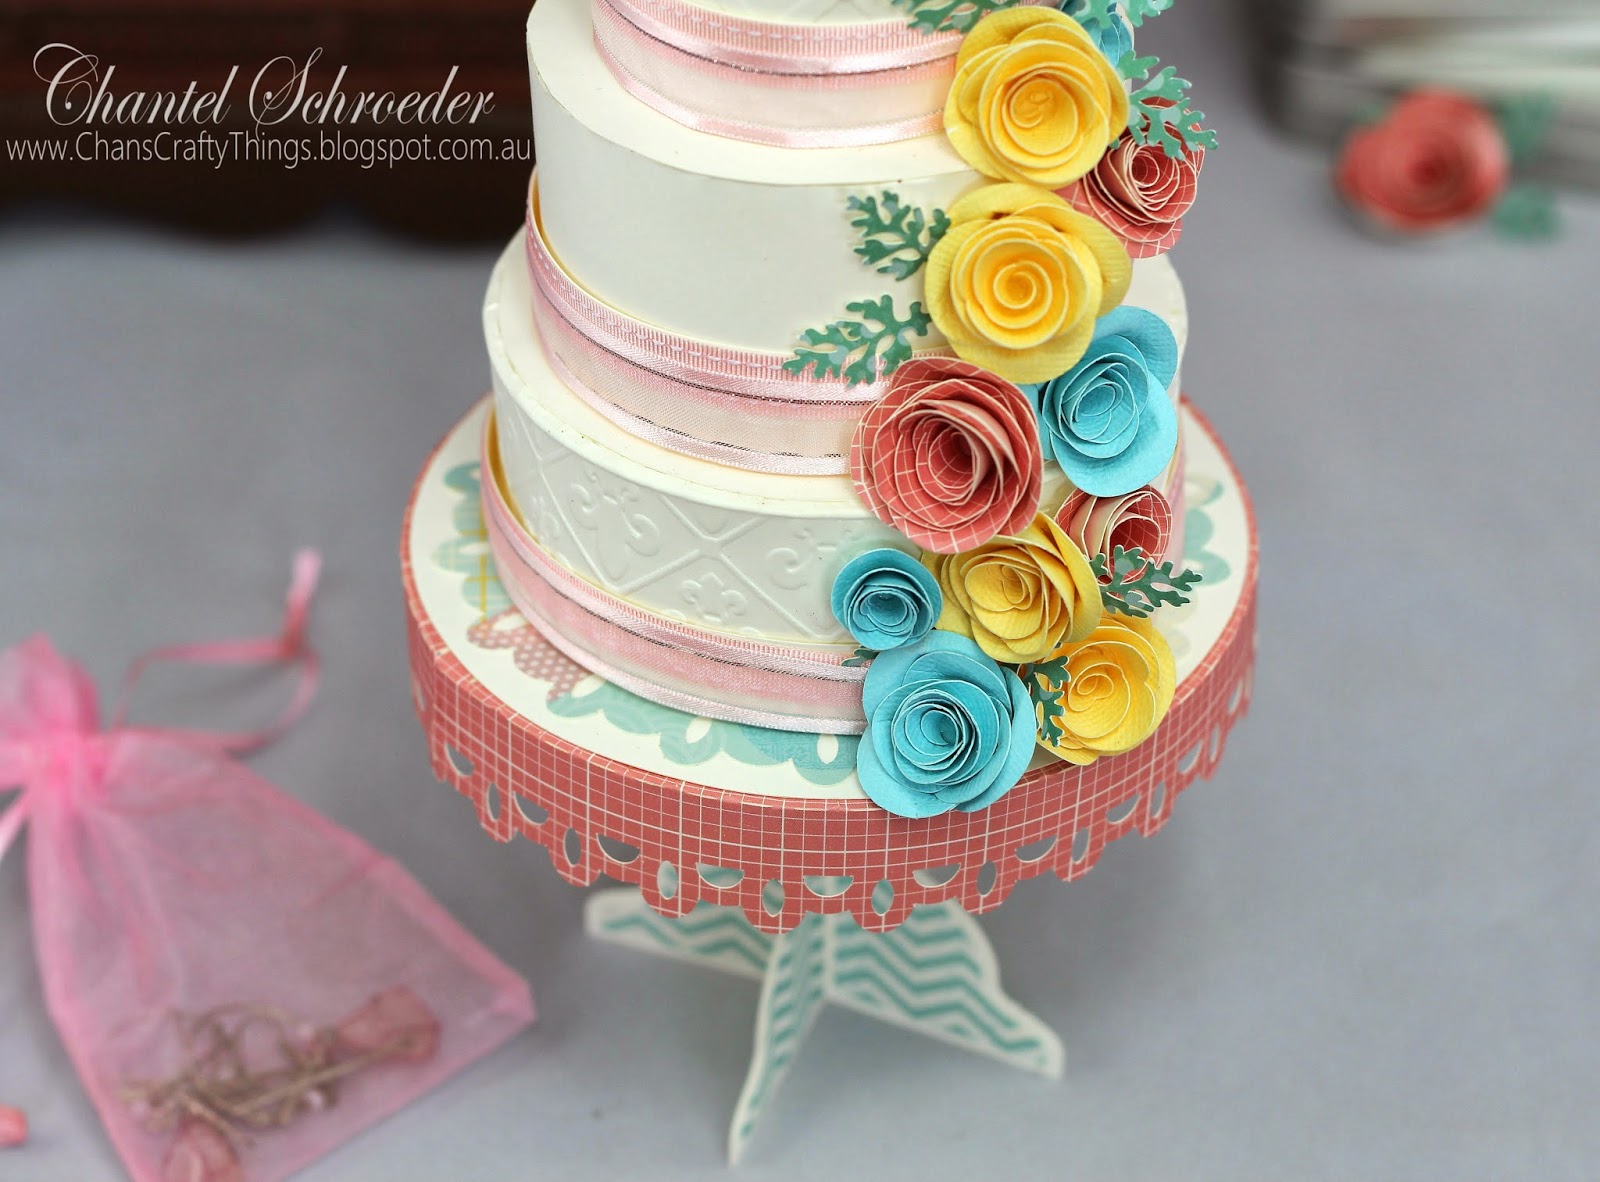
For the stand, I used the pedestal file from the Happy Birthday to You SVG kit.  The round box files that form the cake is from the Poplar Street Tulips SVG kit. I sized them down quite a bit so that the cake would fit on the stand.   


All the boxes were assembled as usual after I ran the side panels through my embossing folder.  I then adhered the three boxes upside down on top of each other so that the lids become the "ribbon" around each of the cake tiers.  I then decorated it with ribbon and roses from the Crush on You Boxes SVG kit.


As the cake is made up out of three separate boxes, each can be used to store small items such as jewelry.


The card file is from the Breezy Backyard Lever Cards SVG kit however, I decided to embellish it with some leftover roses I made for the cake, along with a few cut-outs from the DCWV Sunday Afternoon paper stack I used for the rest of the project.  


I'm really pleased with how this project turned out.  If you would like more details, please stop by the SVGCuts blog and remember to share photo's if you decide to make one yourself.  

Thanks for stopping by!


Image Hosted by ImageShack.us

Saturday, 29 March 2014

Welcome to the Fleurette Bloom-LoveBug Creations Co-Hop

If you've flown over from Tanya's blog then you've joined the parade, but if you've stumbled on this hop and want to begin with the first stop, soar over to Fleurette!

The pairing of LBC's fantastic rumple ribbon and other trimmings with Fleurette Bloom's outstanding SVG's and digital delights is a great way to jazz up your projects - who wants to be ho-hum? 

Not us gals.........so grab your favorite beverage and settle back for some crafting inspiration for just the right touch of class!

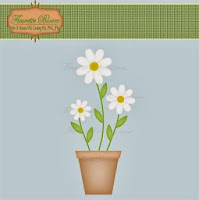
For my hop project, I decided to make this cute little flower pot card.  

The flower pot is from the Pot-O-Daisies SVG Cutting file.  I cut the base of the flower pot a total of four times. I cut two at the normal size and glued the sides and bottom together to make a pocket. I then cut one a bit smaller (just so that it would fit into the pocket nicely) for the card itself.  To allow for a space to write a note, I added a fourth cut in plain white to the card.  Here's a screenshot of all the pieces I cut for the pot and card base.

I then cut out a whole bunch of the flowers from the Bohemian Flower Element Collection in a bunch of different colours and assembled some on the pot base and some directly onto the top of the card.  
To decorate my flower pot, I used the Sunset Rumple Ribbon from the Island Breeze collection to  make a bow and finished it off with some Beautiful Blooms from LoveBug Creations.

I do hope you like my project... I am quite pleased with how it turned out - so bright and cheerful...:)

Now, how about some blog candy??

Fleurette Bloom is offering a $10 gift certificate to her ONLINE STORE
AND
LoveBug Creations is offering a $10 gift certificate to their ONLINE STORE
 

So what do you have to do to be in the running???
1.  Become a follower of each crafter (if you're not already)
2. Leave a love note at each blog spot with your contact info
3. For extra chances to win like our Facebook Pages and leave a comment at Fleurette Bloom Designs and LoveBug Creations.
4. Check back on Wednesday for the announcement of the winners!

The Co-Hop Line up:
1. Fleurette: http://fleurettebloom.blogspot.com
2. Kimi & Pamela: http://lovebugcreations3.blogspot.com
3. Stephanie: http://www.stephanie-eaken.blogspot.com/
4: Dawn Mercedes: http://dawnmercedes.blogspot.com/
5: Connie: http://conniecancrop.blogspot.com/
6: Kristin: http://papercreationsbykristin.blogspot.com/
7: Katie: http://www.craftykhandy.blogspot.com/
8: Ilda: http://www.ilovedoingallthingscrafty.com/
9: Tanya: http://scrappinkymomma.blogspot.com/
10: Chantel: http://chanscraftythings.blogspot.com.au/
11: Christine: http://www.scarletcalliope.com/
12: Kathy: http://kathyand3kids.blogspot.com/ 
13: Cheryl: http://dragonflydesigns58.blogspot.com/

For your next touch of class, please visit Christine!

Thanks for stopping by!


Image Hosted by ImageShack.us

Saturday, 14 September 2013

Everyday Thank You

Today I'm sharing a quick thank you card I made from the Everyday Cards kit from SVGCuts.

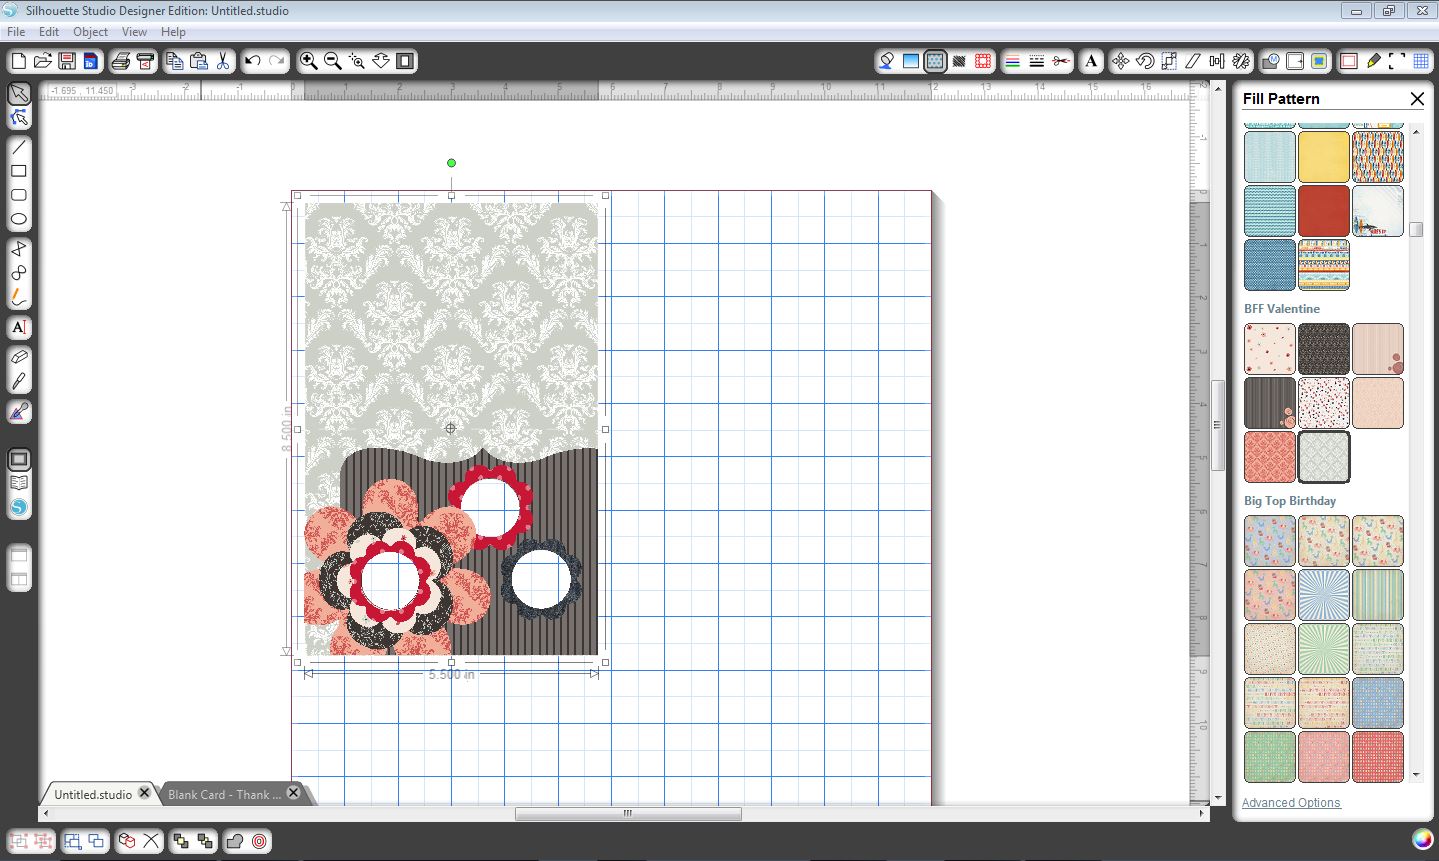
I looked through my stash of paper and just couldn't find what I was looking for.  So I decided to use digital paper and do the whole thing in print and cut. The digital paper is from My Time Made Easy - BFF Valentine.


I love doing cards with print and cut as you can play around with all the different patterns in the Silhouette Studio DE software and lay out the card with all the elements to get an idea of what it will look like once assembled.


Once I was happy with the final look, I moved all of the elements around the cutting mat (ensuring they didn't overlap) and then set my cut lines.

 
That done, I was ready to send my project to the printer and cut all the pieces out in one go with my Silhouette Cameo.
 
Once the card was assembled, I added a few buttons and some red string to finish it off nicely. 
 
In hindsight, I should have taken a few minutes to ink the edges of the flowers to cover the white background.  I usually do - but I was in such a hurry that I totally forgot and only realised after I had glued everything down.  That said, it was supposed to be a quick card...
 

The best part about this project is that I was able to cut the card and all the elements out of one sheet of white cardstock!

Thanks for stopping by!


Image Hosted by ImageShack.us


Sunday, 28 July 2013

A quick Happy Birthday...

Today I'm just sharing a quick birthday card I made for a lady at work.
The file is from the Five Minute Cards kit and the paper is Harvest Spice from Shabby Princess. 

It was my first time using the print and cut feature on my Cameo and I couldn't believe how quick and easy it was. I simply imported the svg's into Silhouette Studio SD and then filled each piece with the pattern I wanted.  I then added some faux stitching and Happy birthday text in white.
I love that I was able to print it all out and cut every piece for this card in one go. Assembly was super quick - I simply adhered the first layer, added some dimensional dots to the second layer, a few brads and... viola!  All done in no time!
 
Thanks for stopping by!
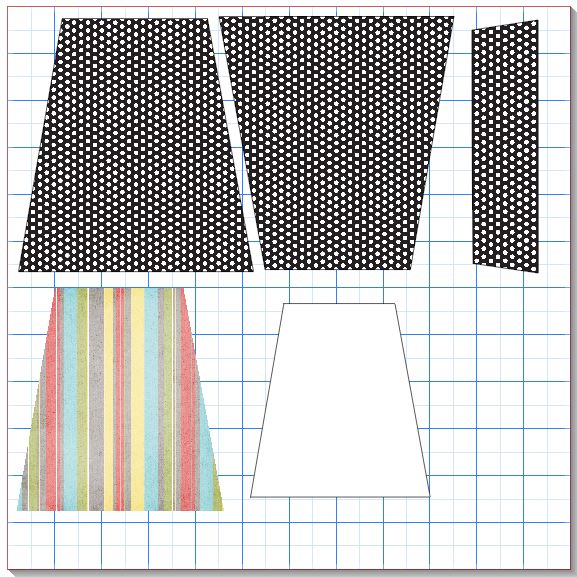
 

Image Hosted by ImageShack.us
 

Saturday, 13 July 2013

Lollipop Garden

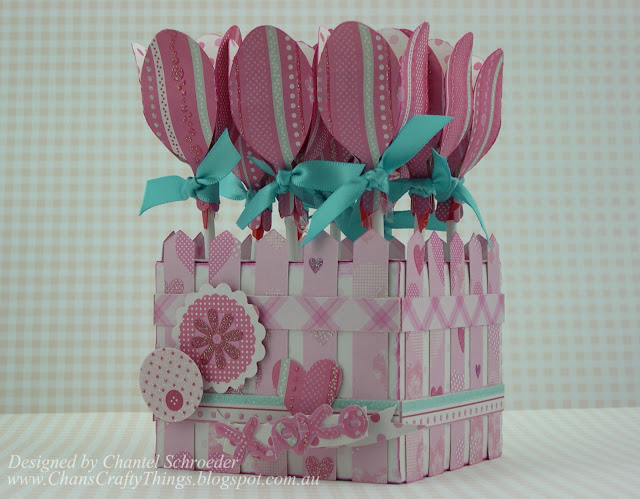
I made this little lollipop garden from the For My Valentine SVGCuts kit.  It was such a fun project! 

The paper is from Upikit (never heard of them until I saw it at my local scrapbook shop) - but isn't it pretty?

The little heart embellishment and the xoxo is part of the SVGCuts kit and I cut them out with my Silhouette Cameo.  The others elements were just punched out of the paper (1" circle and scallop).  What I love about the "garden" is that the "flowers" stand in place using florist foam, hidden inside the little garden box. 

I think something like this will be so cute on the snack table at a birthday party, or even a baby shower?
 
Although right now it's still sitting on the shelf in my craft room.  I think I'll need to start eating the Chupa Chups before they get old...
 
Thanks for stopping by!
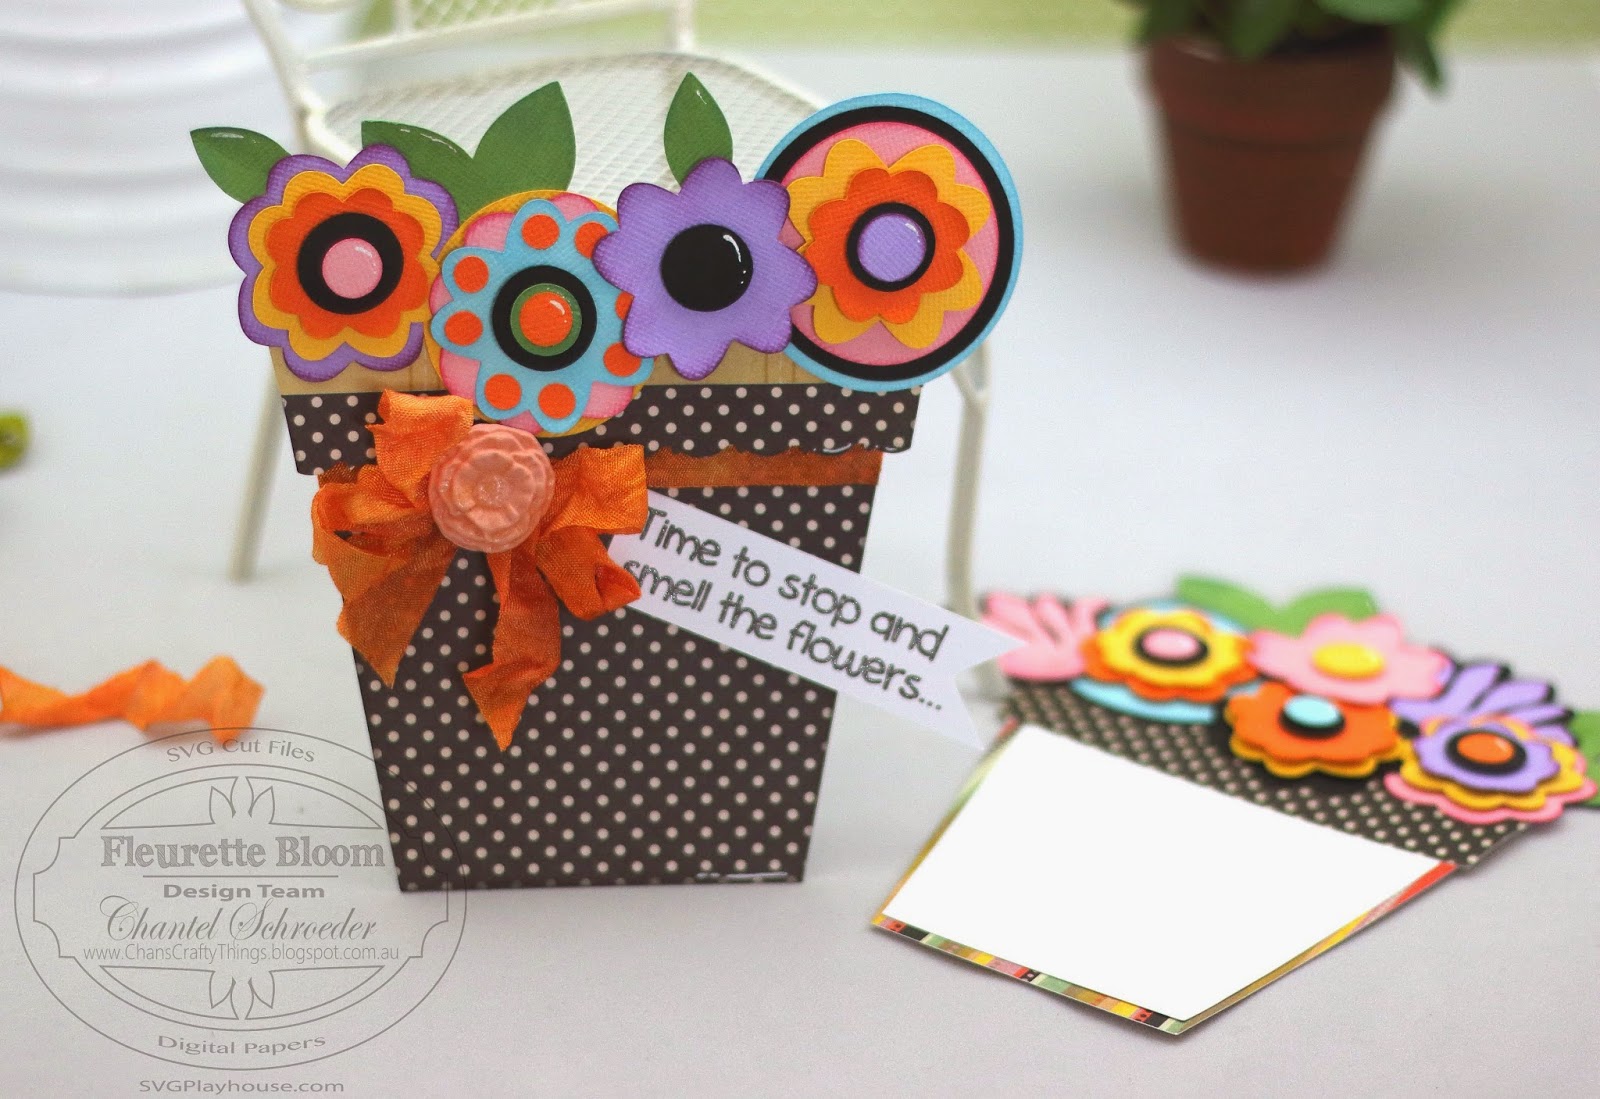
 

Image Hosted by ImageShack.us