Showing posts with label Gift Bag. Show all posts

Sunday, 29 June 2014

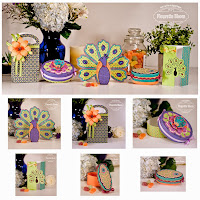
"Beautiful" Tiger Lilly Gift Bag

Hi there,


Wow, it's been ages since my last post... Things have been crazy around here with building a new house an preparing for our first baby all at the same time.


That said, I always seem to make a bit of time for crafting - not always blogging though... But I am happy to finally share this cute little bag I made for my Fleurette Bloom Design team project. 
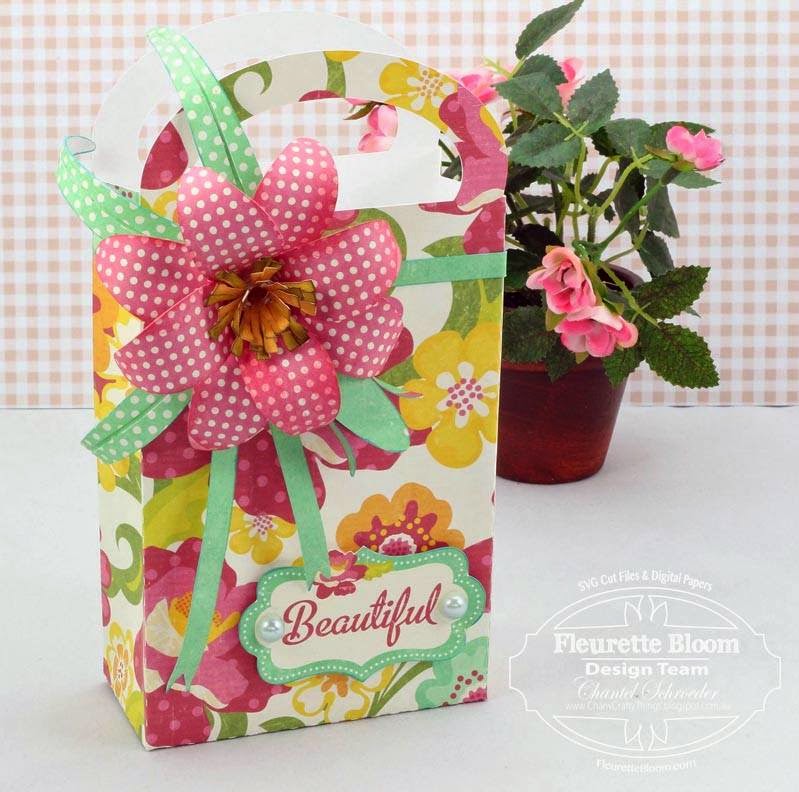


The gift bag cutting file is from the New "Peacock Palace" 3D SVG Kit - with Printables from Fleurette Bloom.  Such a fun bag to work with and I just love the Tiger Lilly embellishment. I wanted the bag to be a bit playful so decided to go with patterned paper for the lilly and leaves - rather than trying to make the flower look more realistic.
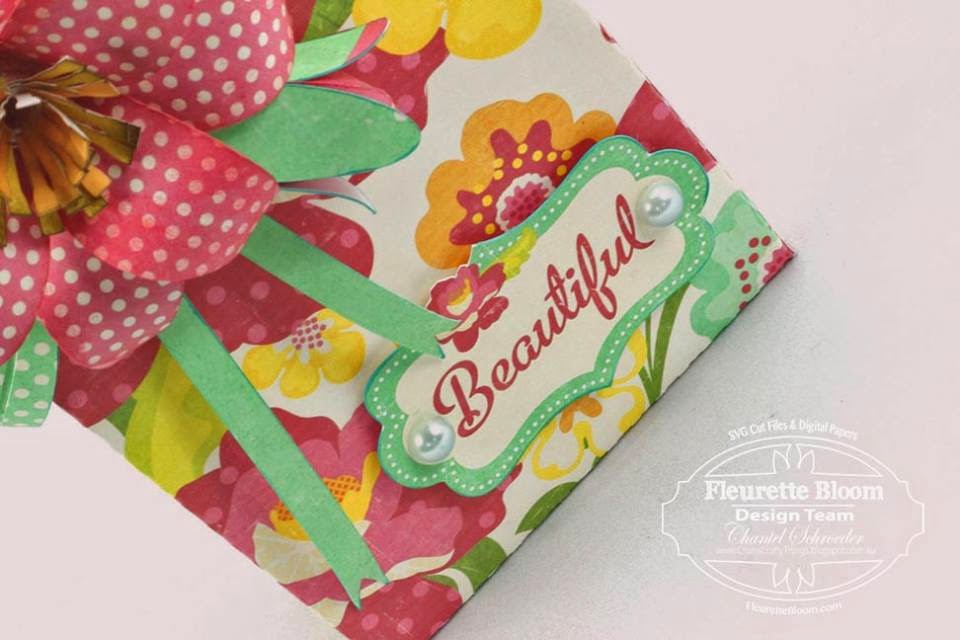


The digital papers are from Lori Whitlock's Maggie collection and so is the "beautiful" sentiment. The whole project was made using the print and cut feature on my Cameo - which as you know, is one of my favourite things to do.   


Another great file by Fleurette Bloom - super quick to put together and the perfect size for any little gift.


Thanks for stopping by!


Image Hosted by ImageShack.us

Sunday, 18 May 2014

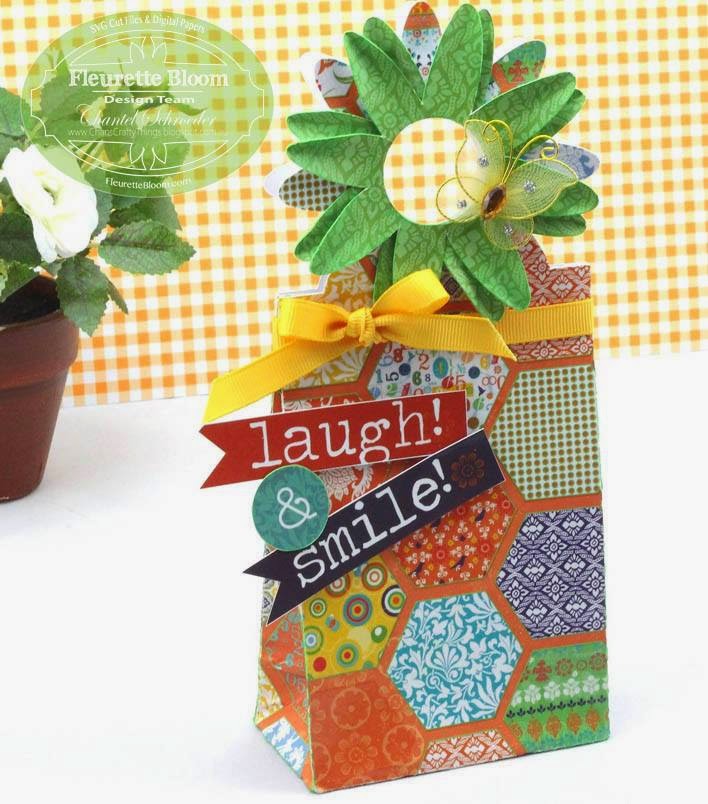
Laugh and Smile Flower Gift Bag

Hi everyone!


I'm excited to finally share this cute little flower gift bag I made from the New "Celebrations" 3D SVG Kit and Printables by Fleurette Bloom.

I cut and assembled the gift bag and then cut a couple of the extra flower elements from the same kit to add on top.  I then embellished with a small butterfly I had in my stash along with some hand cut elements from coordinating paper. I used the Fiesta paper stack by DCWV and just love all the bright colours.  

I finished the bag off with a bright ribbon as the final touch.  Really pleased with how quick and easy this one to put together and can't wait to make some of the other elements in this great new kit from Fleurette!

Thanks for stopping by!


Image Hosted by ImageShack.us

Saturday, 1 February 2014

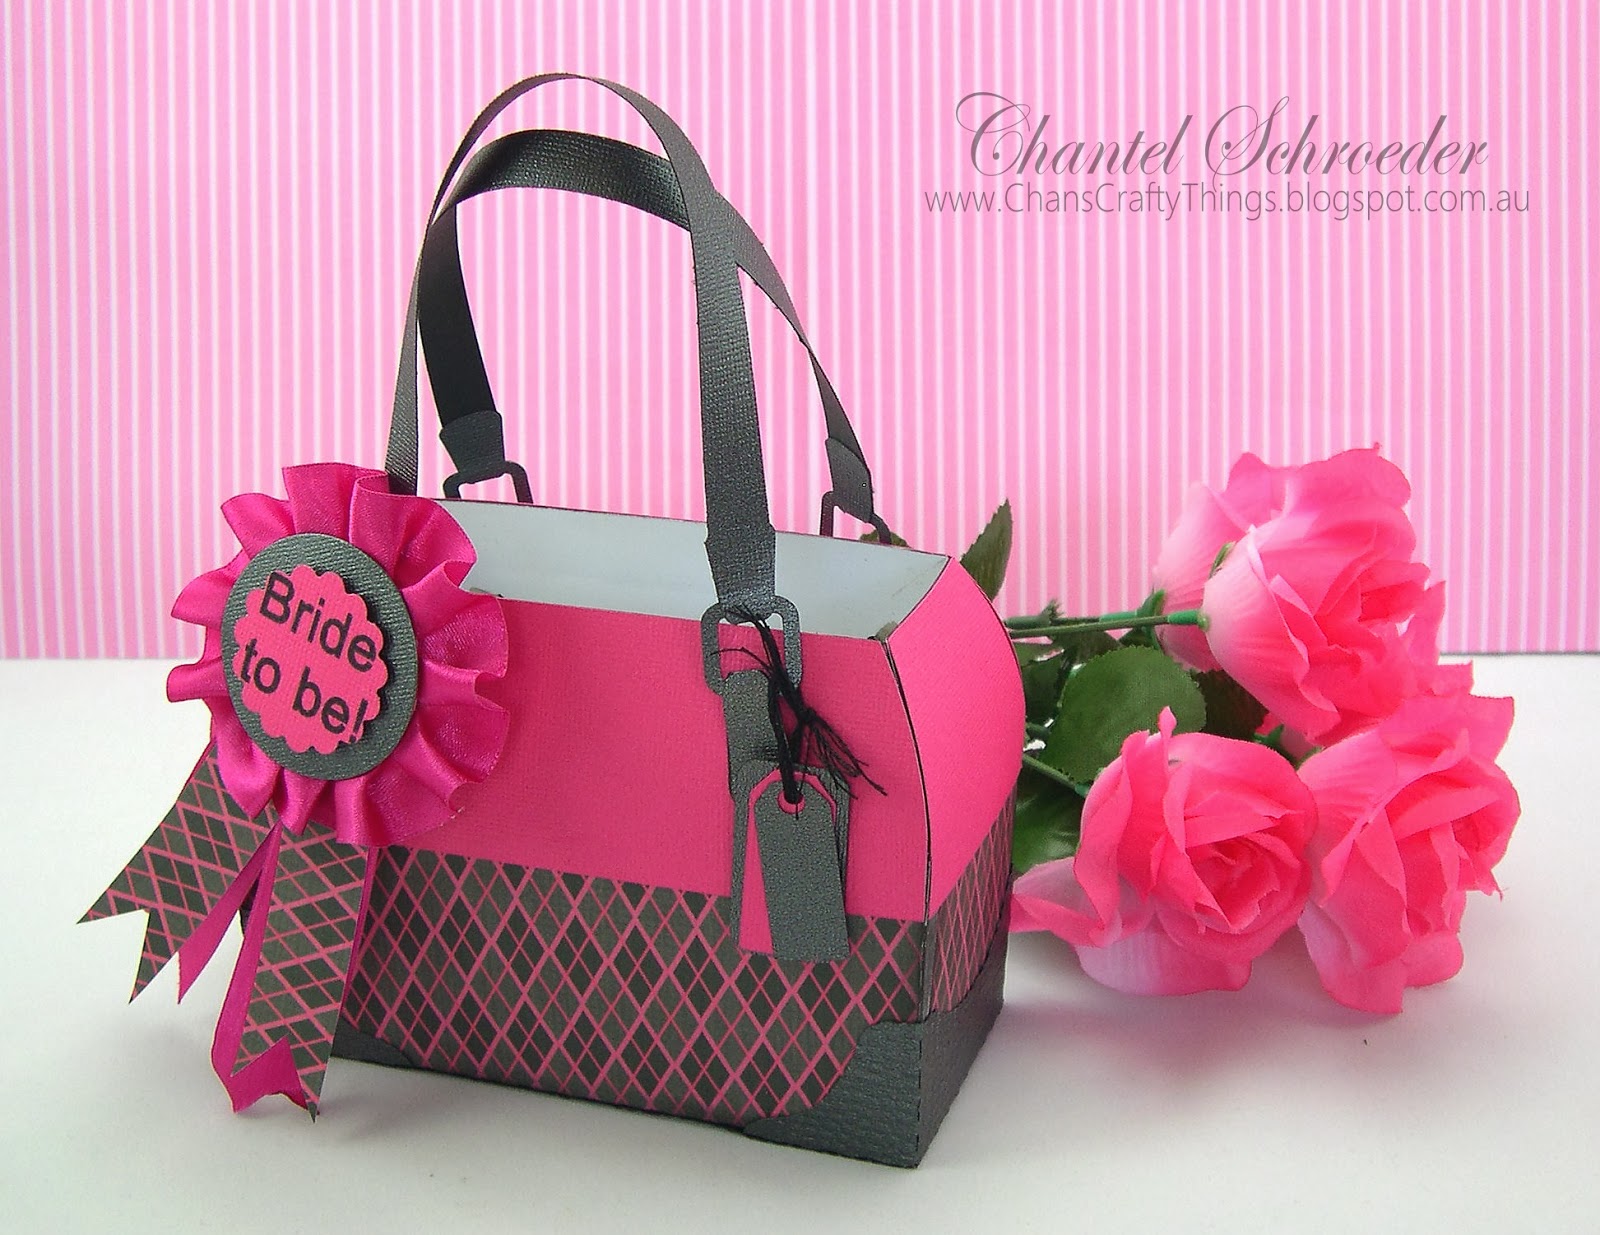
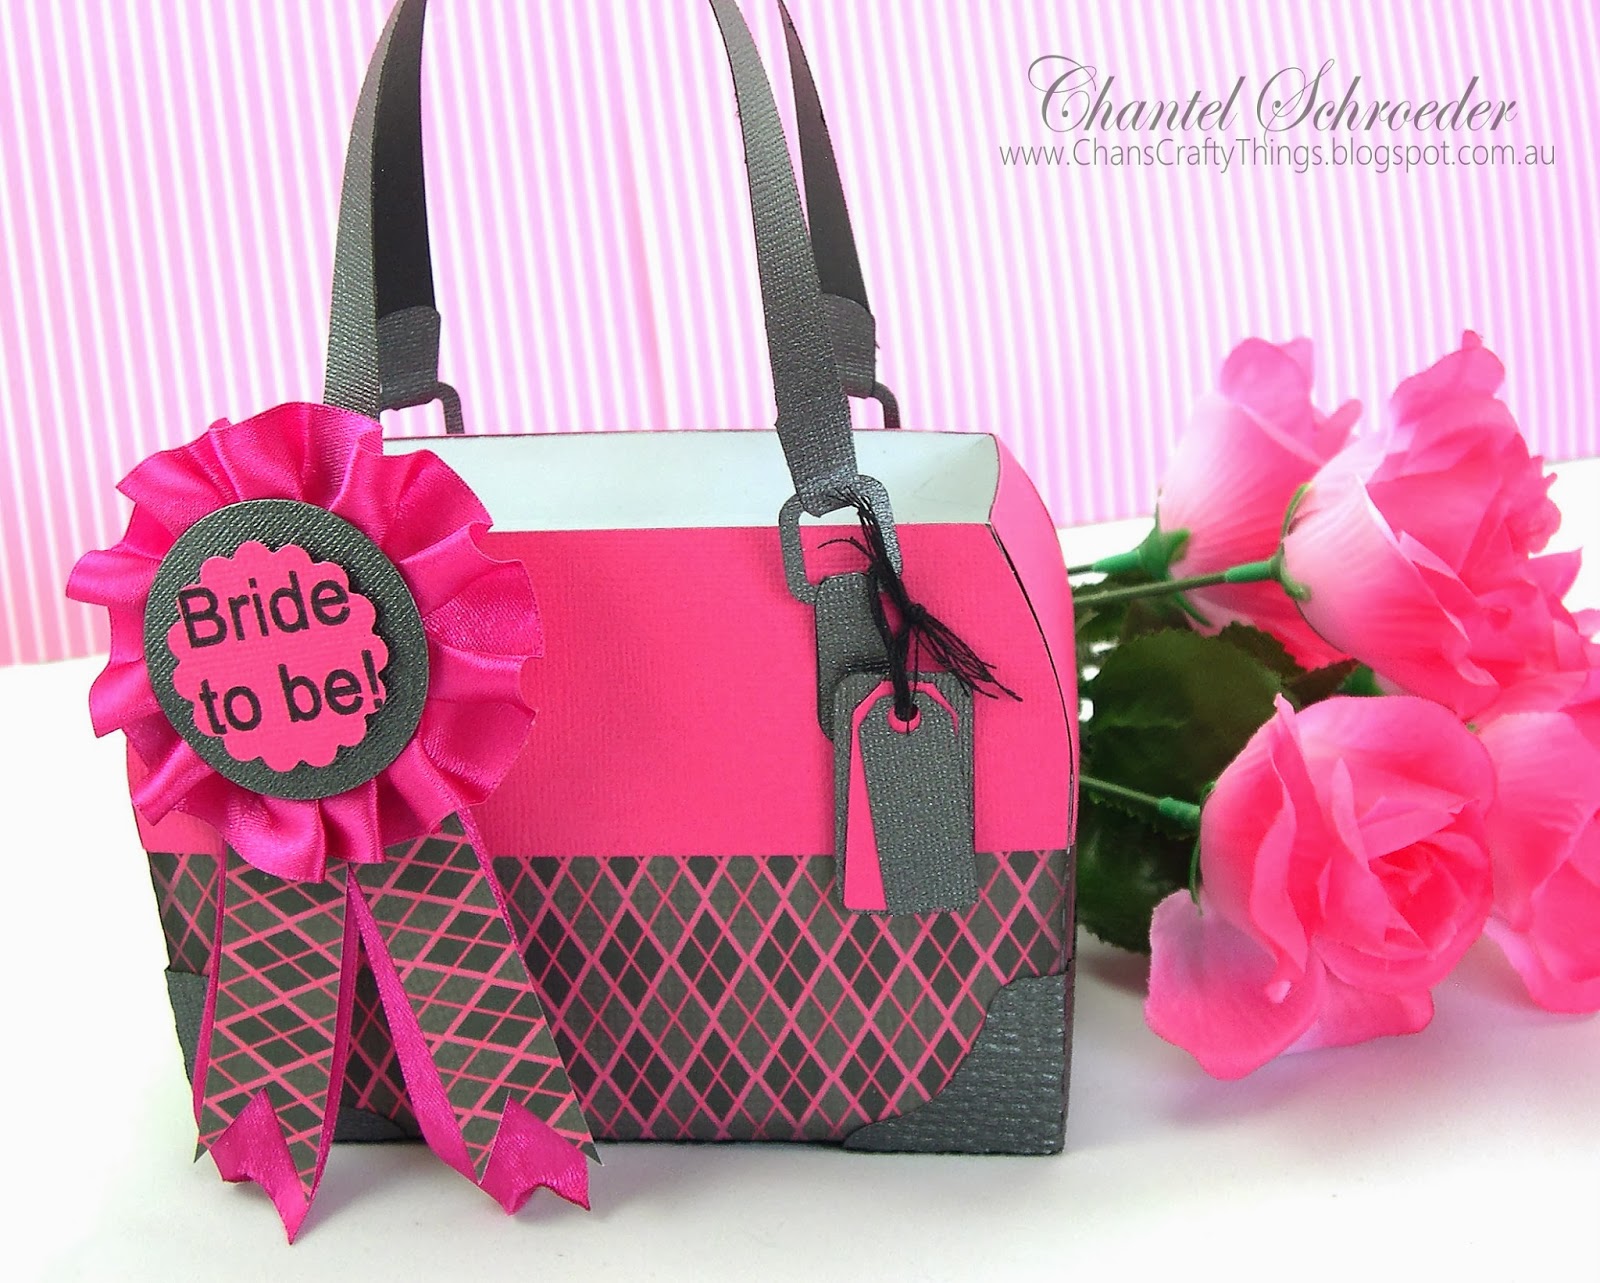
Bride To Be Gift Satchel

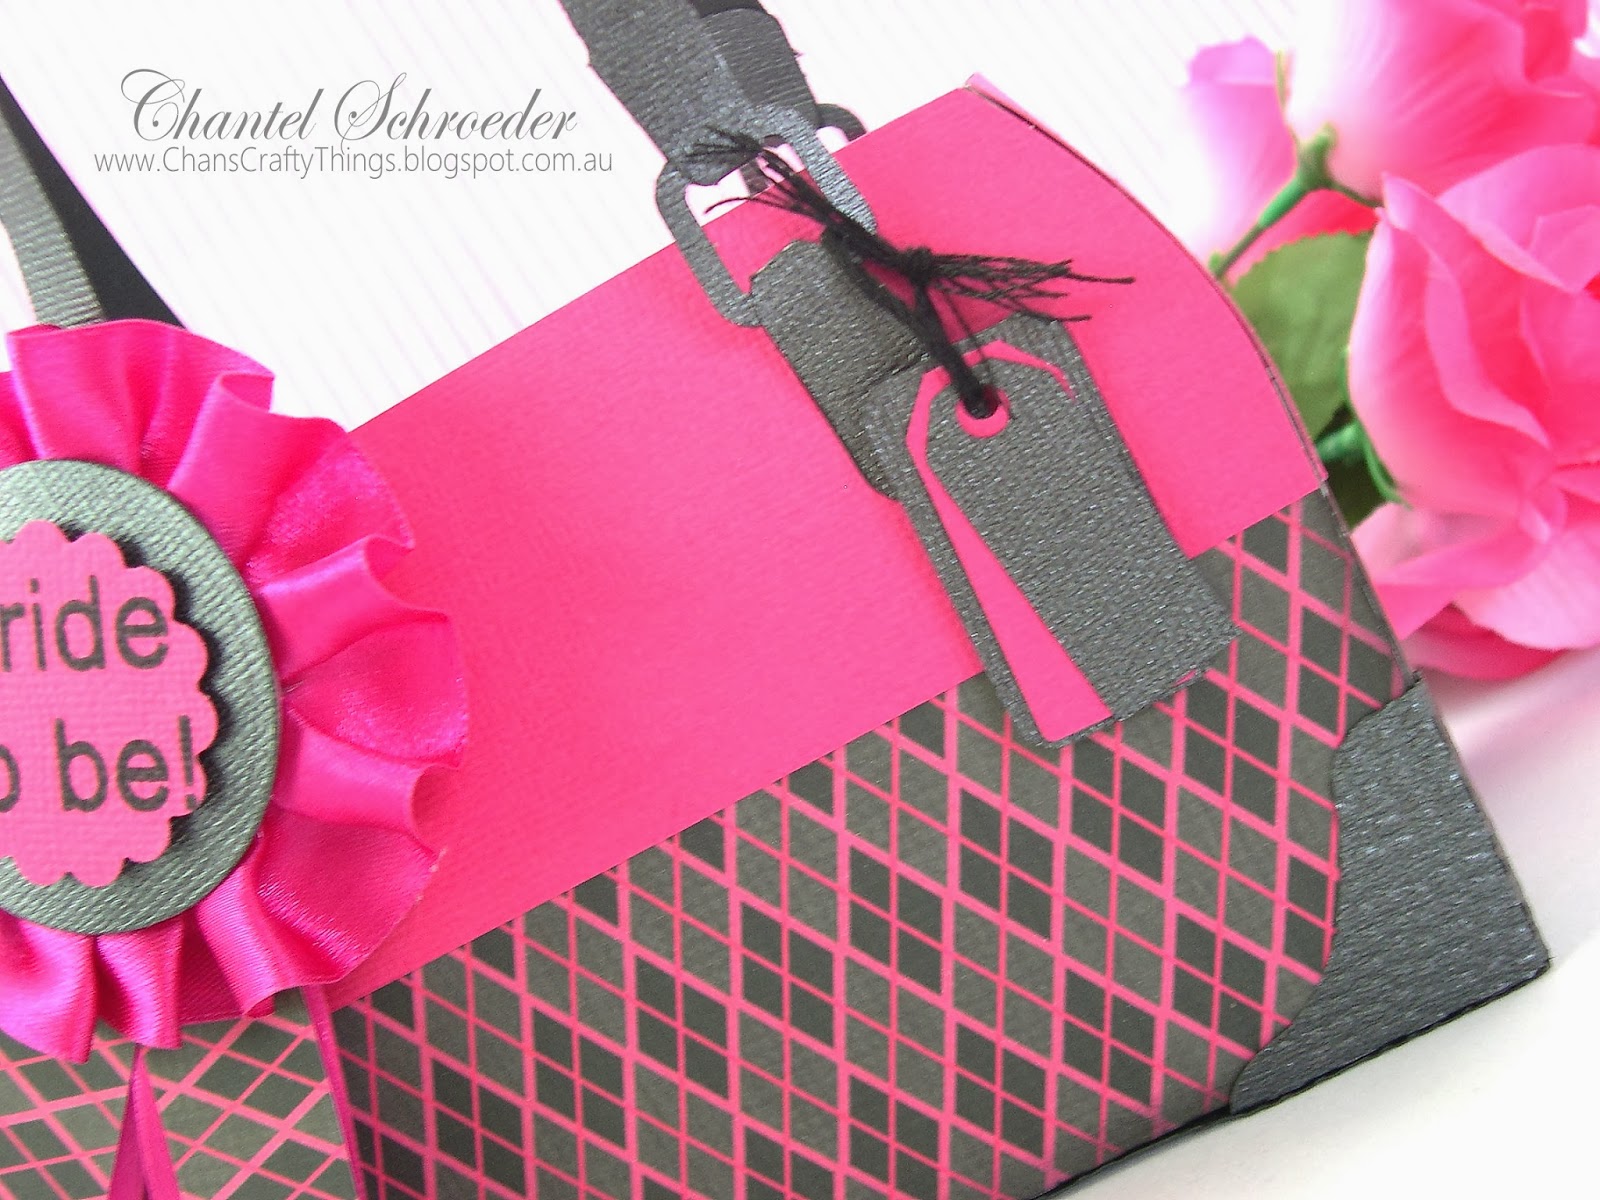
I'm finally sharing a project I made a little while ago for my friend's Hen's night.   I got her a bunch of "fun" gifts to celebrate the occasion (some funny straws, a mug, cards etc.) but I had nothing to put it in.  So I quickly made this little satchel bag from the Luxury Handbags SVGCuts kit.   
My friend's favourite colour is hot pink, so the "Donna" digital paper collection by Sassy Designs was just perfect for the satchel.  These papers are so bright - I absolutely love working with them!


This satchel bag was really quick an easy to put together and I really like how it turned. It really makes a great gift bag as it is quite sturdy so you don't have to be concerned about it falling apart once you've put a gift inside. 
I finished it off with a rosette I made with some left-over paper strips and some hot pink ribbon I had in my stash. 

My friend really liked her little pink bag - not to mention all the fun goodies I put inside it for her...:)

Thanks for stopping by!
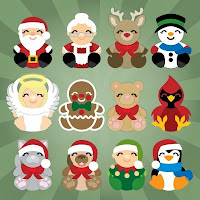

Image Hosted by ImageShack.us

Monday, 30 December 2013

Christmas Cuddly Friend Treat Bags

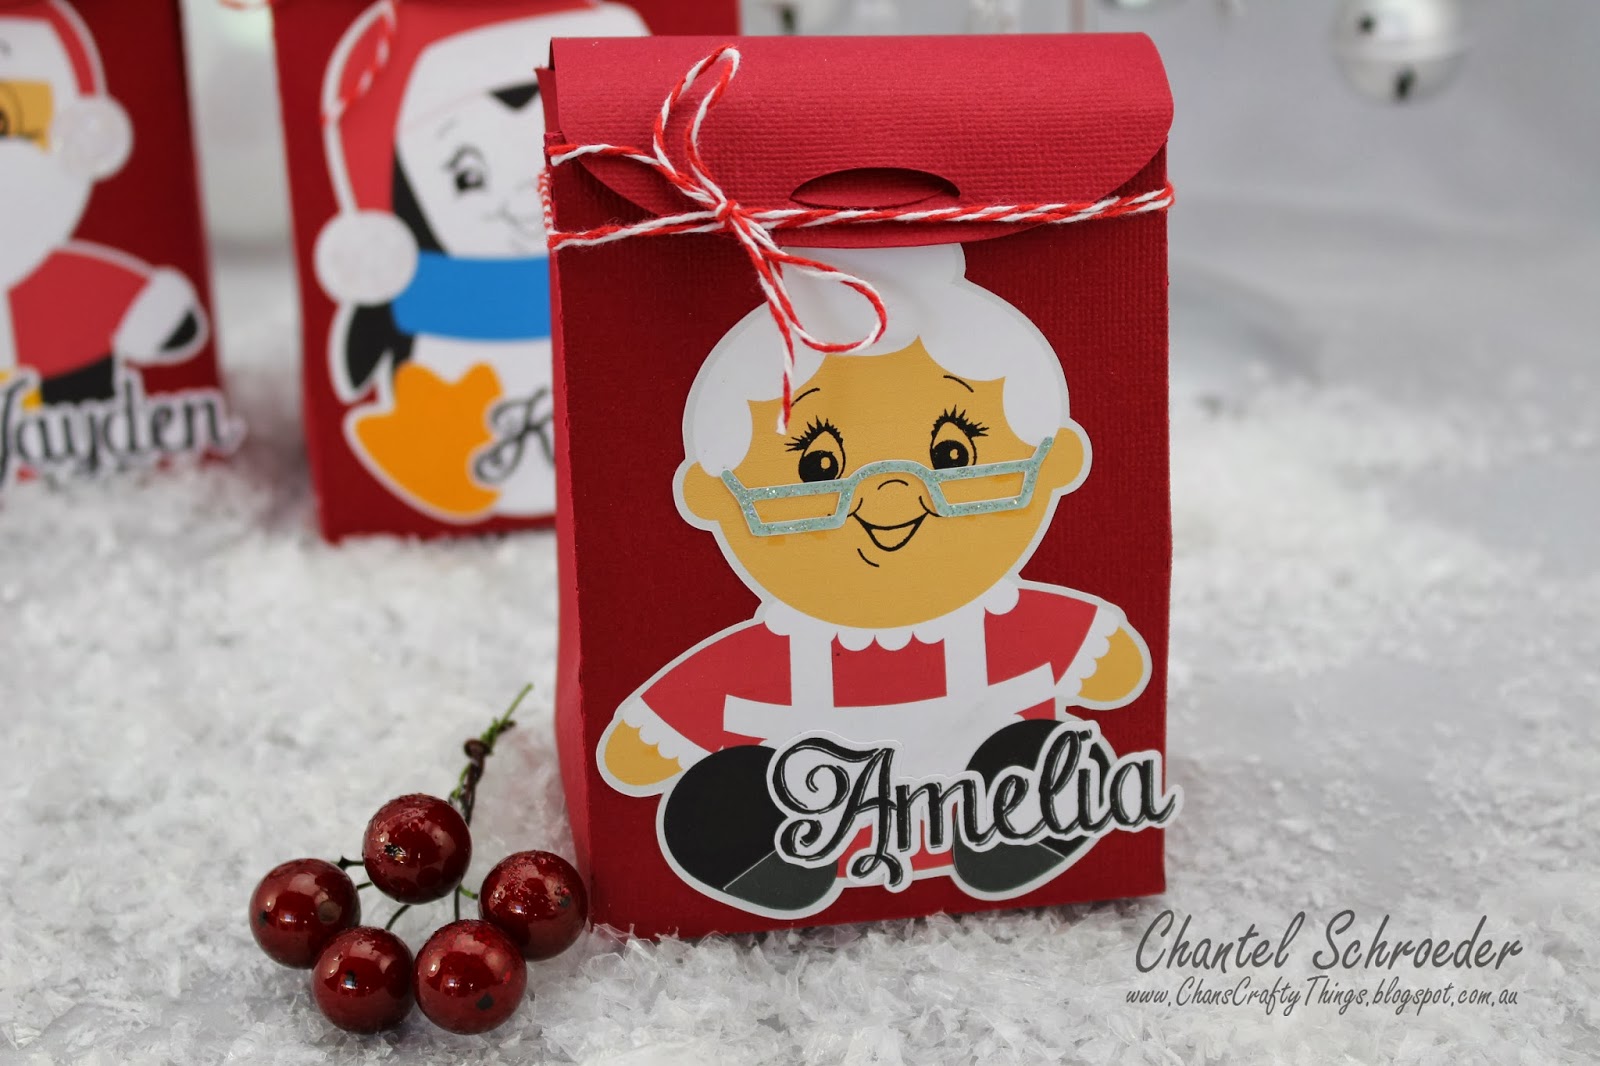
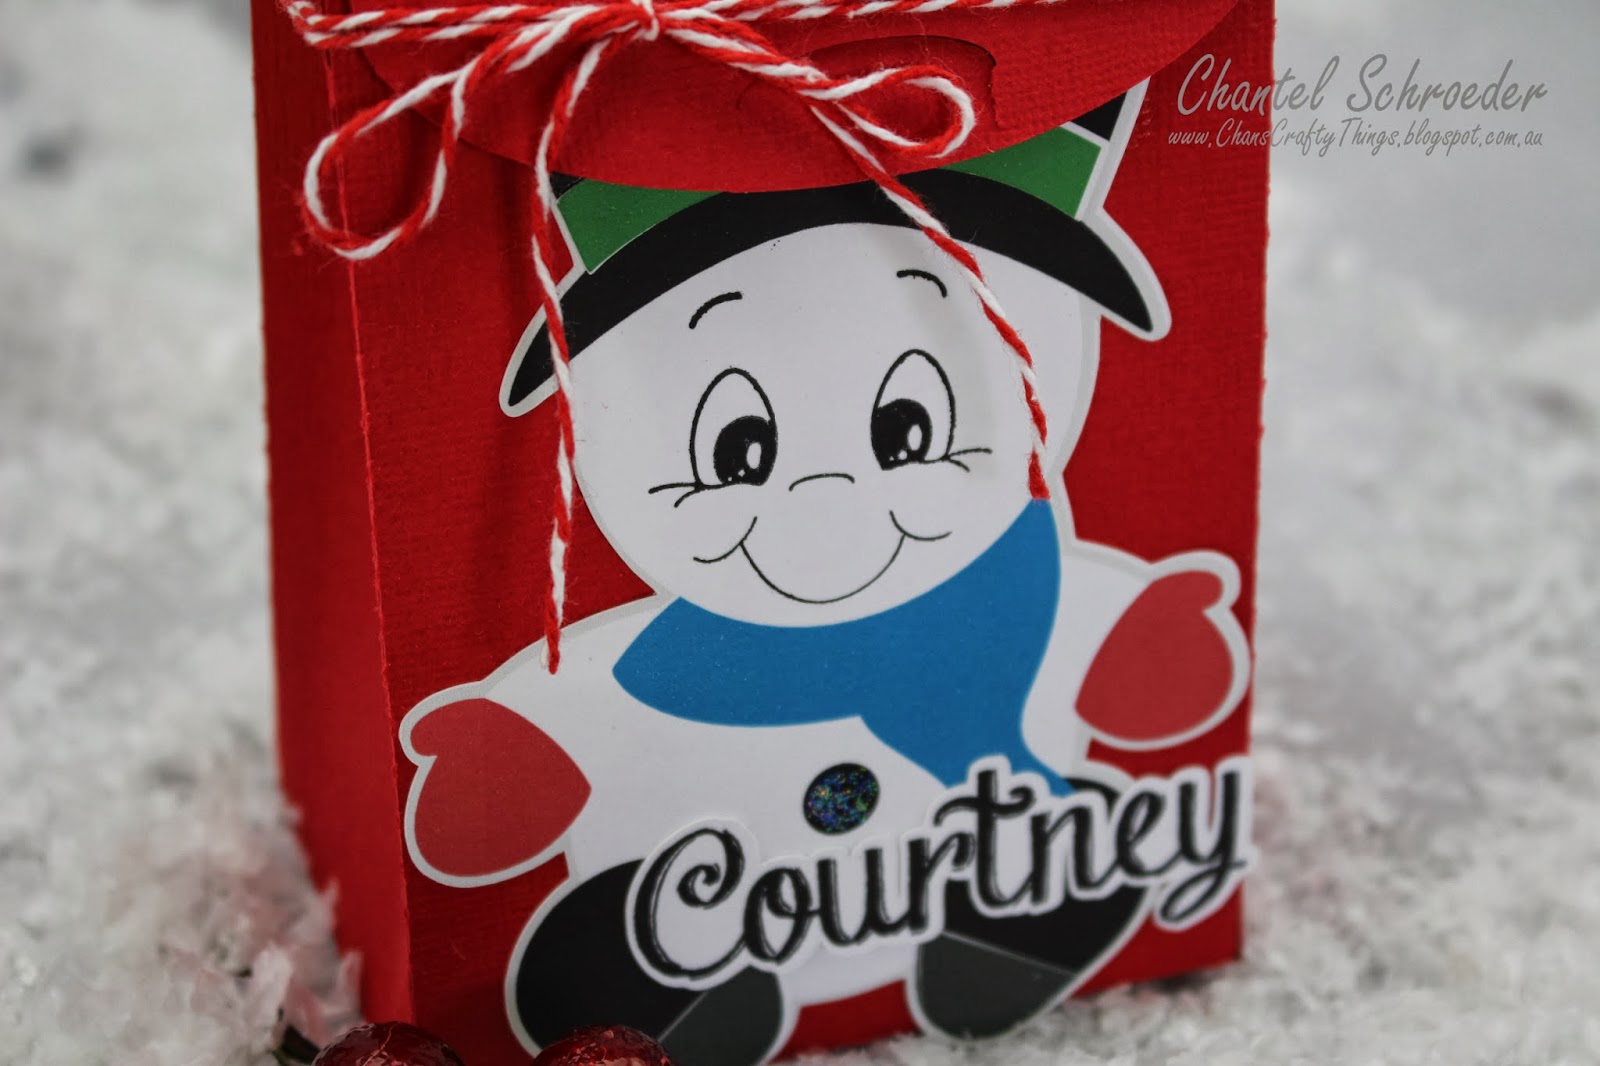
I made these little treat bags for our neighbour's children as a last minute gift.  These were super quick and so easy to make!  Definitely one to keep up your sleeve in case you ever need to pull something together in a hurry...

The gift bag cut file is from SVGCuts and so are the Christmas Cuddly Friends.  I love these little guys - especially when their little faces are stamped with Peachy Keen stamps. 

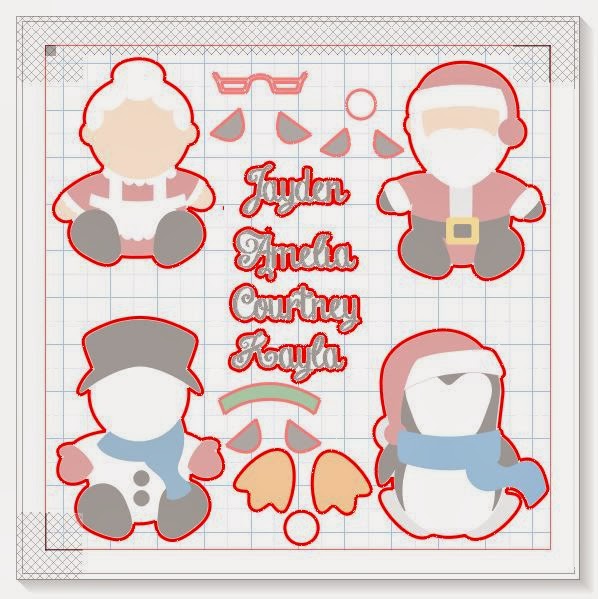
To make them, I used the print and cut feature on my Cameo with the Silhouette Designer software.  I was able to cut all the cuties and the names out of one sheet of white cardstock - Awesome!  Here are some screenshots.
I started by building each of the cuddly friends by stacking all their pieces on top of each other.  I then grouped the pieces together and traced the outer edge to create a thin border around.
I would usually stop there but I wanted some dimension considering that I wasn't going to add any other embellishments to the bags.  So I decided to cut a few of the pieces for each cuddly friend separately to adhere them on top.  This came in handy with Mrs. Clause's for example, as I was able to stamp her face first and then adhere her glasses on top.
What a fun project and I still cannot believe how quick it was!  Honestly, I whipped these little guys up in no more than 20 minutes!   
Best of all, the kids loved them!
Thanks for stopping by!


Image Hosted by ImageShack.us


  http://www.svgcuts.com/affiliates/jrox.php?id=3640&jxURL=http://svgcuts.com/index.php?main_page=product_info&cPath=3&products_id=213