Showing posts with label Fleurette Bloom. Show all posts

Wednesday, 20 August 2014

A+ Student Candy Wrapper and Bookmark - Fleurette Bloom DT Project

Hi there, today I'm sharing my Fleurette Bloom DT back to school project with you.  This time, it's a little something to make your child's first day back extra special...  A chalkboard treat wrapper and a bookmark with the cutest little school bus on it.

I used the Candy Treat Wrap Kit along with elements from the SVG School Days Cutting Files and Printables Collection by Fleurette Bloom.   The digital paper is from the ABC & 123 Paper Pack which is also by Fleurette.  
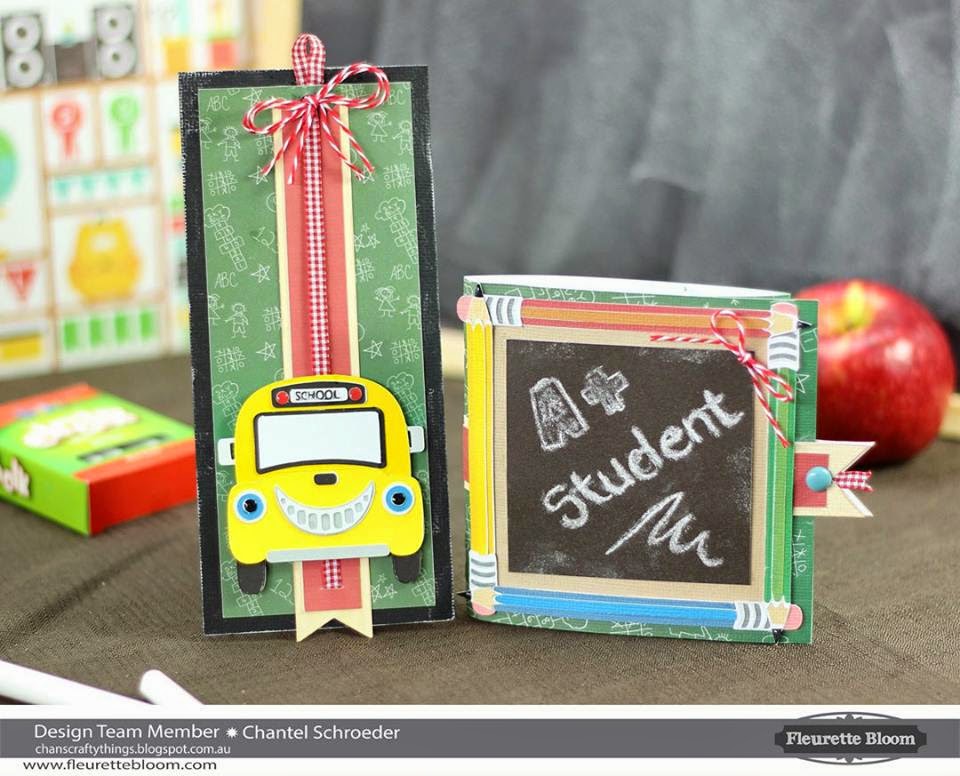

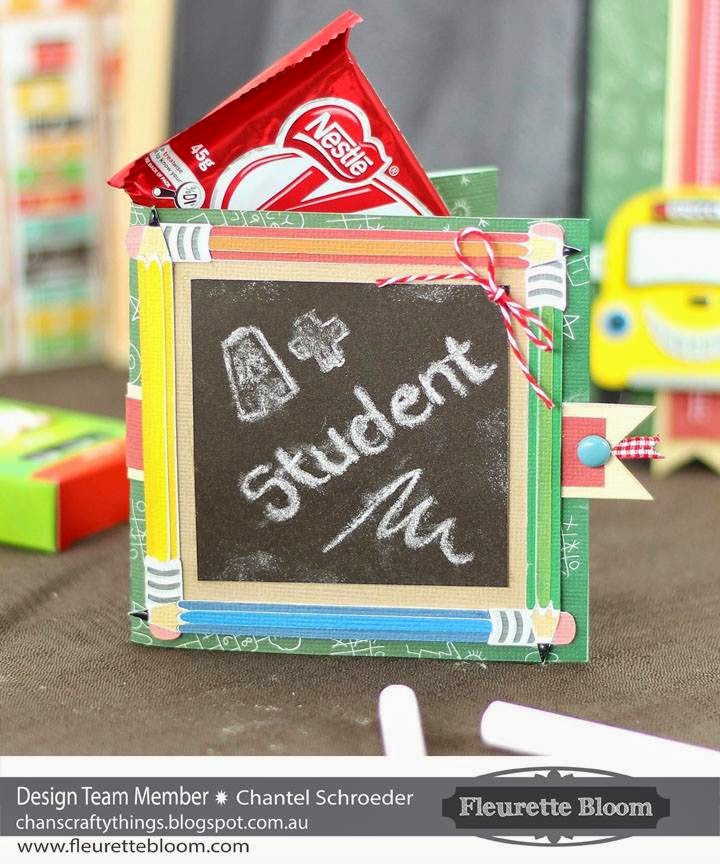
I cut and assembled the treat wrapper as usual but instead of using the usual label, I decided to add some pencils around a "chalk board".  To make it look more authentic, I actually used some Chalkboard paper for this.  I love this idea as you can use chalk to write anything you wish on the front of the wrapper.  Why not personalise it with the child's name or write an appropriate quote on the front?
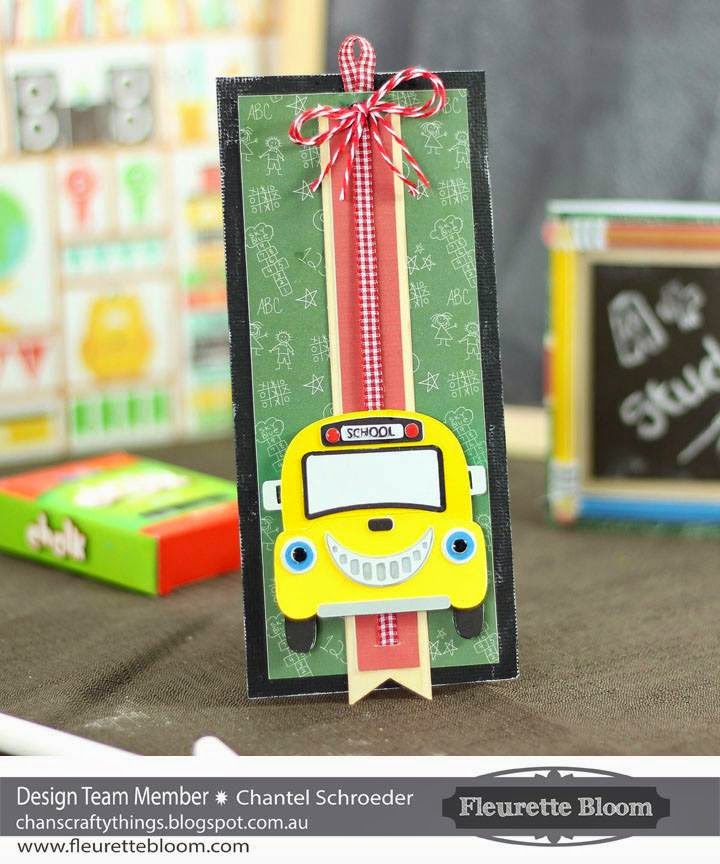
For the bookmark, I used a basic shape rectangle and added the same banner from the treat wrapper.  I added some checkered ribbon and "Rosalie" Whimsy Farm Twine before adhering the cute little school bus from the SVG School Days Cutting Files and Printables Collection with some foam dots.  Finally, I rubbed some chalk around the edges of the bookmark and added a bit of ribbon and Rosalie Whimsy Farm Twine as a finishing touch.
Another quick and easy print and cut project with my Cameo... I just love digital more and more each day! 

Thanks for stopping by!


Image Hosted by ImageShack.us


Saturday, 26 July 2014

Fleurette Bloom Design Team Blog Hop - Picnic Lunch Basket

Welcome to our July Design Team Blog Hop. 

We have some fun and creative projects to share with you. Hop to the blogs listed below and check out what we have created for you.  Be sure and enter to win a $10.00 gift card to the Fleurette Bloom SVG Shop! You have a chance to win at each Design Team Members Blog, just by leaving a comment at each stop of the hop, and become a follower if you are not already! Good Luck!

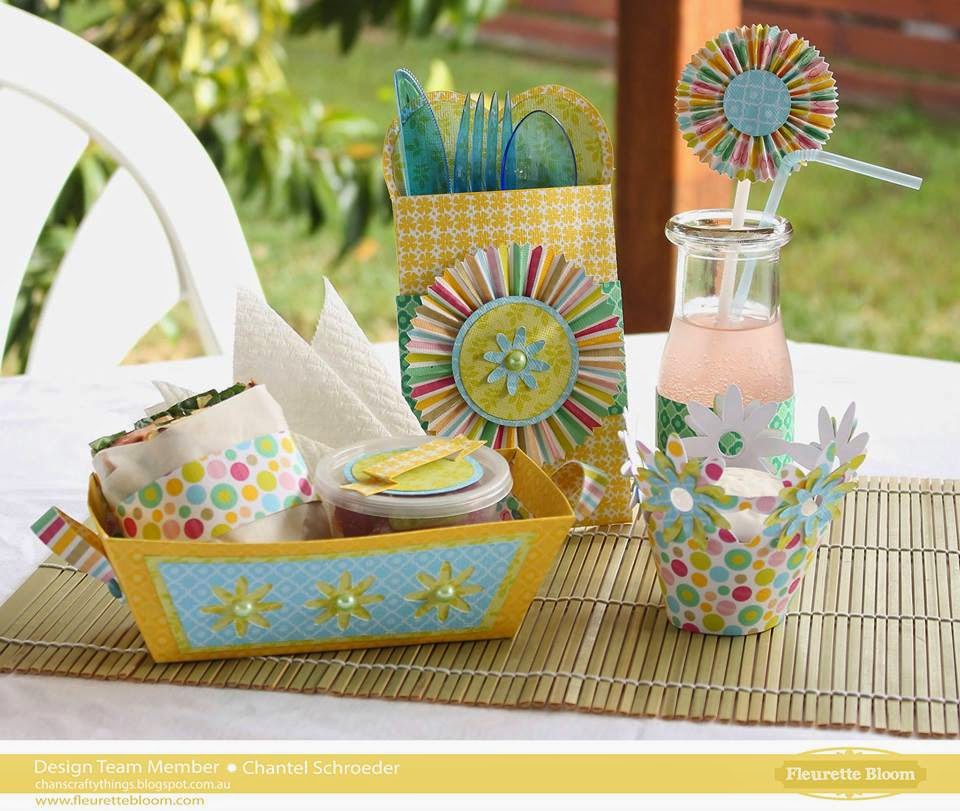
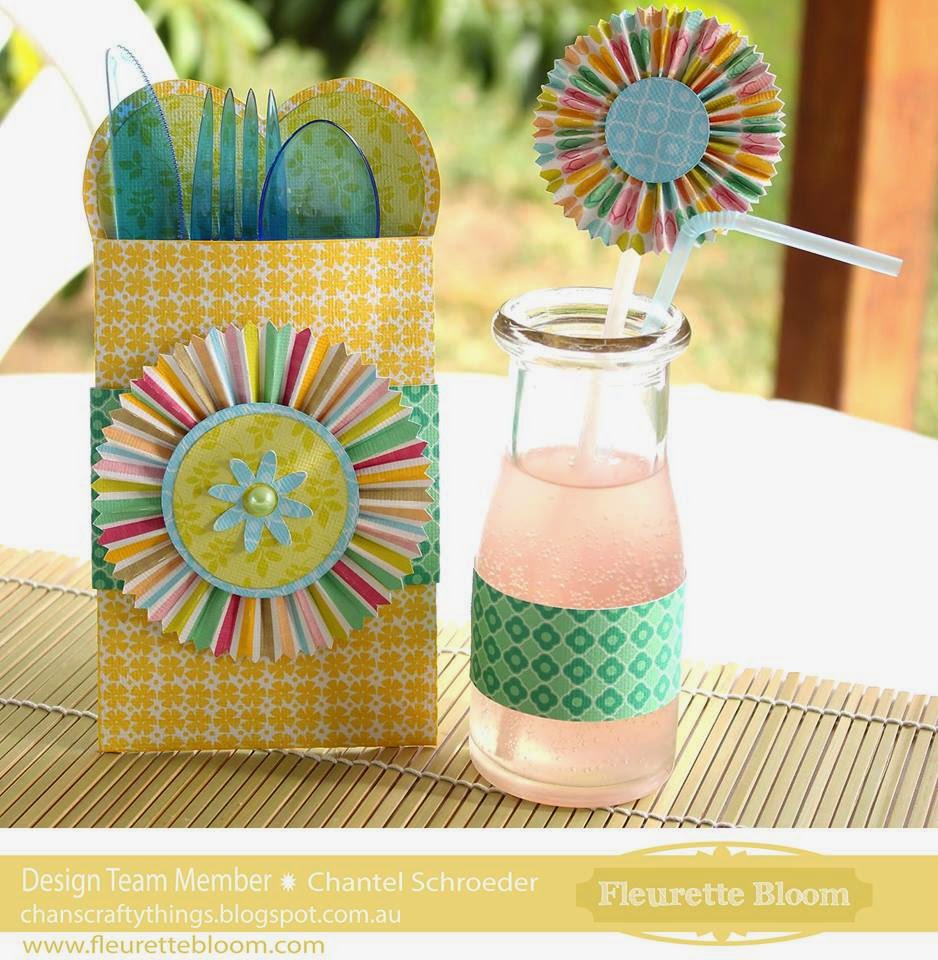
Whilst we're in the middle of winter here in Australia, the weather has been lovely and I'm certainly getting into the mood for summer!  So for my project, I created this fun summer picnic lunch basket with matching utensil holder, cupcake wrapper and juice bottle.  I used Fleurette Bloom's newest paper collection called Summertime Fun.  These are all SUPER cute and the colours and patterns simply scream summer!  

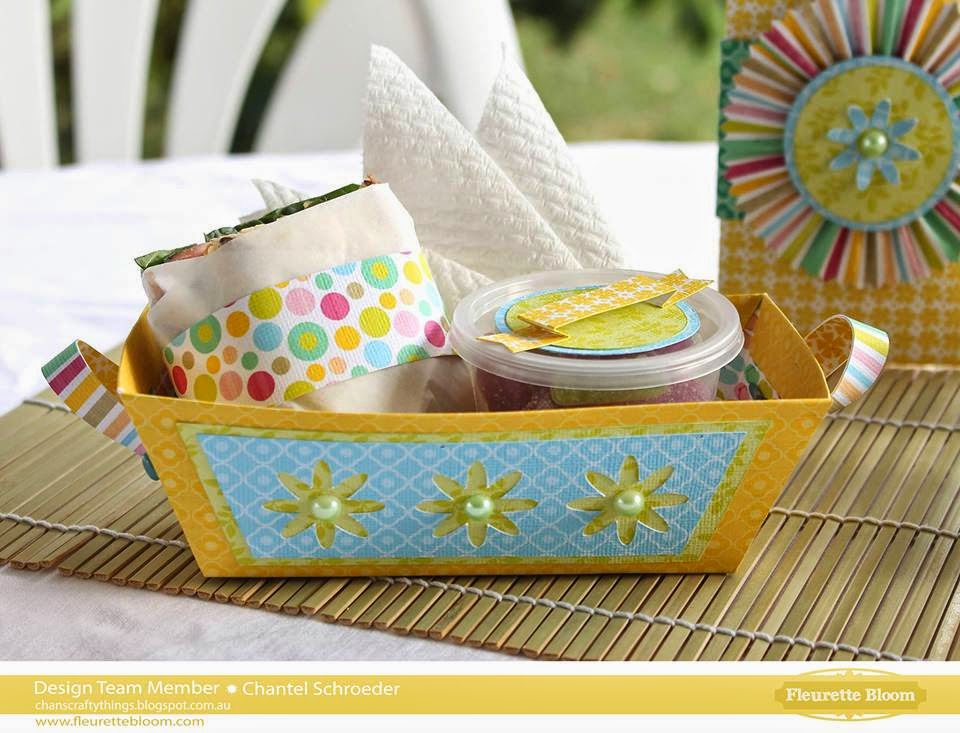
For the food basket, I used a file from the Holly Days Boxes and Cards Collection.  I removed the lights in the original file and replaced them with the little flowers from the Celebrations 3D SVG kit.  I then used the cut-out flowers on the cupcake wrapper and utensil holder to tie all the pieces together nicely.  The sandwich wrap is simply a strip of printed paper and the topper for the treat cup is a couple of circles and the small banner from the Celebrations 3D SVG kit
For the utensil holder, I used a file from the Valentine Be Mine 3D SVG Kit, with the rosette from the Celebrations 3D SVG kit. I then used the same rosette, just a touch smaller, to make the drink topper (which I simply glued to a straw).
As a final piece to the lunch set, I just had to make this cute cupcake wrapper, again from the Celebrations 3D SVG Kit (can you tell I love this kit? LOL).  I cut a few extra flowers out and added the ones left over from the lunch basket as well.  I think it looks super cute in this polka dot paper, don't you?
Well, that's my project for today.  I hope you enjoyed it and that it's inspired you to go on a fun picnic of your own before the summer ends!  


Next stop on the hop is over at Cheryl Hoogenstyn Becker.  If you haven't started the hop from the beginning, don't worry - here's the whole line-up for you again so you can check out the other DT member's blogs as well.  Their projects are all amazing!  


Remember, enter to win a $10.00 Gift Card to the Fleurette Bloom SVG Shop!   
Just post a comment on this blog post and become a follower of this blog (if you are not already).  
It's that easy!  
A winner from each blog on this hop will be selected, so you have multiple chances to Win!   

Thanks for stopping by and hopping with us and good luck:) 


Image Hosted by ImageShack.us


Sunday, 29 June 2014

"Beautiful" Tiger Lilly Gift Bag

Hi there,


Wow, it's been ages since my last post... Things have been crazy around here with building a new house an preparing for our first baby all at the same time.


That said, I always seem to make a bit of time for crafting - not always blogging though... But I am happy to finally share this cute little bag I made for my Fleurette Bloom Design team project. 


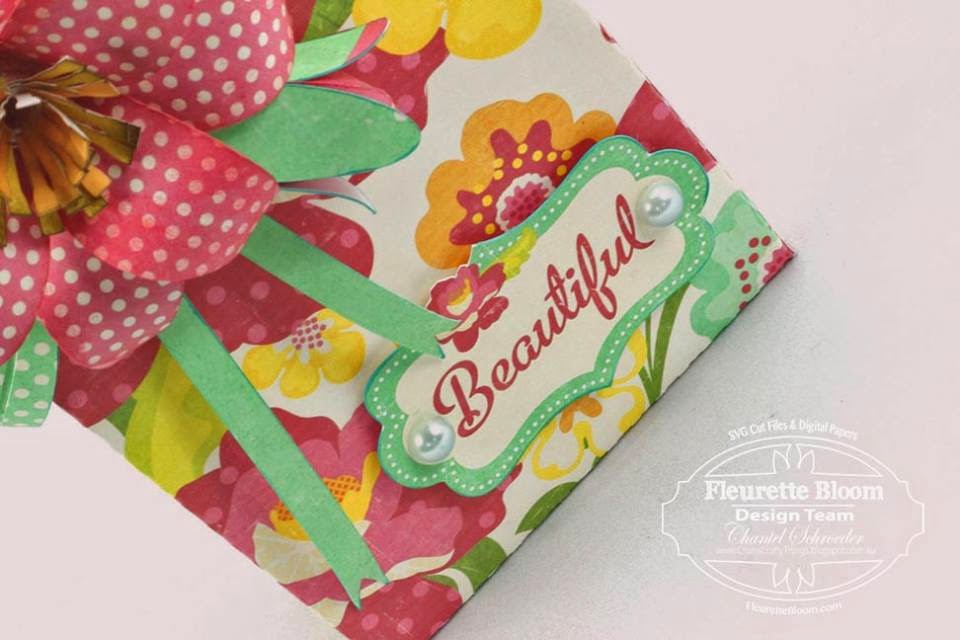
The gift bag cutting file is from the New "Peacock Palace" 3D SVG Kit - with Printables from Fleurette Bloom.  Such a fun bag to work with and I just love the Tiger Lilly embellishment. I wanted the bag to be a bit playful so decided to go with patterned paper for the lilly and leaves - rather than trying to make the flower look more realistic.


The digital papers are from Lori Whitlock's Maggie collection and so is the "beautiful" sentiment. The whole project was made using the print and cut feature on my Cameo - which as you know, is one of my favourite things to do.   


Another great file by Fleurette Bloom - super quick to put together and the perfect size for any little gift.


Thanks for stopping by!
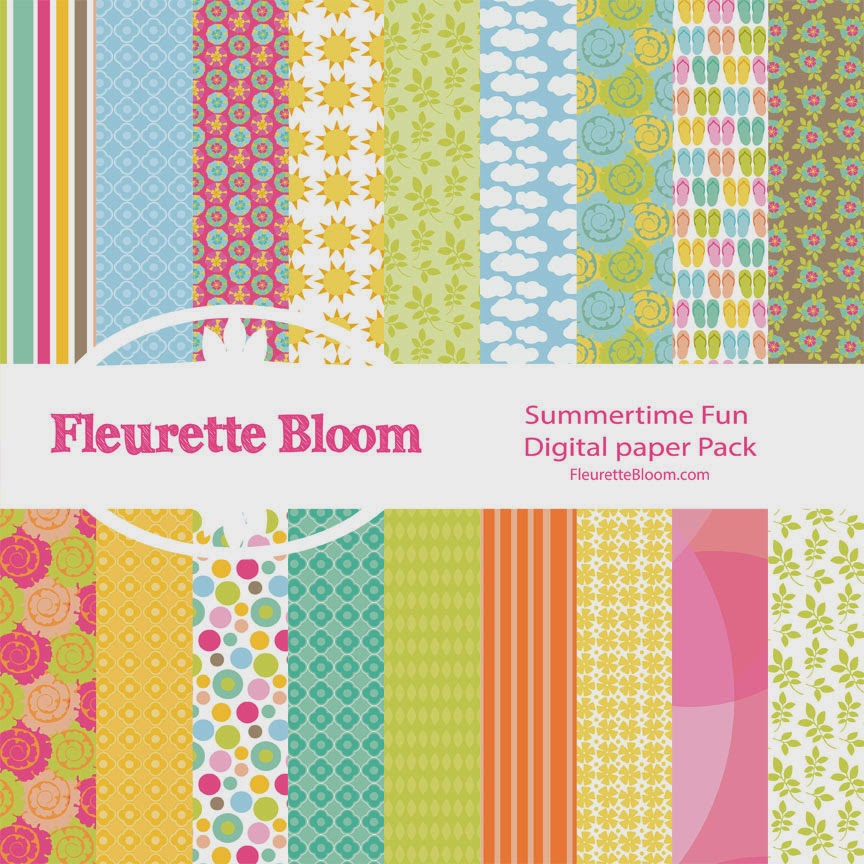

Image Hosted by ImageShack.us

Sunday, 18 May 2014

Laugh and Smile Flower Gift Bag

Hi everyone!


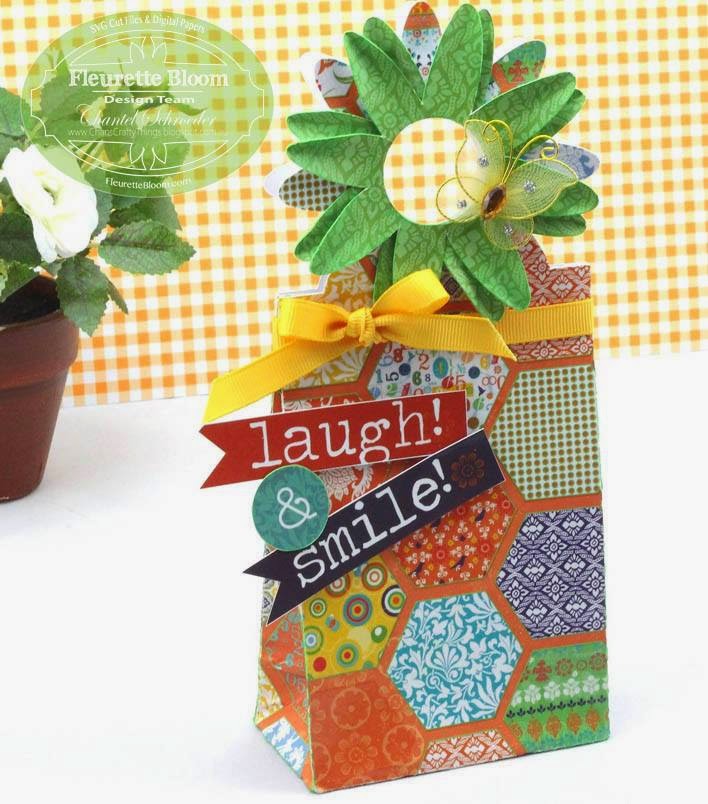
I'm excited to finally share this cute little flower gift bag I made from the New "Celebrations" 3D SVG Kit and Printables by Fleurette Bloom.

I cut and assembled the gift bag and then cut a couple of the extra flower elements from the same kit to add on top.  I then embellished with a small butterfly I had in my stash along with some hand cut elements from coordinating paper. I used the Fiesta paper stack by DCWV and just love all the bright colours.  

I finished the bag off with a bright ribbon as the final touch.  Really pleased with how quick and easy this one to put together and can't wait to make some of the other elements in this great new kit from Fleurette!

Thanks for stopping by!
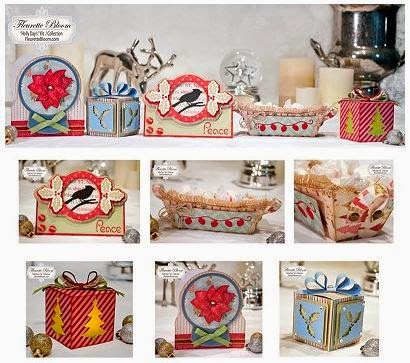

Image Hosted by ImageShack.us

Saturday, 29 March 2014

Welcome to the Fleurette Bloom-LoveBug Creations Co-Hop

If you've flown over from Tanya's blog then you've joined the parade, but if you've stumbled on this hop and want to begin with the first stop, soar over to Fleurette!

The pairing of LBC's fantastic rumple ribbon and other trimmings with Fleurette Bloom's outstanding SVG's and digital delights is a great way to jazz up your projects - who wants to be ho-hum? 

Not us gals.........so grab your favorite beverage and settle back for some crafting inspiration for just the right touch of class!

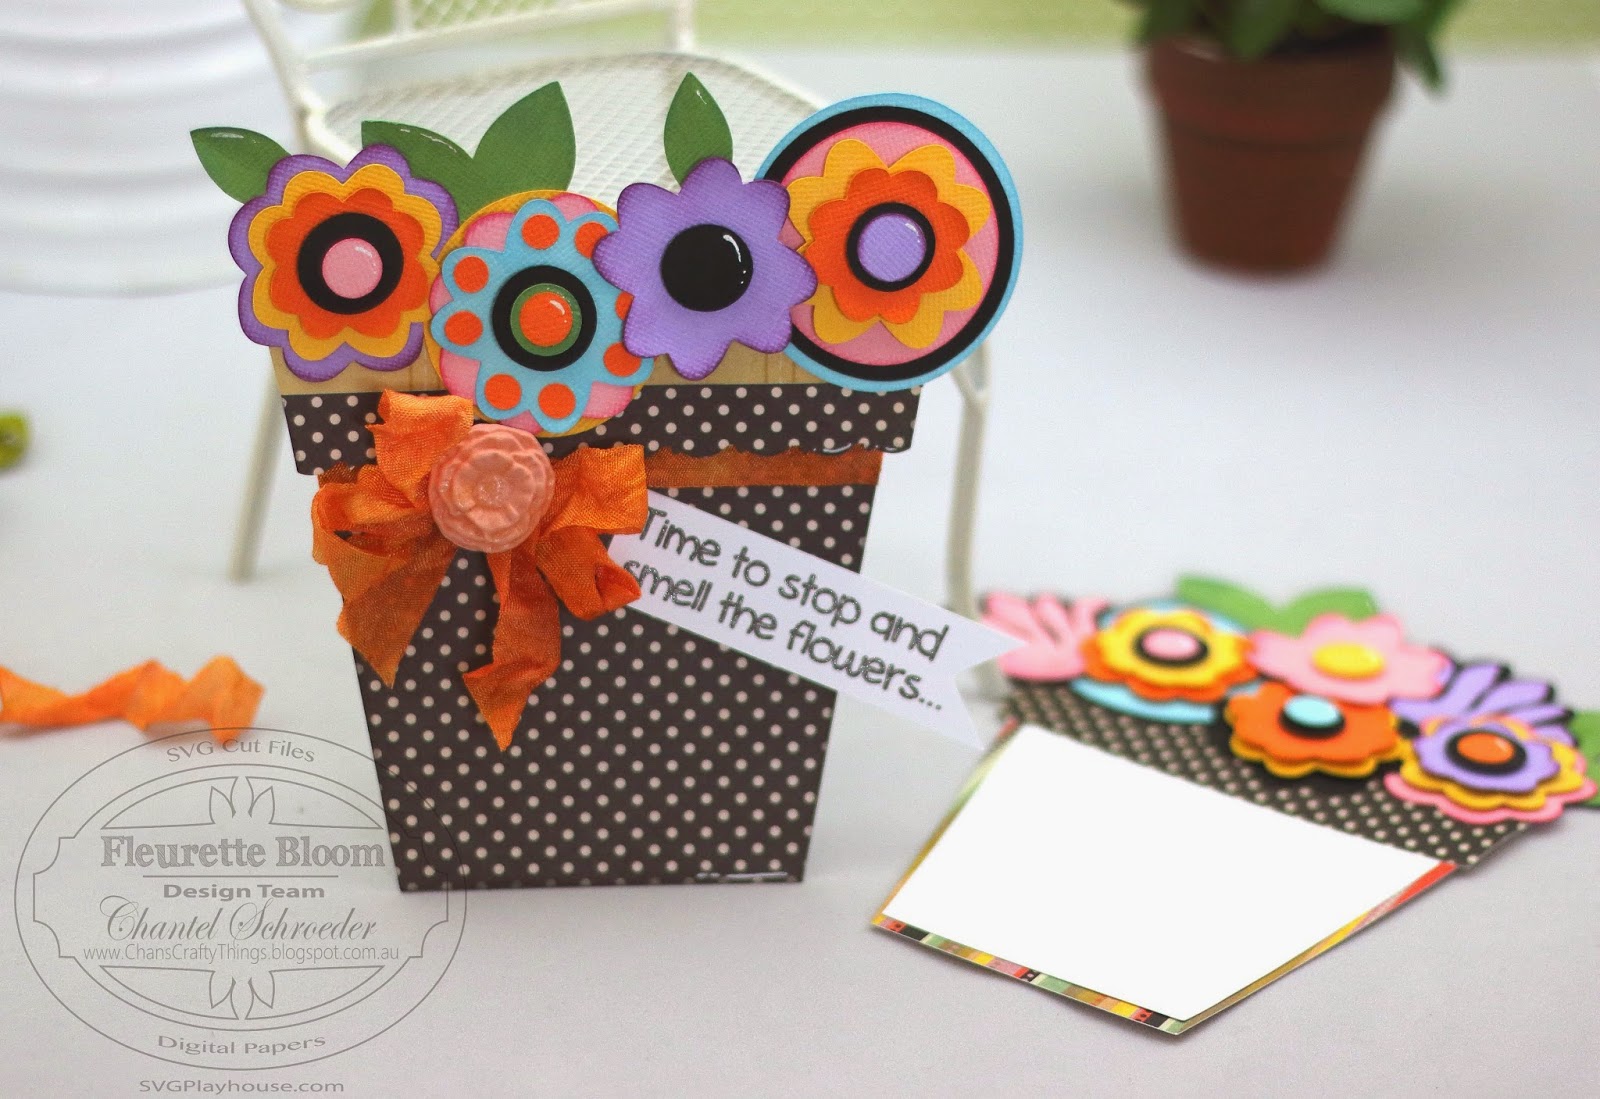
For my hop project, I decided to make this cute little flower pot card.  

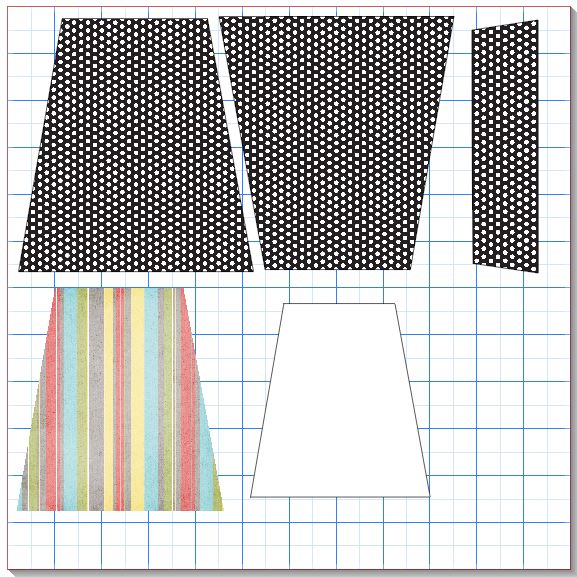
The flower pot is from the Pot-O-Daisies SVG Cutting file.  I cut the base of the flower pot a total of four times. I cut two at the normal size and glued the sides and bottom together to make a pocket. I then cut one a bit smaller (just so that it would fit into the pocket nicely) for the card itself.  To allow for a space to write a note, I added a fourth cut in plain white to the card.  Here's a screenshot of all the pieces I cut for the pot and card base.

I then cut out a whole bunch of the flowers from the Bohemian Flower Element Collection in a bunch of different colours and assembled some on the pot base and some directly onto the top of the card.  
To decorate my flower pot, I used the Sunset Rumple Ribbon from the Island Breeze collection to  make a bow and finished it off with some Beautiful Blooms from LoveBug Creations.

I do hope you like my project... I am quite pleased with how it turned out - so bright and cheerful...:)

Now, how about some blog candy??

Fleurette Bloom is offering a $10 gift certificate to her ONLINE STORE
AND
LoveBug Creations is offering a $10 gift certificate to their ONLINE STORE
 

So what do you have to do to be in the running???
1.  Become a follower of each crafter (if you're not already)
2. Leave a love note at each blog spot with your contact info
3. For extra chances to win like our Facebook Pages and leave a comment at Fleurette Bloom Designs and LoveBug Creations.
4. Check back on Wednesday for the announcement of the winners!

The Co-Hop Line up:
1. Fleurette: http://fleurettebloom.blogspot.com
2. Kimi & Pamela: http://lovebugcreations3.blogspot.com
3. Stephanie: http://www.stephanie-eaken.blogspot.com/
4: Dawn Mercedes: http://dawnmercedes.blogspot.com/
5: Connie: http://conniecancrop.blogspot.com/
6: Kristin: http://papercreationsbykristin.blogspot.com/
7: Katie: http://www.craftykhandy.blogspot.com/
8: Ilda: http://www.ilovedoingallthingscrafty.com/
9: Tanya: http://scrappinkymomma.blogspot.com/
10: Chantel: http://chanscraftythings.blogspot.com.au/
11: Christine: http://www.scarletcalliope.com/
12: Kathy: http://kathyand3kids.blogspot.com/ 
13: Cheryl: http://dragonflydesigns58.blogspot.com/

For your next touch of class, please visit Christine!

Thanks for stopping by!
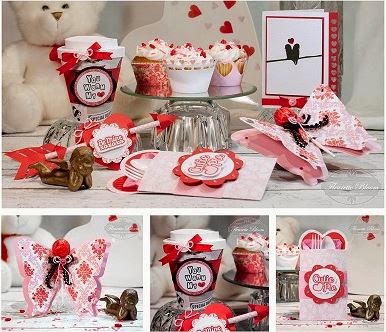

Image Hosted by ImageShack.us

Sunday, 16 February 2014

So Lucky to Have You - Shamrock Octagonal Box

Okay, can I just start by saying that I LOVE the free Octagonal Heart Shaped Box from SVGCuts! It's so cute - and a great size too!  Thanks for this great gift Mary and Leo!

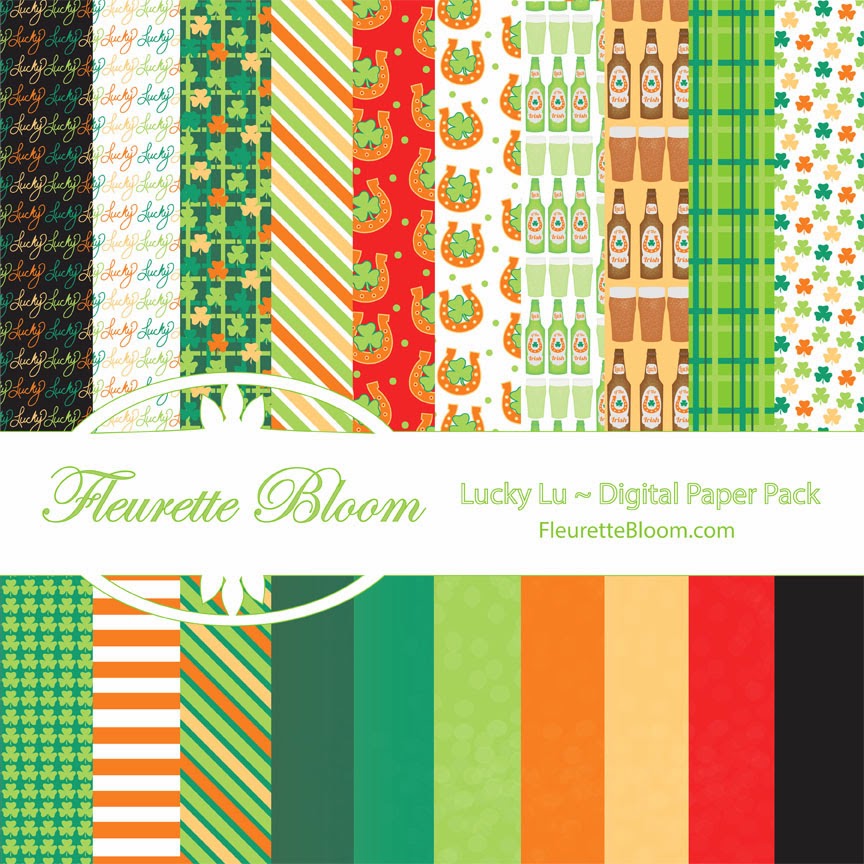
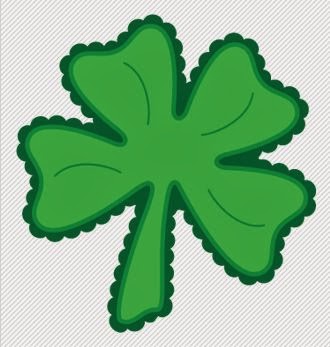
For my project, I did change it up a bit though... I took the Octagonal Heart Shaped Box and replaced the heart with the free Scalloped Shamrock file (also from SVGCuts).  I really like how it turned out - especially with this amazing paper from Fleurette Bloom's store.  It's the new Lucky Lu Digital Paper Pack and it's simply stunning!  So many fun colours to choose from.


Because the paper is colourful, I didn't even need to add a whole lot of embellishments... a button, a few rhinestones and a bit of ribbon is all it took to finish this box off nicely.  

As a final touch, I designed the little banner using basic fonts in my Silhouette software and then changed my blade to a pen in my Cameo.  Once the writing was done, I changed the blade back and cut out the little banner shape.  Super simple and a great idea for those projects where you just can't find the "perfect" stamp.

Thanks for stopping by!
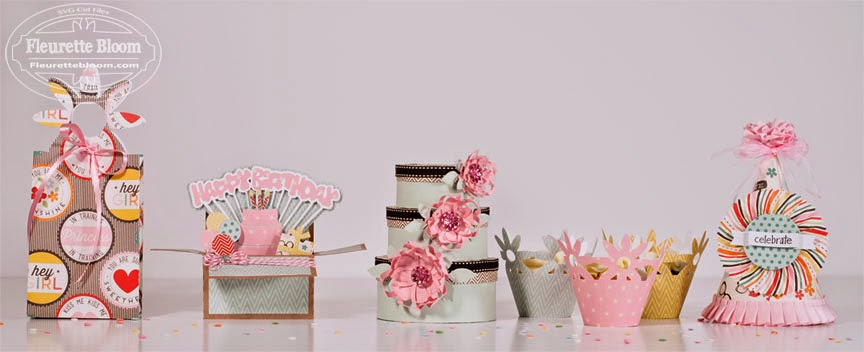


Image Hosted by ImageShack.us


Sunday, 9 February 2014

Chocolate Pop Butterfly Basket

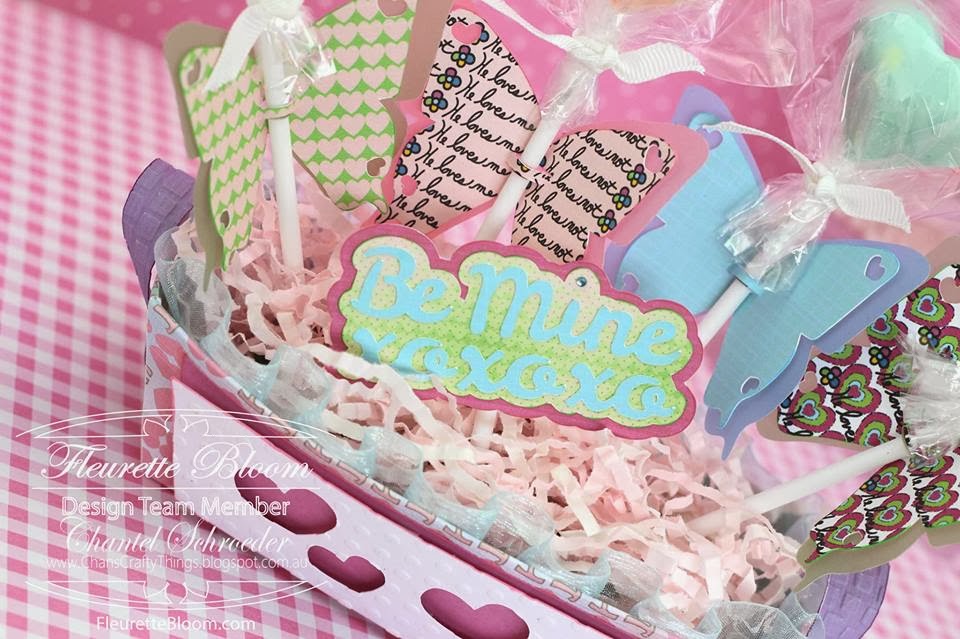
I love the traditional Valentine's day colours of red and pink, but when I saw this He Loves Me, He Loves Me Not digital paper collection from Fleurette Bloom's shop, I really wanted to make something with it...

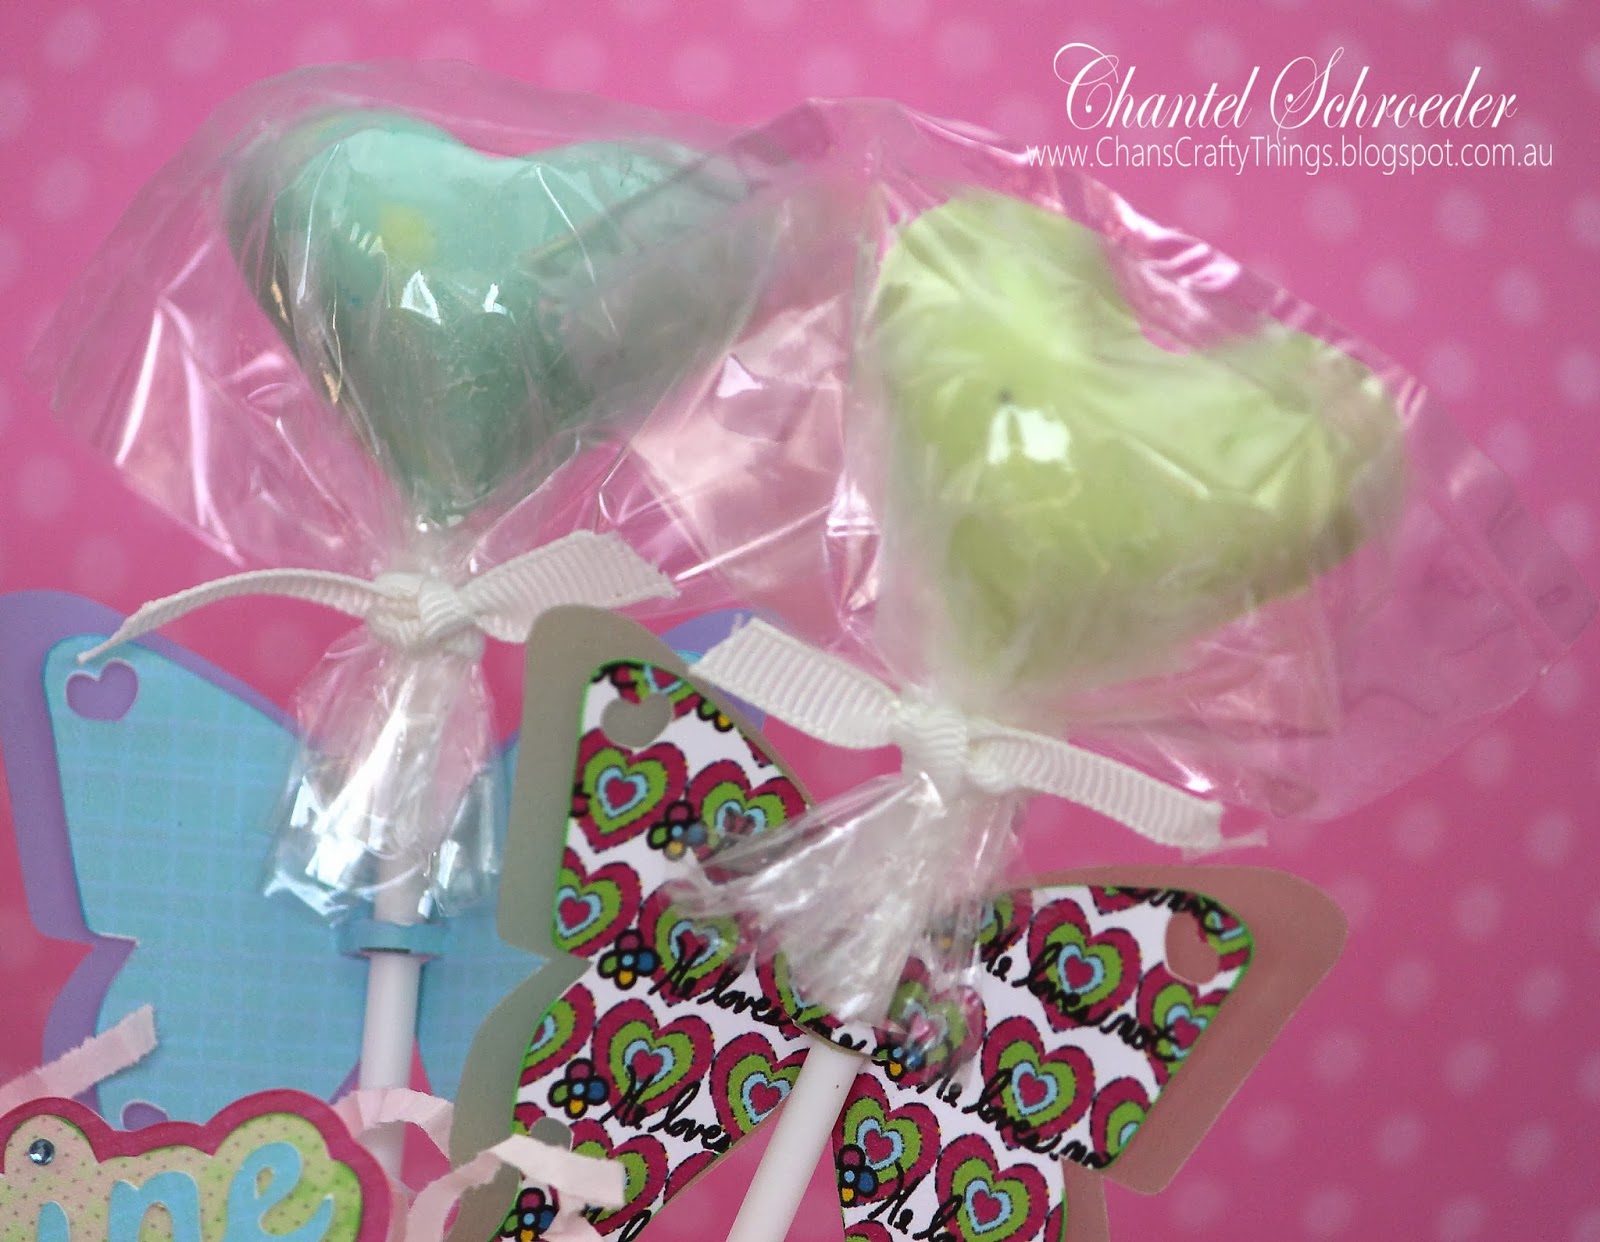
So, as I was making my heart shaped chocolates the other day, I decided to make them in pastel colours too so that they would match the paper collection.  And you know how it goes tight?  One idea leads to  another... so the chocolates turned into chocolate pops, which then needed something to jazz them up, and those then required a stand of some sort... So the end result you ask? A heart-shaped chocolate pop butterfly basket...  (a mouthful, I know, lol).

Isn't it cute?  I dressed the chocolate pops up with butterflies from the Valentine Be Mine 3D SVG kit.  I sized them down a bit before I did a print and cut as I wanted to fit a few on the stand. The "Be Mine xoxoxo" is also from the same kit.   The basket is from the "Holly Days" Boxes and Card Kit/Collection.  I simply replaced the holly with heart shapes before I cut it out to match the love theme.


I ran the white panel through my Bigshot and adhered it with pop dots for added dimension.  I did the same with the purple handles for the basket before I adhered it with some sparkly brads. 

I finished it off with some ruffled turqoise ribbon inside the basket and a few pieces of white craft ribbon to keep the wrapping in place around the chocolate pops.   


This was such a fun project - totally different to what I would usually do but I'm happy with how it turned out.  I think it would look really cute at a kids party on the treats table too.. 

Thanks for stopping by!
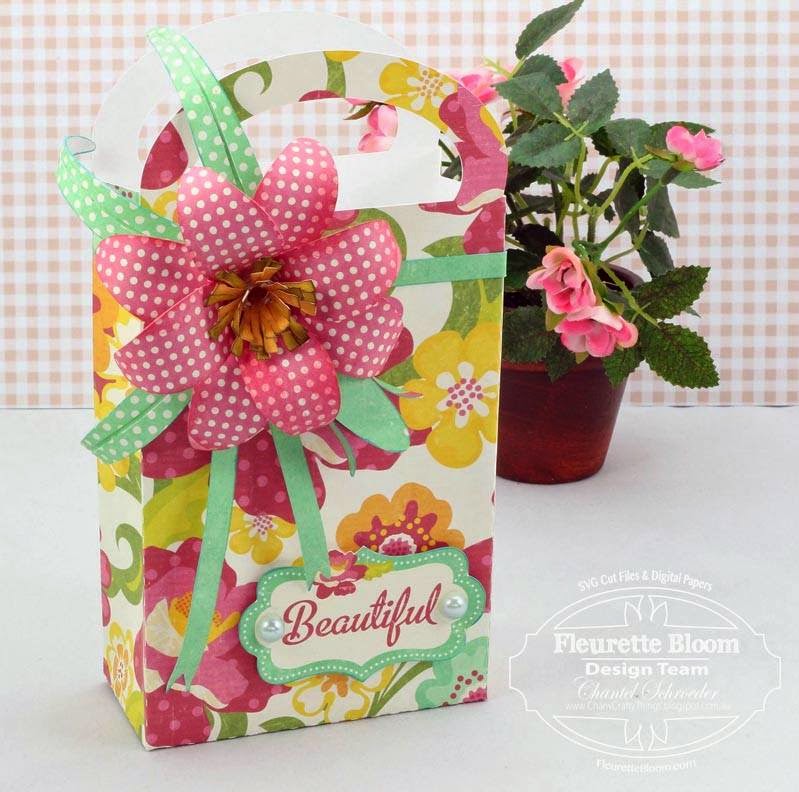

Image Hosted by ImageShack.us