Showing posts with label Butterfly. Show all posts

Sunday, 29 June 2014

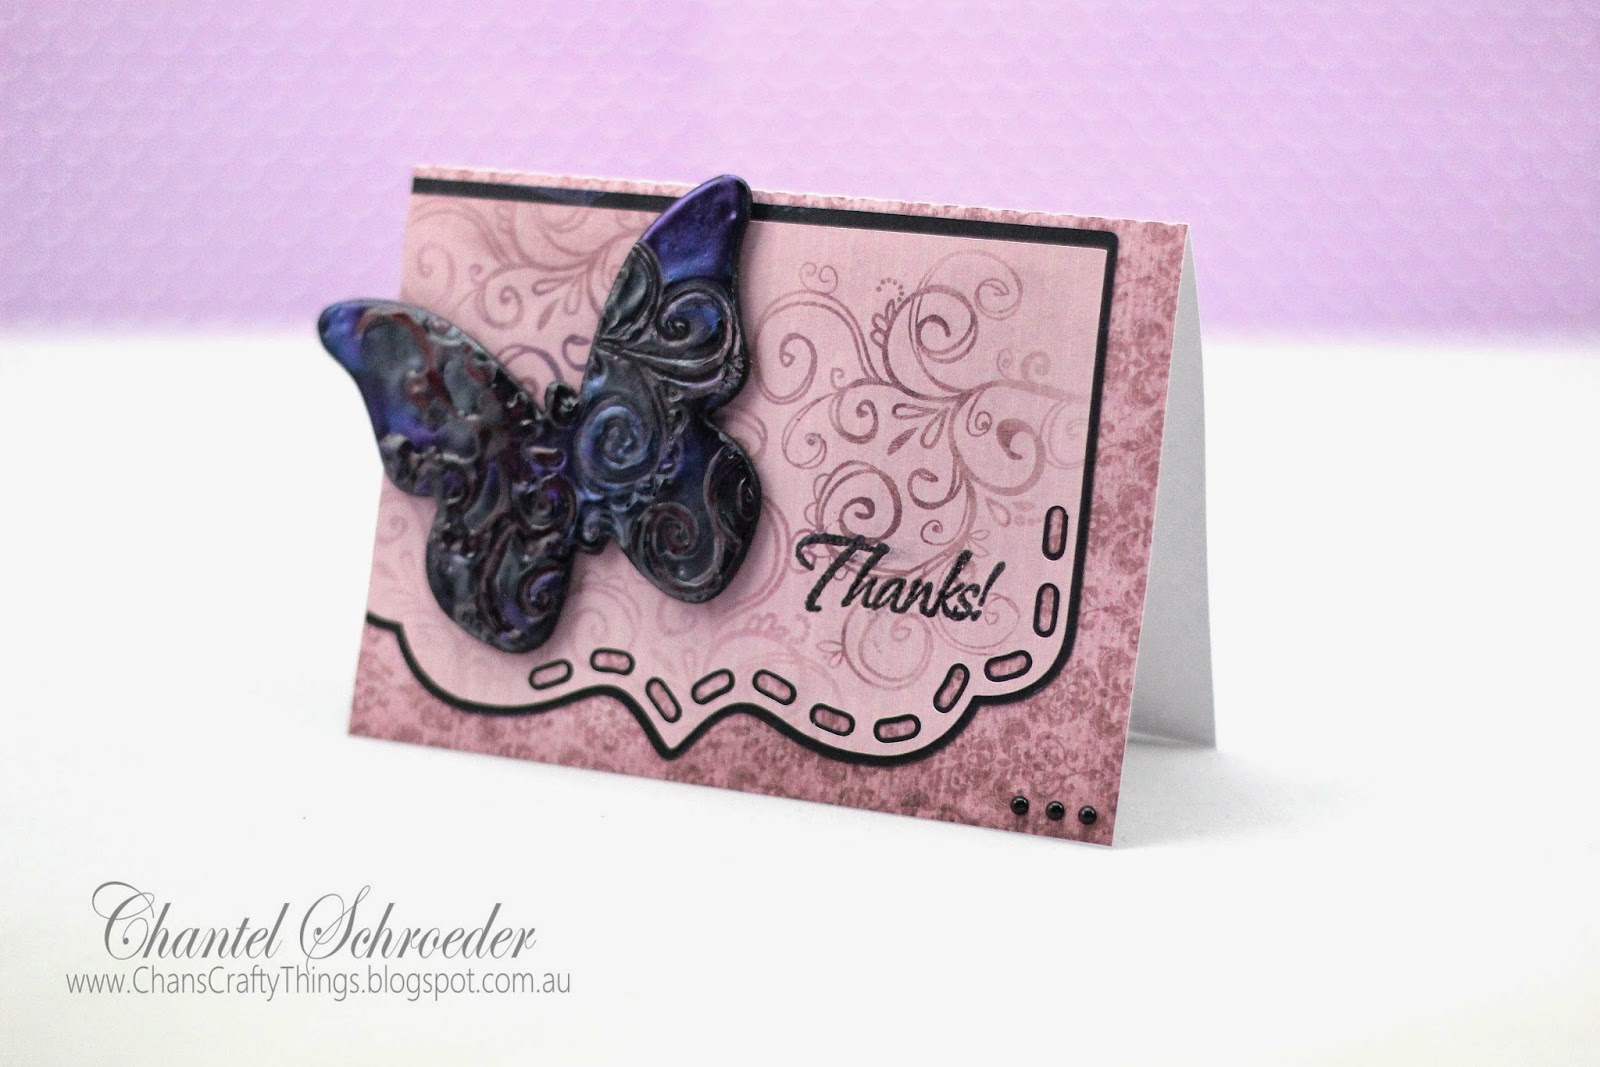
UTEE Embossed Butterfly Card

Hi, another quick post for today...

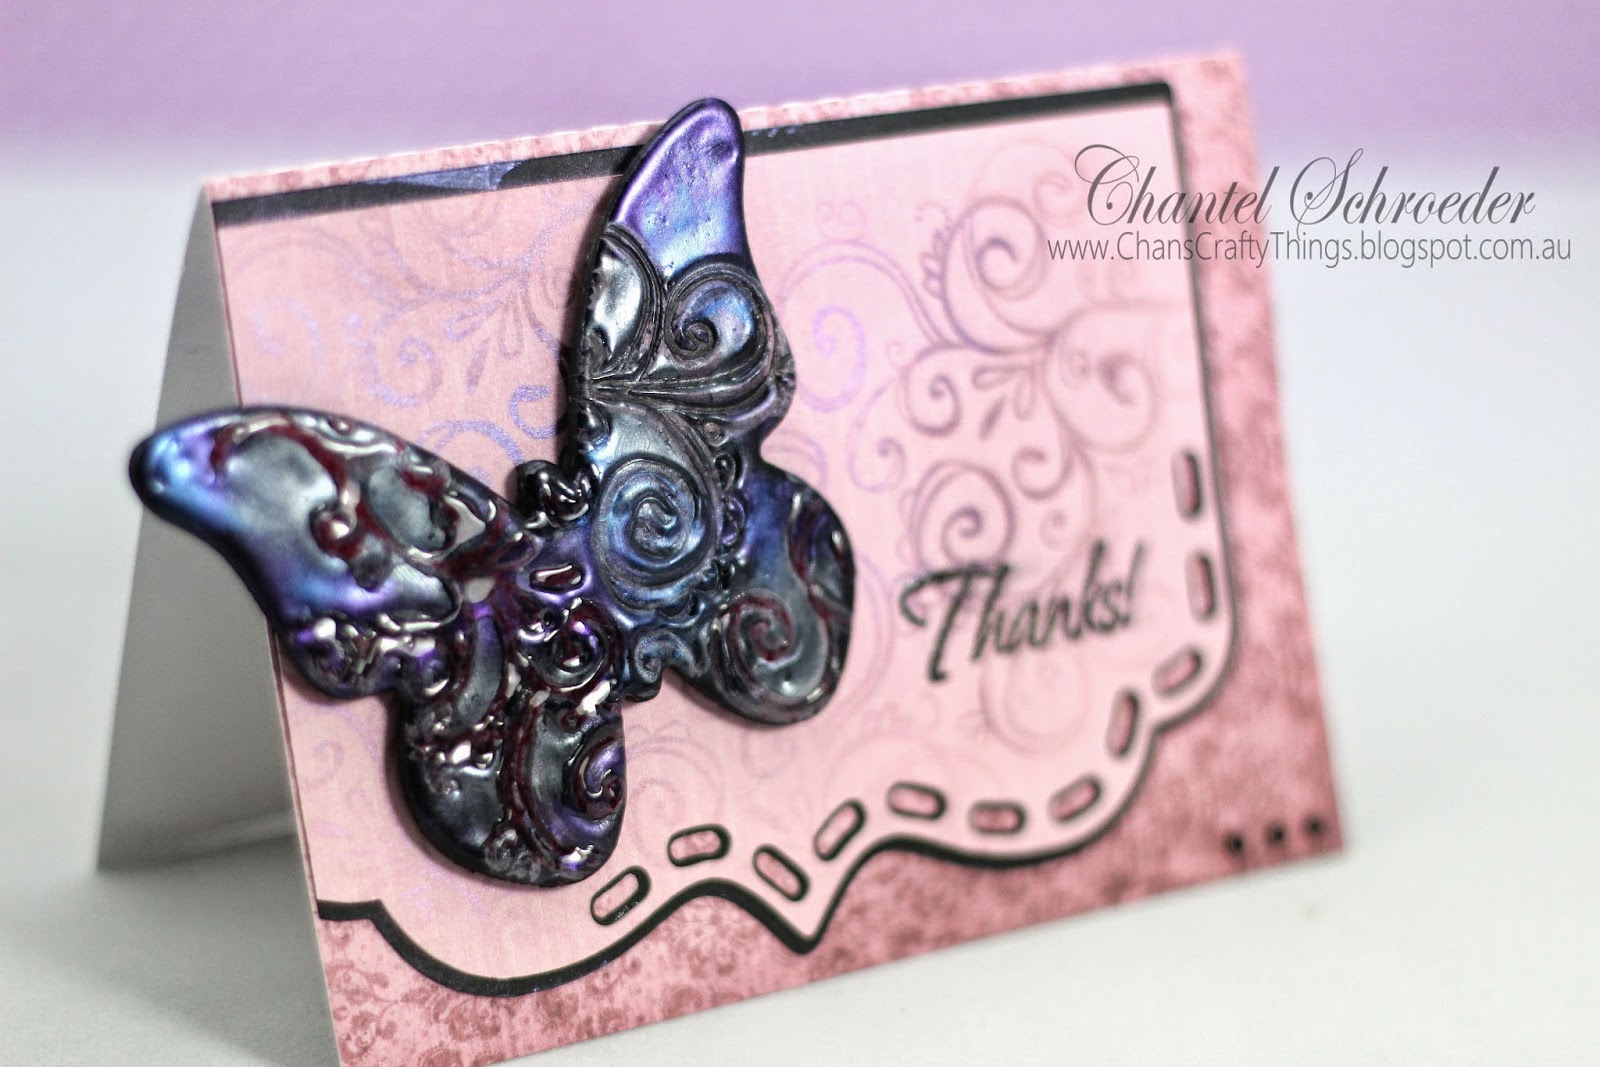
Here's a card I made for a friend a little while ago.  I used the No. 6 card from the Sweet Designer Cards and Envelopes SVG Collection. and stamped some swirls onto the top layer of plain cardstock and added some Perfect Pearls for a soft shine.


I then took a chipboard butterfly cut-out from my stash and covered it with a few layers of black UTEE.  I added some perfect pearls onto the hot UTEE and then hit it with the heat gun for a few more seconds before stamping some swirls into it. 


I love this technique - the texture of UTEE is awesome and the shine from the Perfect Pearls is just so pretty.  Hope you like it too...


Thanks for stopping by!


Image Hosted by ImageShack.us

Sunday, 9 February 2014

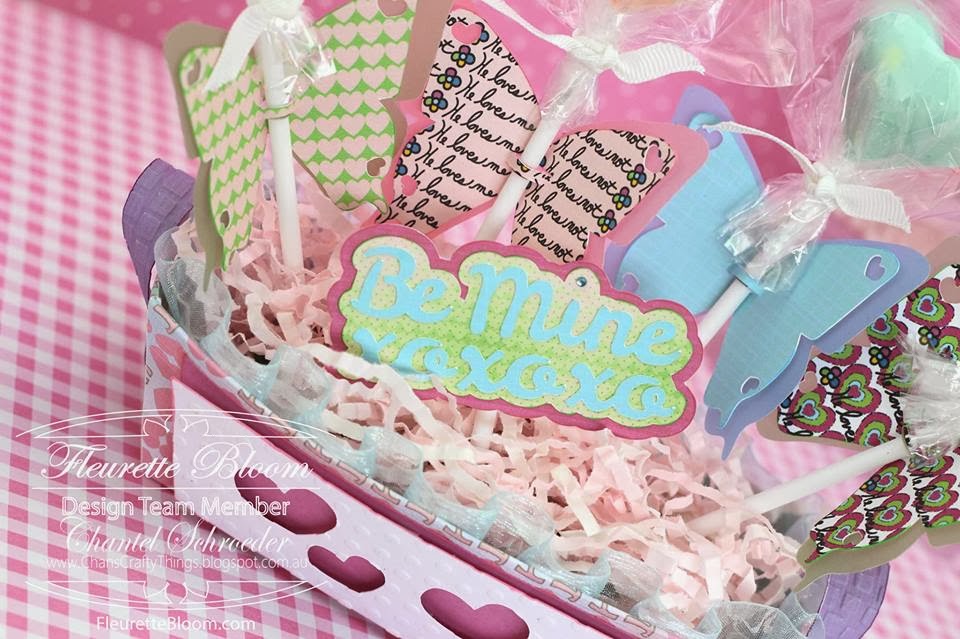
Chocolate Pop Butterfly Basket

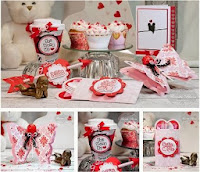
I love the traditional Valentine's day colours of red and pink, but when I saw this He Loves Me, He Loves Me Not digital paper collection from Fleurette Bloom's shop, I really wanted to make something with it...

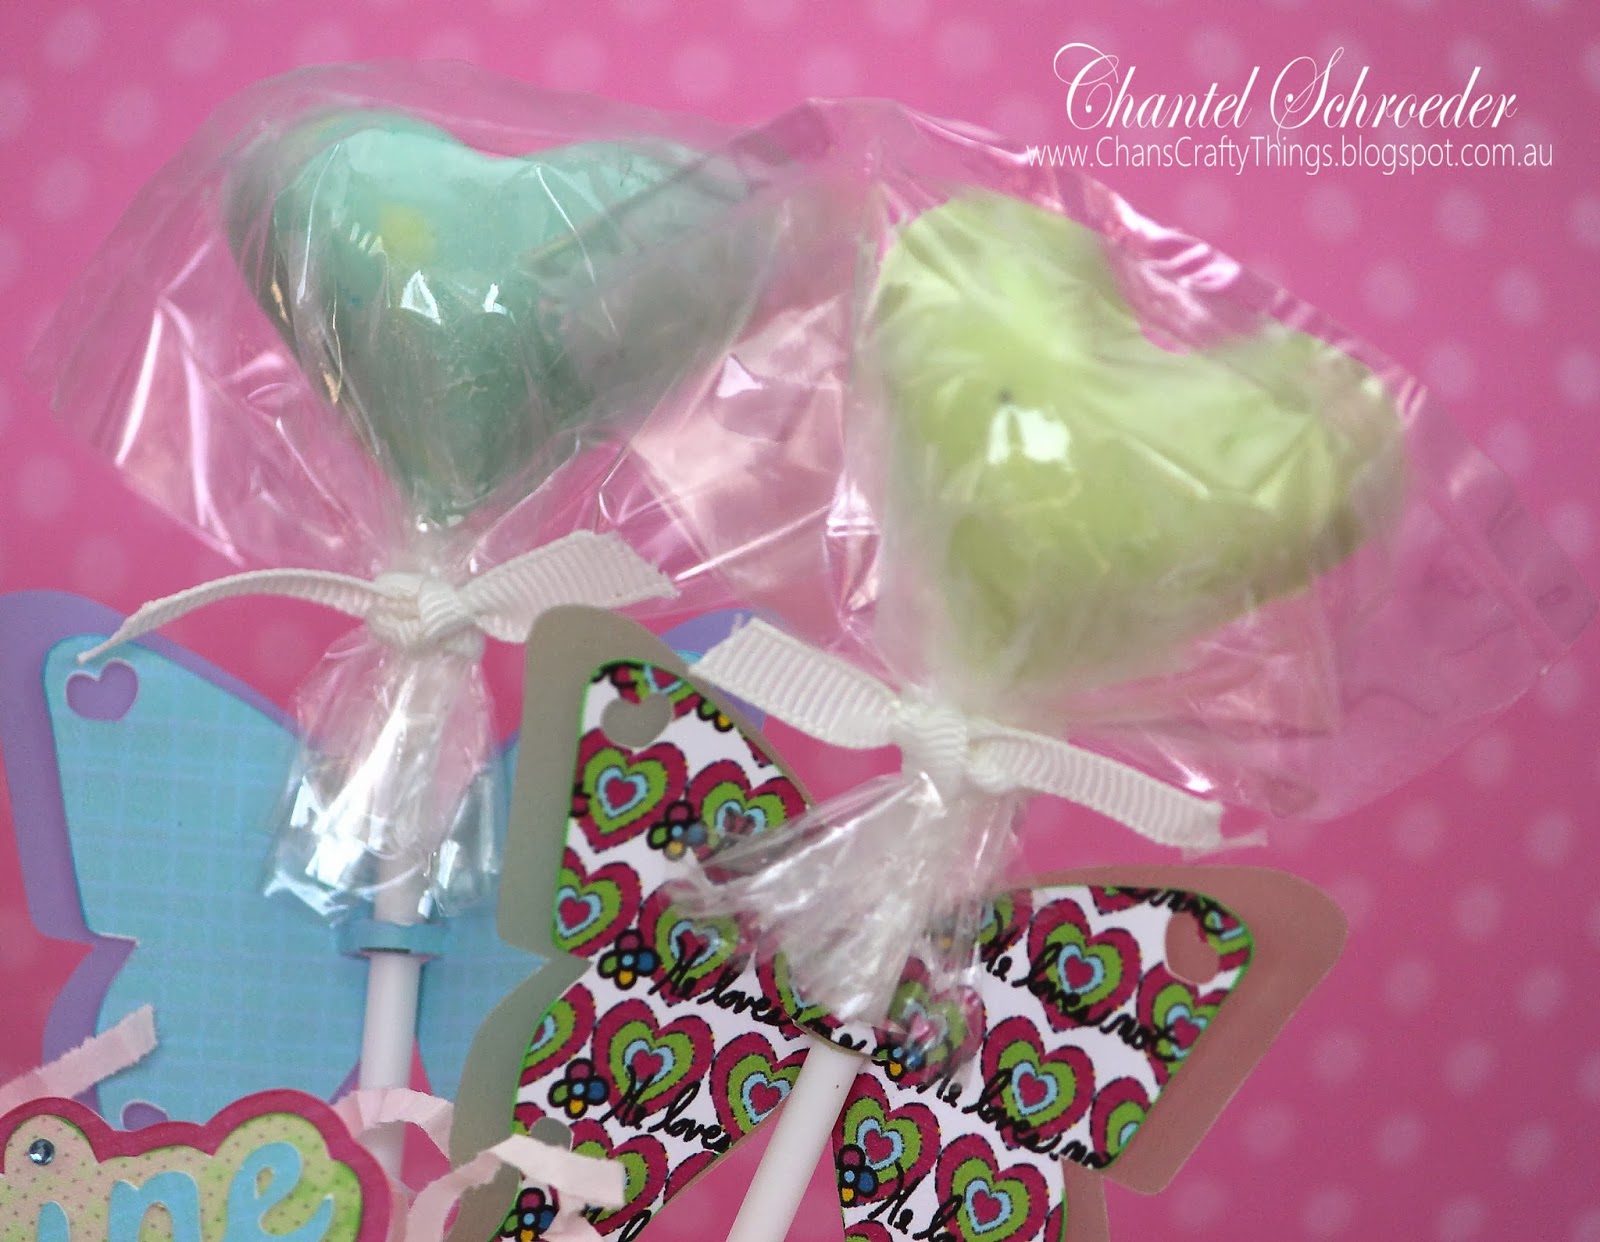
So, as I was making my heart shaped chocolates the other day, I decided to make them in pastel colours too so that they would match the paper collection.  And you know how it goes tight?  One idea leads to  another... so the chocolates turned into chocolate pops, which then needed something to jazz them up, and those then required a stand of some sort... So the end result you ask? A heart-shaped chocolate pop butterfly basket...  (a mouthful, I know, lol).

Isn't it cute?  I dressed the chocolate pops up with butterflies from the Valentine Be Mine 3D SVG kit.  I sized them down a bit before I did a print and cut as I wanted to fit a few on the stand. The "Be Mine xoxoxo" is also from the same kit.   The basket is from the "Holly Days" Boxes and Card Kit/Collection.  I simply replaced the holly with heart shapes before I cut it out to match the love theme.


I ran the white panel through my Bigshot and adhered it with pop dots for added dimension.  I did the same with the purple handles for the basket before I adhered it with some sparkly brads. 

I finished it off with some ruffled turqoise ribbon inside the basket and a few pieces of white craft ribbon to keep the wrapping in place around the chocolate pops.   


This was such a fun project - totally different to what I would usually do but I'm happy with how it turned out.  I think it would look really cute at a kids party on the treats table too.. 

Thanks for stopping by!


Image Hosted by ImageShack.us

Sunday, 5 January 2014

Blossom Box and Thank You Card

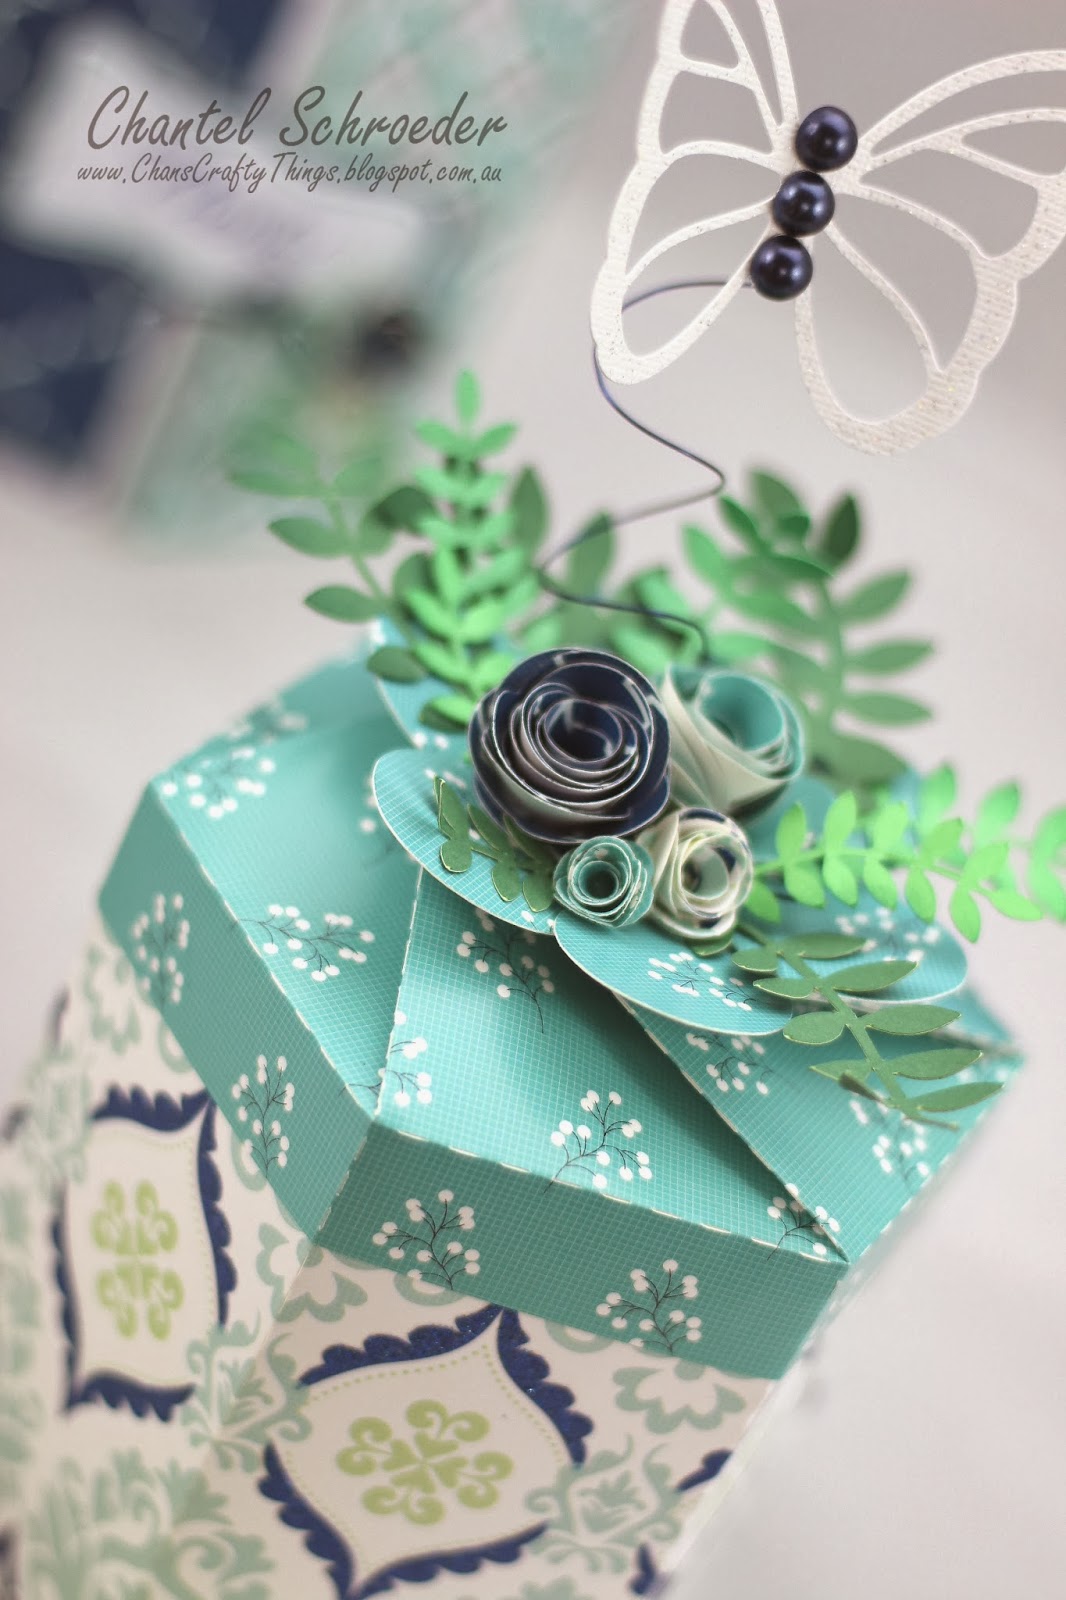
Today I am sharing a little box and matching card I made as a thank you gift for someone special... 
Can I just start by saying that I LOVE these papers!  it's from the DCWV Blue Citrus Stack, and it is just gorgeous!  The colours are so vibrant and I love that it has a combination of shiny and sparkly bits in the papers.  Best of all, it cuts like a dream in my Cameo!
 
Now for the other details... I used the Blossom Box file from the Gift Boxes SVG Kit and embellished it with some rolled roses and greenery from the Mothers Garden SVG kit.  The butterfly is from the High Skies SVG kit (without the vellum) and the navy pearls are from Kaisercraft. 
The card is also from the High Skies SVG kit but instead of the anchor, I added a label from the Mothers Garden SVG kit which I stamped and heat embossed.  Again, I just added some rolled roses and greenery to finish it off.
I'm really pleased with how this gift set turned out and can't wait to give it to the recipient. I'm sure they are going to love it!


Thanks for stopping by!


Image Hosted by ImageShack.us
 

http://www.svgcuts.com/affiliates/jrox.php?id=3640&jxURL=http://svgcuts.com/index.php?main_page=product_info&cPath=29&products_id=358
http://www.svgcuts.com/affiliates/jrox.php?id=3640&jxURL=http://svgcuts.com/index.php?main_page=product_info&cPath=30&products_id=347

http://www.svgcuts.com/affiliates/jrox.php?id=3640&jxURL=http://svgcuts.com/index.php?main_page=product_info&cPath=44&products_id=306

Saturday, 2 November 2013

Butterflies Galore

I came across the idea for this card on Pinterest quite a while back.  Unfortunately, I looked for it again since but just haven't been able find the original source to give credit.
Nonetheless, this is my take on the butterflies on the fence card. 

The base of the card was made with one sheet of 12x12 AC cardstock, cut in half (at an angle) and with two folds in different directions to create the three panels of the card.  I wasn't specific with the measurements - just wanted the back panel to be a little larger than the front. As I wanted the card to look like a fence, I printed a piece of paper from the All Wood digital collection from Miriam's Scraps and adhered it to the cardstock and cut to size. 

I then cut out a whole bunch of butterflies from various SVGCuts kits and collections and inked their edges before layering them all along the edge of the card.  As a final touch, I added some Kaisercraft pearls for their bodies.

Unfortunately, you'll notice that the third butterfly from the bottom is torn.  I should note that this didn't happen during cutting, but afterwards... I was in such a hurry when I lifted it off the cutting mat and ripped it as a result (note to self - be more careful next time!).   
 
At first, I thought I could get away with the broken butterfly but once I put it all together, you could still clearly see it.  
So, at the very last minute (and after I packed my camera away), I decided to quickly cut out another butterfly and replace it after all.  I just couldn't let it go... :).  Once I was done, I looked at it again and realised it was still missing something so I added a die-cut oval with a stamped Happy birthday sentiment to the front with a bit of twine.
Next time, I will try to leave myself a bit more time to take pictures of the finished product (not halfway through... lol).

Thanks for stopping by!
 

Image Hosted by ImageShack.us