Showing posts with label Birthday. Show all posts

Sunday, 13 July 2014

Cupcake Card and Pillow Box

Hi there, today I am sharing a gift combo I made for a young lady at work last week.  

As some of you may know, another one of my crafty addictions is soap-making...  So I whipped up a soap loaf (hope to do a blog post on that some time) and needed a small bag/box that would hold a single slice of soap.  As I was looking through the tons of great boxes in the SVGCuts library, I came across the pillow box in the Christmas Bags and Boxes SVG Kit and the dimensions were perfect for my soap bar.

So I pulled out some playful birthday paper from my stash (sorry, I don't know the brand as I've had it forever) and cut out my pillow box.  Here it is... super sweet and fun for a young lady.

Onto the card... which was totally inspired by the cupcakes on the paper.  I went straight to the Happy Birthday to You SVG Kit as I've wanted to make the cupcake lever card for ages.  I'm so glad I finally did - it's such a sweet card and so easy to assemble.  
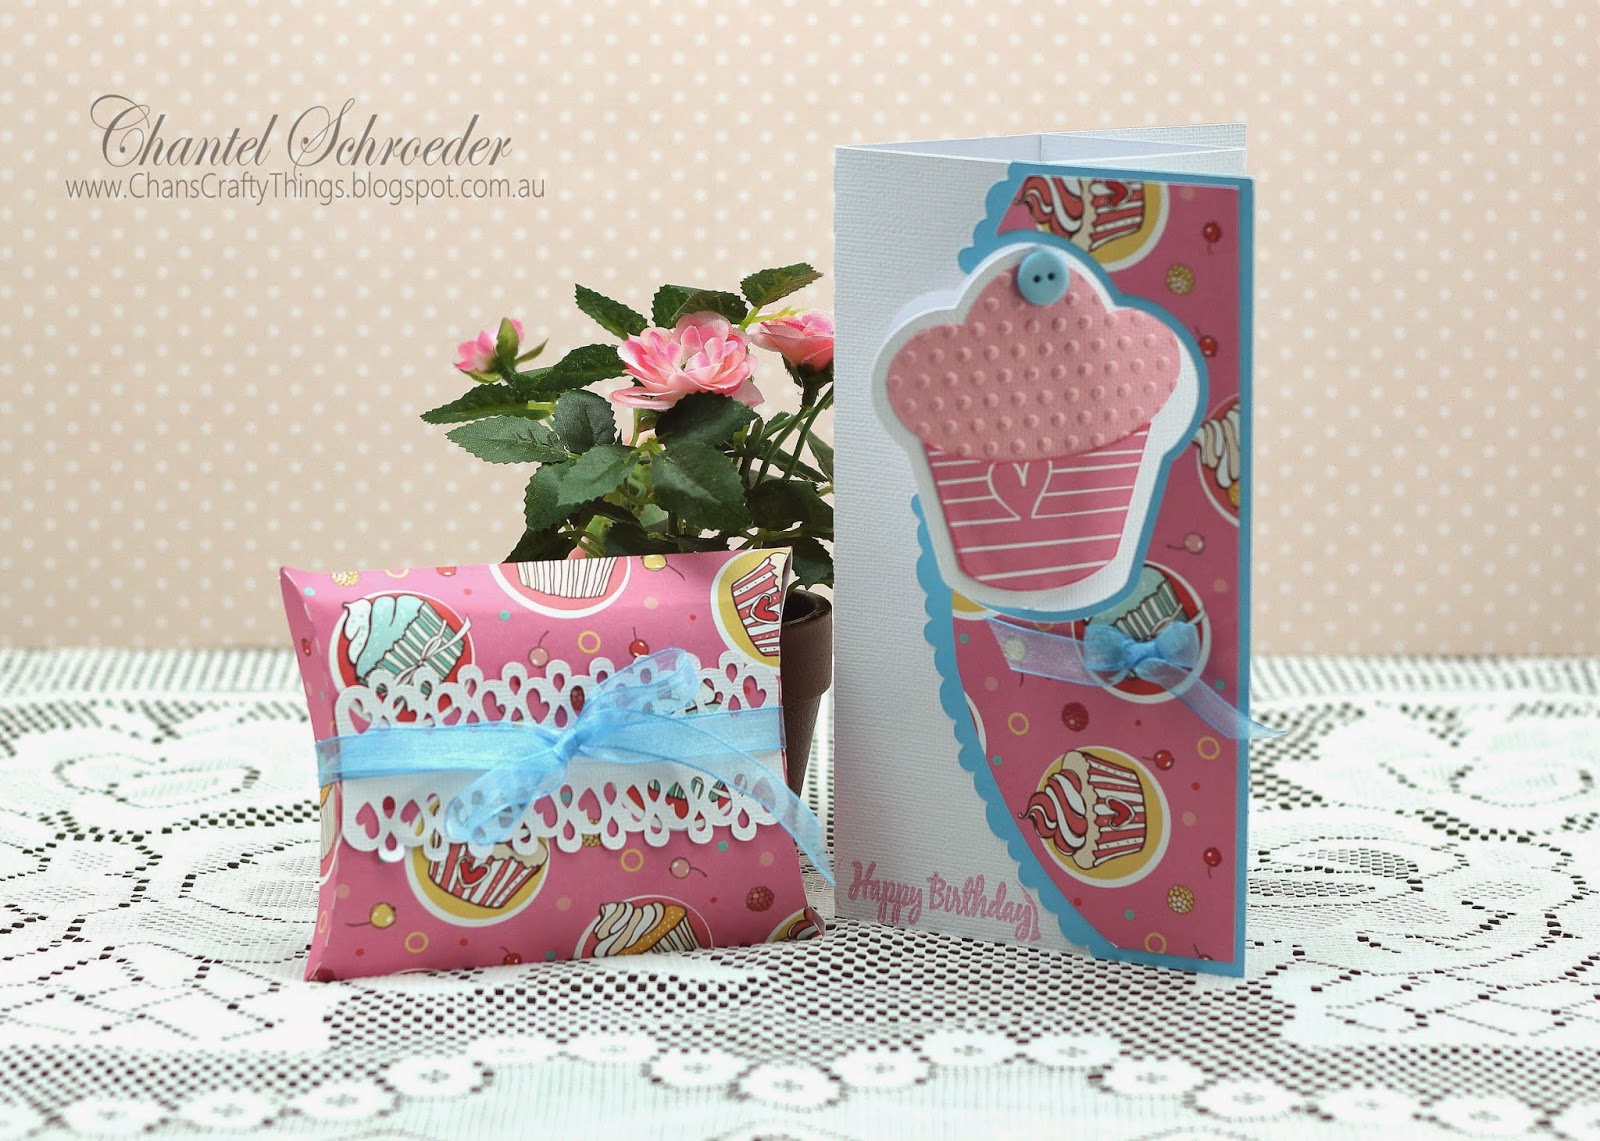


As the paper I used for this project is quite bold and busy, I decided not to do the flower on the card but rather to keep the embellishments to a minimum.  The cupcake is so cute by itself so I thought just a little embossing for texture would be enough to finish it off. 

Thanks for stopping by!


Image Hosted by ImageShack.us


Saturday, 17 May 2014

Dinosaur Birthday Card

Hi everyone, I just quickly wanted to share this cute little dinosaur card I made for my friend's son on his birthday... 


The card base is from the Oak Manor Step Card in the Edisto Island Cards SVG Kit.  I also used the label, trees and leaves from this kit but I substituted the manor with the cute FREE dinosaur from SVGCuts. 


I think little Drayer liked his card, but you should have seen his little face when he noticed the money tucked away inside:)  So adorable!

Thanks for stopping by!


Image Hosted by ImageShack.us

Saturday, 2 November 2013

Butterflies Galore

I came across the idea for this card on Pinterest quite a while back.  Unfortunately, I looked for it again since but just haven't been able find the original source to give credit.
Nonetheless, this is my take on the butterflies on the fence card. 

The base of the card was made with one sheet of 12x12 AC cardstock, cut in half (at an angle) and with two folds in different directions to create the three panels of the card.  I wasn't specific with the measurements - just wanted the back panel to be a little larger than the front. As I wanted the card to look like a fence, I printed a piece of paper from the All Wood digital collection from Miriam's Scraps and adhered it to the cardstock and cut to size. 

I then cut out a whole bunch of butterflies from various SVGCuts kits and collections and inked their edges before layering them all along the edge of the card.  As a final touch, I added some Kaisercraft pearls for their bodies.

Unfortunately, you'll notice that the third butterfly from the bottom is torn.  I should note that this didn't happen during cutting, but afterwards... I was in such a hurry when I lifted it off the cutting mat and ripped it as a result (note to self - be more careful next time!).   
 
At first, I thought I could get away with the broken butterfly but once I put it all together, you could still clearly see it.  
So, at the very last minute (and after I packed my camera away), I decided to quickly cut out another butterfly and replace it after all.  I just couldn't let it go... :).  Once I was done, I looked at it again and realised it was still missing something so I added a die-cut oval with a stamped Happy birthday sentiment to the front with a bit of twine.
Next time, I will try to leave myself a bit more time to take pictures of the finished product (not halfway through... lol).

Thanks for stopping by!
 

Image Hosted by ImageShack.us
 

Sunday, 20 October 2013

Birthday Bass

Just sharing a quick gift card holder I made for my friend for his birthday.  He loves fishing so I thought this bass would be quite suited...
The bass gift card holder cut file is from the Forest Country SVG Collection from SVGCuts.  It's so quick and easy to put together - and perfect for a guy! 

I Inked the edges of his fins with Tim Holtz Broken China distress ink and then added some Turquoise Perfect Pearls to give it a shimmer.  I then stamped the dotted background with some clear versamark Ink and again dusted it with Perfect Pearls.   

Finally, I added a little googly eye and then finished it off with a gift card from his favourite store...

Thanks for stopping by!


Image Hosted by ImageShack.us
  

Friday, 18 October 2013

Happiness is not a destination...

My friend's (very crafty) daughter received an invitation to a "Paris" party the other day.  Whilst shopping around for a birthday gift, they came across one of those inspirational hanging plaques with a beautiful picture of the Eiffel Tower on it.
When I saw the picture, I just new that we needed to make the Eiffel Tower box from the Amelie's Accessories SVGCuts Kit to go with it. 
So, my crafty little helper (Keyra) and I set out to put something together for the birthday girl quickly.  This is what we came up with...


The paper is from a Kaisercraft stack I have in my stash.  I think Keyra did an amazing job at inking all the edges to match the colours in the plaque.  It was also the first time she had a go at using the Big Shot to dry emboss, which was very exciting!

The little birthday tag with  baker's twine was Keyra's idea - the perfect touch to finish it off nicely, don't you think?
I just love this little box. I was really surprised how quick it was so assemble - and everything was done in no time (especially as there were 4 hands instead of 2 thanks to my crafty friend)!


Thanks for stopping by!


Image Hosted by ImageShack.us


Saturday, 28 September 2013

Happy Birthday Sailor Boy

Today I'm sharing a card I made for the weekly challenge on the KaDoodle Bug Designs Facebook page. 


The challenge was to make a birthday card using files from KaDoodle Bug deisgns, so I decided to use the Goodship Lollipop Kids file along with the Americana digital paper collection from Carina Gardner. 

I put all the pieces of the sailing boat together on my mat and then made a shadow around the whole thing.  I made a duplicate of the outline, flipped it horizontally and then welded the two pieces together to make the base of my card.  All the elements (including the little boy) were done with the print and cut feature on my Cameo - although I had to trace the little boy first to make him into a file I could cut with my machine.

I added some embroidery thread for the ropes and hand knitted a piece for the "anchor chain".  Finally, I hand cut the flag and stamped the happy birthday with Stazon ink before I adhered it to the card.
Such a fun little card to make...


Thanks for stopping by!
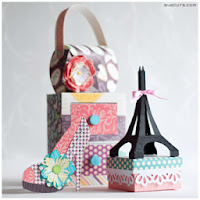
 

Image Hosted by ImageShack.us


Sunday, 1 September 2013

Birthday Roses

I finally got a chance to do a bit of crafting this weekend (yippee!). 

I've wanted to make the urn and roses from the Mom's Garden Gifts Kit from SVGCuts since it was released but just never got around to it.  So as I was going through my cut files in search for a birthday gift this morning, I came across this kit again and just knew that today would be the day!  This is what I came up with...
The paper is from the DCWV Fiesta stack.  My husband picked it out one day (yes, much to his dismay, I drag him into scrapbook stores on occassion) and I fell in love with it instantly!  The papers are all so bright and "happy" with great textures on each page. I really struggled to decide on which papers to use but in the end, I chose one of the very colourful, high gloss pages for the urn.  

The roses and leaves were also cut from the same stack.  Unfortunately the paper is only printed on one side so I inked the white sides and edges so that it would blend in with the coloured sides. 


I added a couple of elements from the stack and also cut a small banner from the For My Valentine Kit.  The "Happy Birthday" text was done with my Silhouette (pen function) before I cut the banner out.

I had so much fun making this and can't wait to give it to the birthday girl tomorrow!
 
Thanks for stopping by!
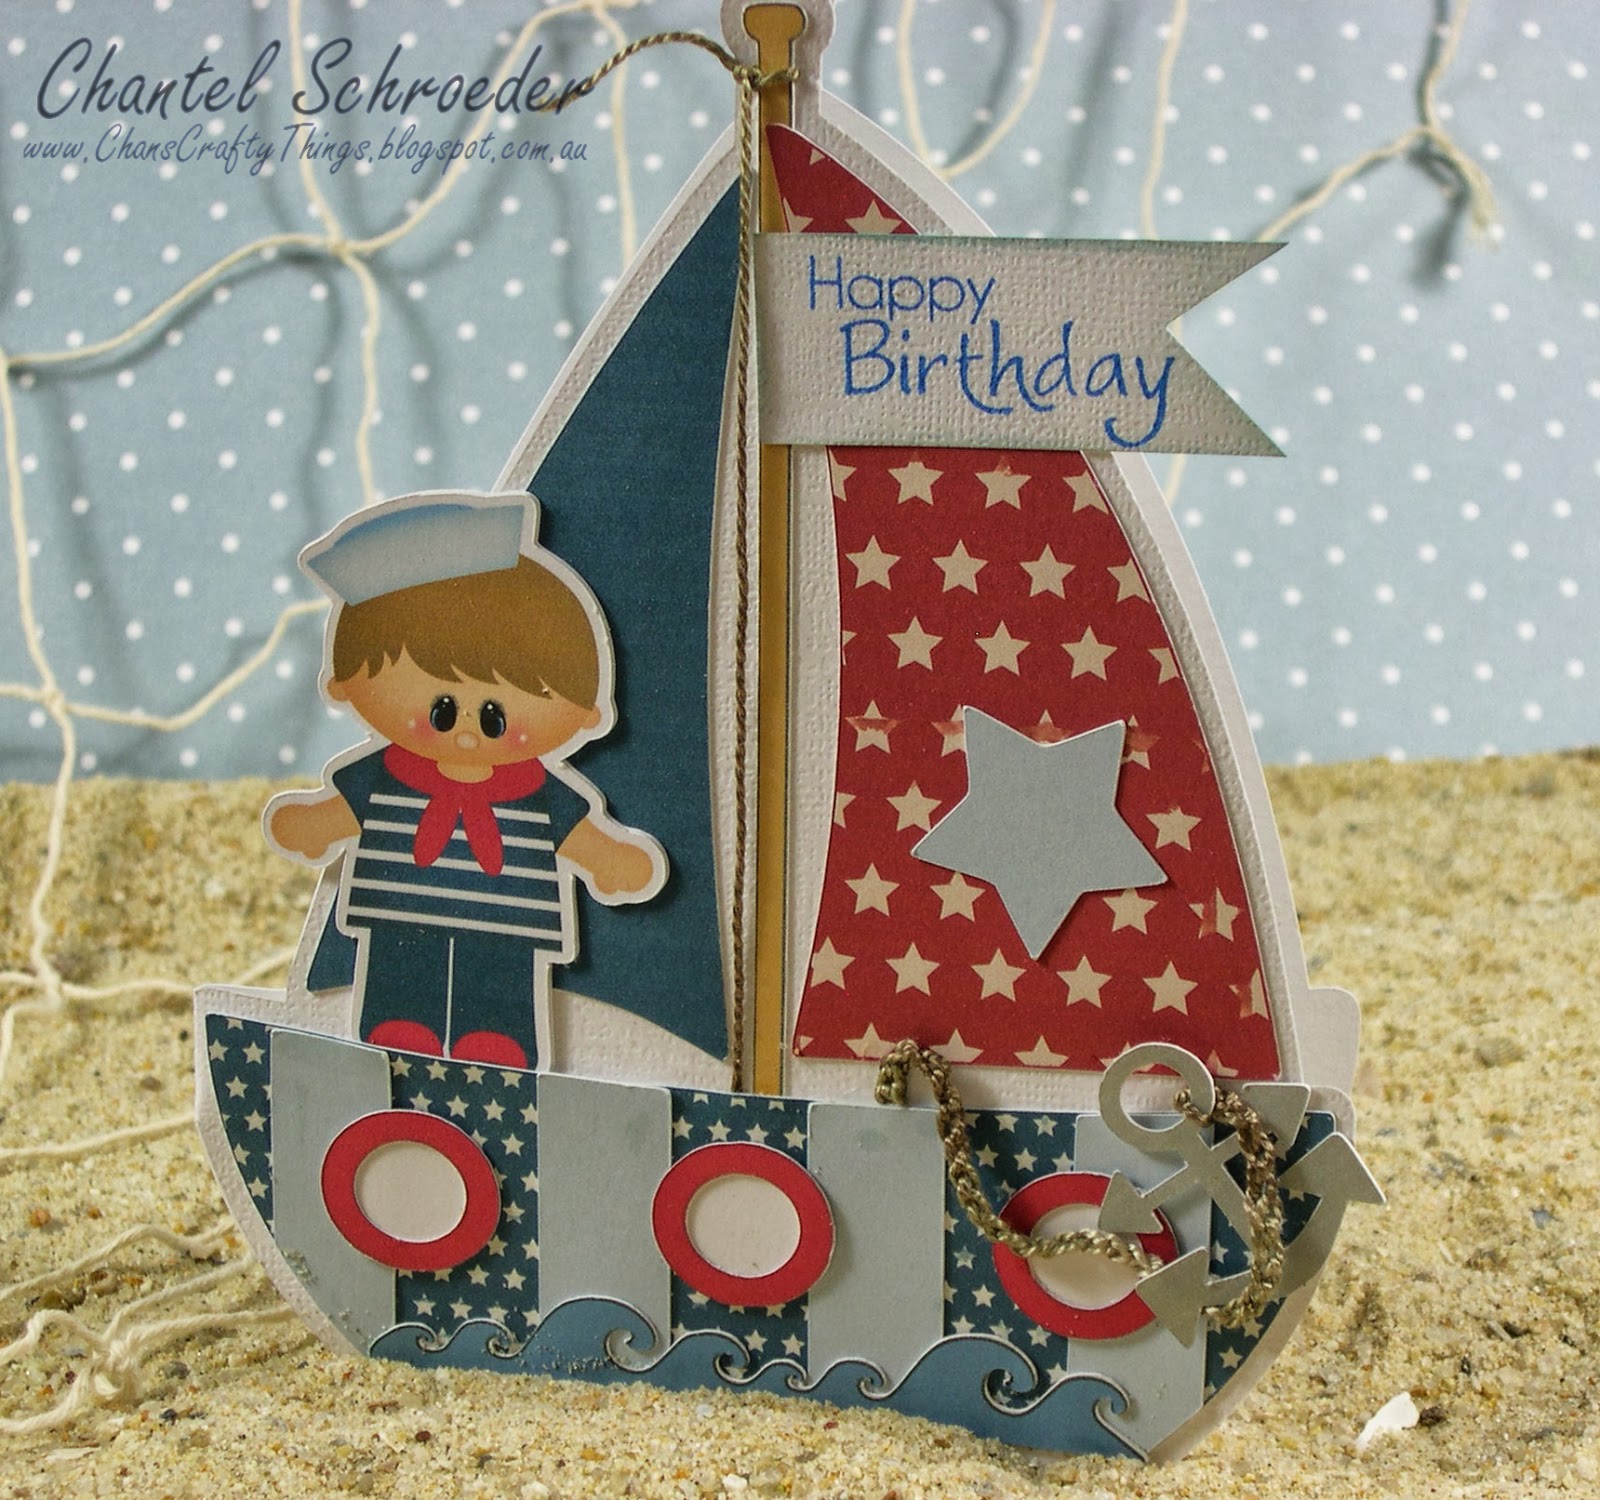
 

Image Hosted by ImageShack.us


Sunday, 28 July 2013

A quick Happy Birthday...

Today I'm just sharing a quick birthday card I made for a lady at work.
The file is from the Five Minute Cards kit and the paper is Harvest Spice from Shabby Princess. 

It was my first time using the print and cut feature on my Cameo and I couldn't believe how quick and easy it was. I simply imported the svg's into Silhouette Studio SD and then filled each piece with the pattern I wanted.  I then added some faux stitching and Happy birthday text in white.
I love that I was able to print it all out and cut every piece for this card in one go. Assembly was super quick - I simply adhered the first layer, added some dimensional dots to the second layer, a few brads and... viola!  All done in no time!
 
Thanks for stopping by!
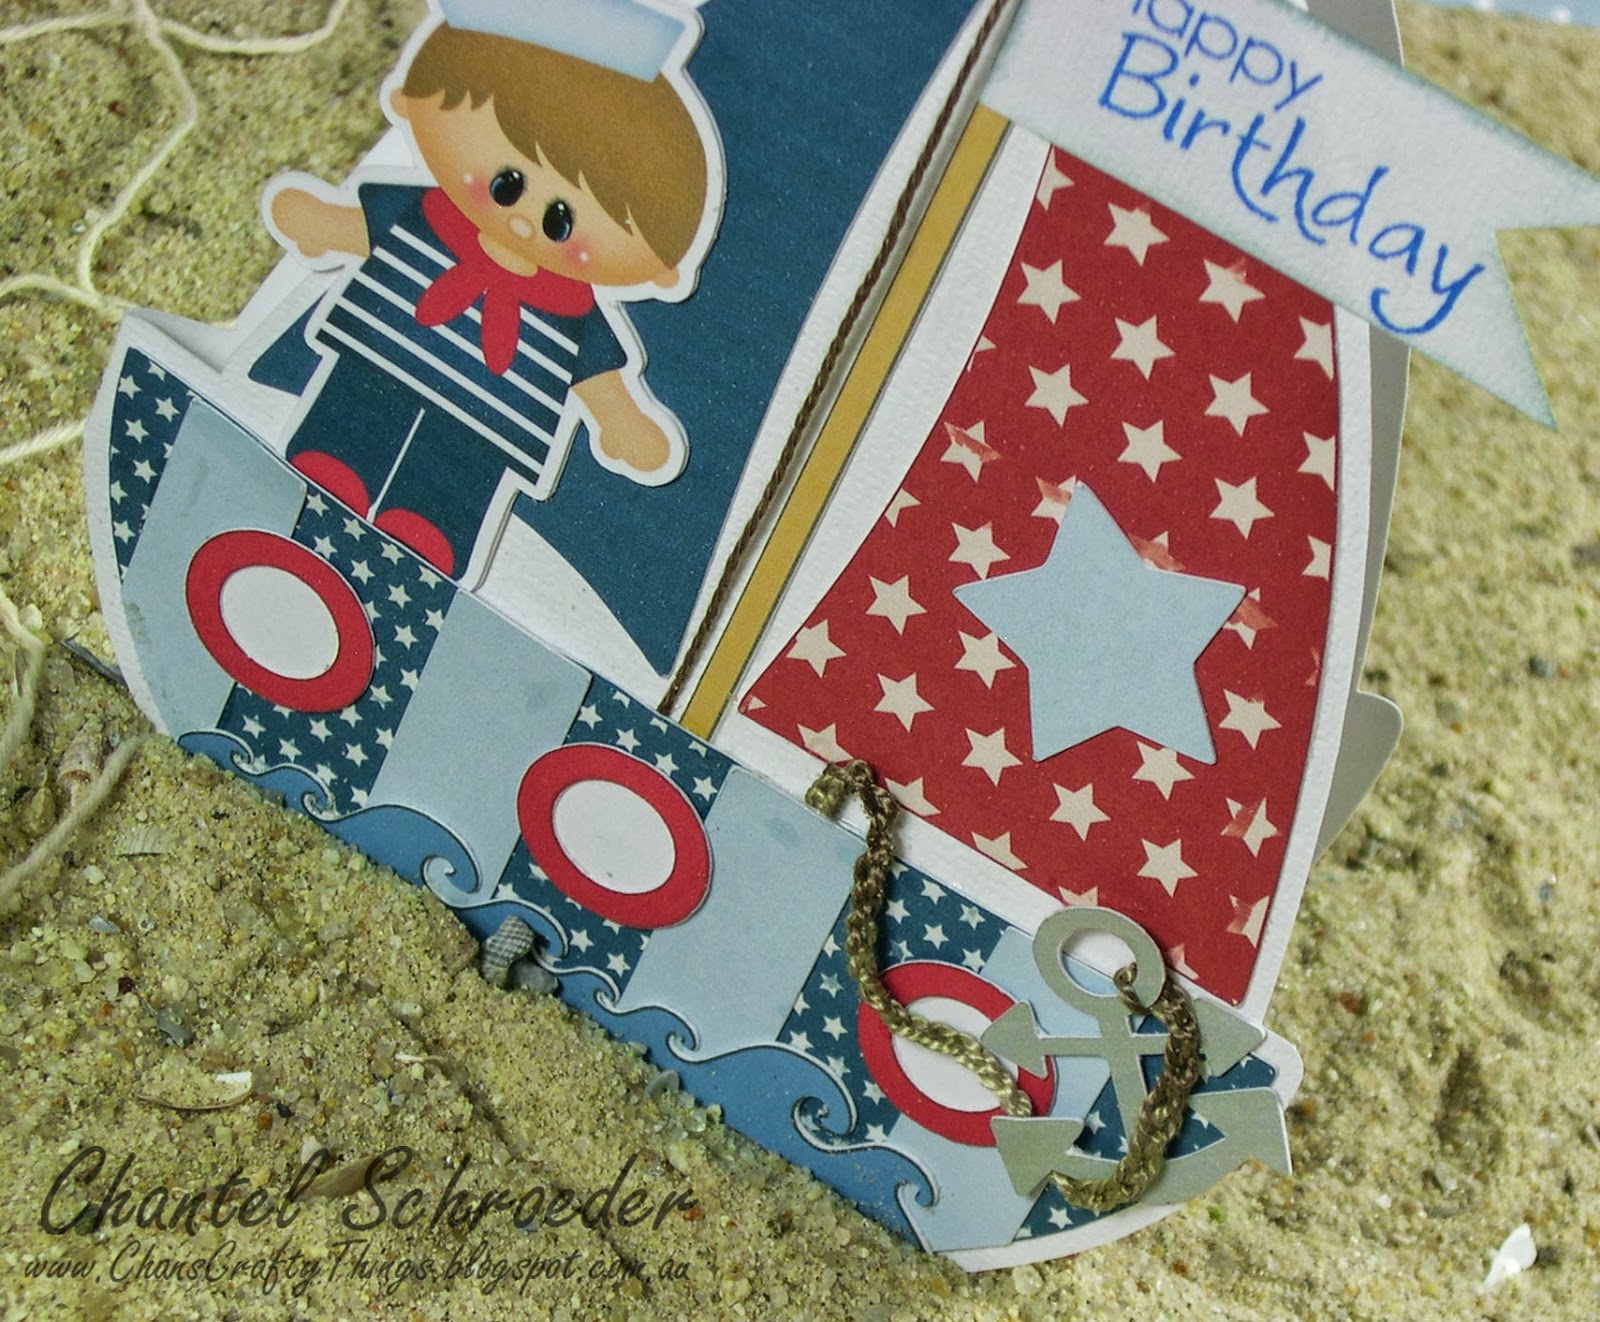
 

Image Hosted by ImageShack.us