Showing posts with label Box. Show all posts

Friday, 4 April 2014

Upside Down Miniature Cake Box - SVGCuts Guest Post!

As you all know, I am a super big fan of SVGCuts and have been for quite a few years! So, you can just imagine how excited I was when I was asked to do a guest post for the SVGCuts blog!!!

I still have to pinch myself as I can't believe that this actually happened to little old me... but apparently it really did!  My guest designer post went up on the blog yesterday and I am so SUPER excited to share it with you today:)

For my project, I used a combination of kits to make a miniature upside down cake box on a stand with a matching card.  You can find complete instructions on how to make this project here on the SVGCuts blog.


For the stand, I used the pedestal file from the Happy Birthday to You SVG kit.  The round box files that form the cake is from the Poplar Street Tulips SVG kit. I sized them down quite a bit so that the cake would fit on the stand.   
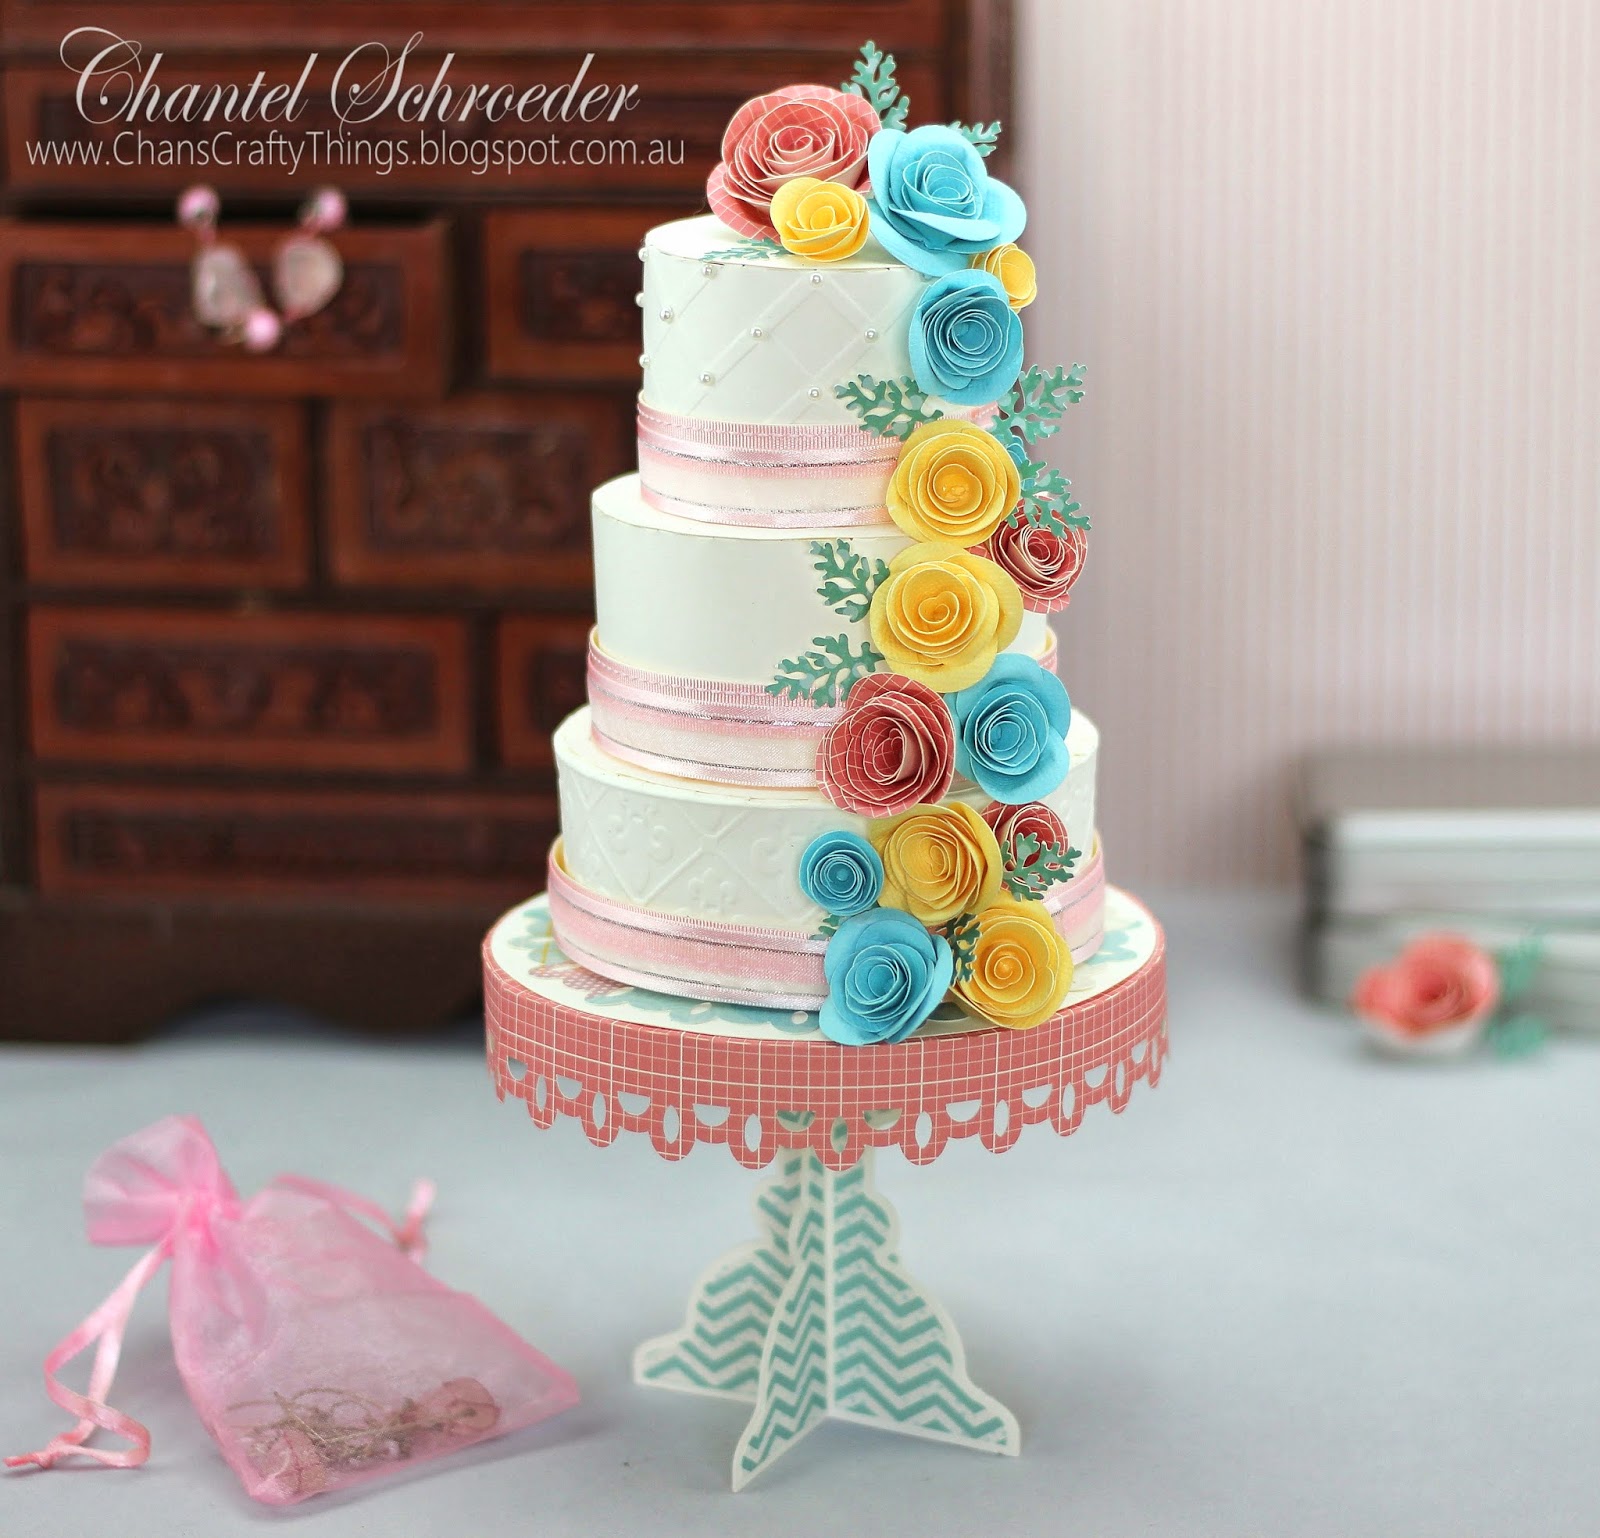


All the boxes were assembled as usual after I ran the side panels through my embossing folder.  I then adhered the three boxes upside down on top of each other so that the lids become the "ribbon" around each of the cake tiers.  I then decorated it with ribbon and roses from the Crush on You Boxes SVG kit.
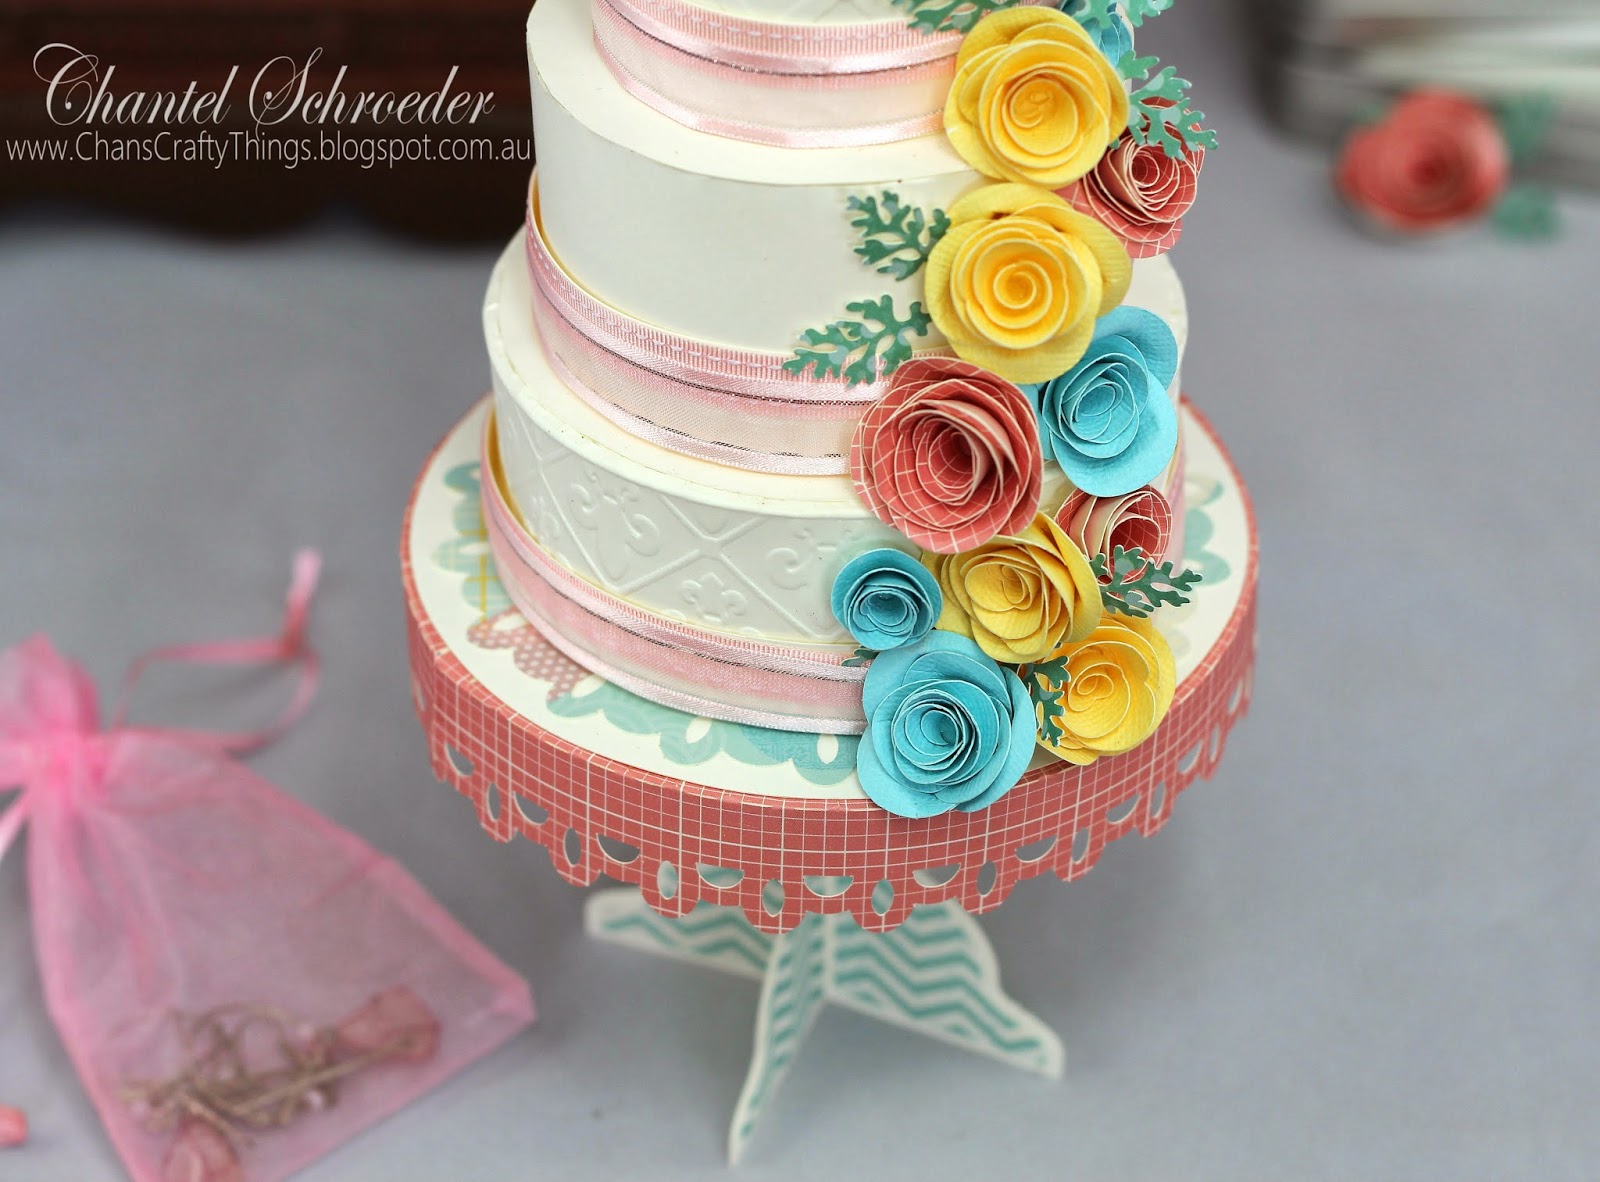

As the cake is made up out of three separate boxes, each can be used to store small items such as jewelry.


The card file is from the Breezy Backyard Lever Cards SVG kit however, I decided to embellish it with some leftover roses I made for the cake, along with a few cut-outs from the DCWV Sunday Afternoon paper stack I used for the rest of the project.  


I'm really pleased with how this project turned out.  If you would like more details, please stop by the SVGCuts blog and remember to share photo's if you decide to make one yourself.  

Thanks for stopping by!


Image Hosted by ImageShack.us

Sunday, 16 February 2014

So Lucky to Have You - Shamrock Octagonal Box

Okay, can I just start by saying that I LOVE the free Octagonal Heart Shaped Box from SVGCuts! It's so cute - and a great size too!  Thanks for this great gift Mary and Leo!

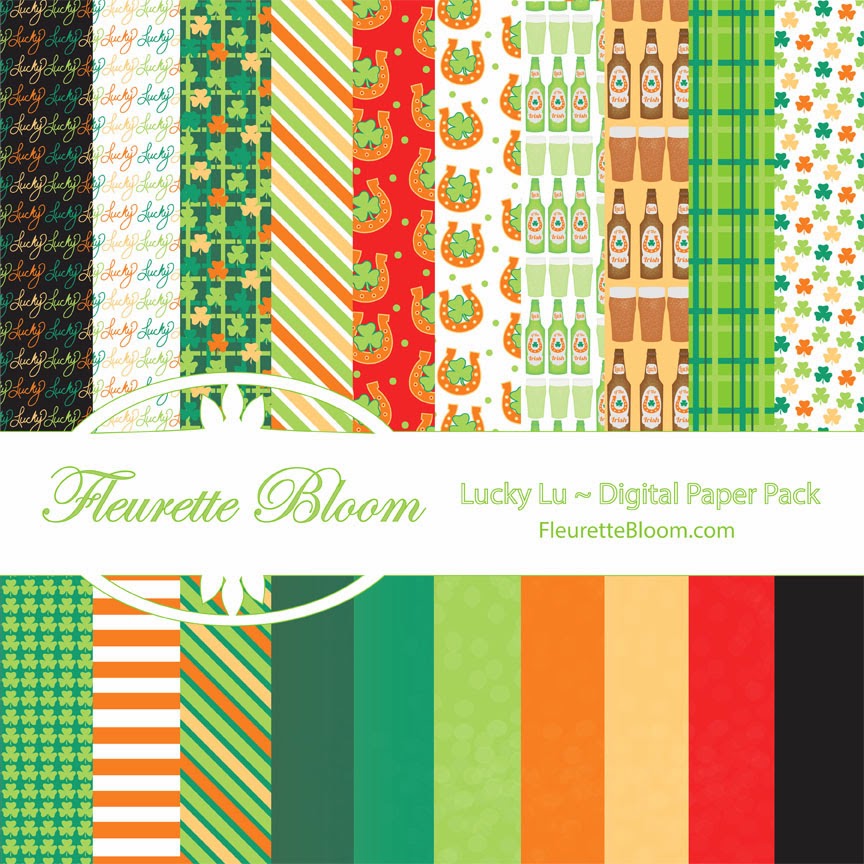
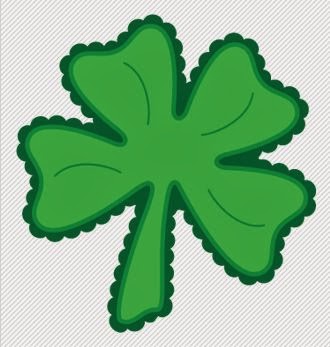
For my project, I did change it up a bit though... I took the Octagonal Heart Shaped Box and replaced the heart with the free Scalloped Shamrock file (also from SVGCuts).  I really like how it turned out - especially with this amazing paper from Fleurette Bloom's store.  It's the new Lucky Lu Digital Paper Pack and it's simply stunning!  So many fun colours to choose from.


Because the paper is colourful, I didn't even need to add a whole lot of embellishments... a button, a few rhinestones and a bit of ribbon is all it took to finish this box off nicely.  

As a final touch, I designed the little banner using basic fonts in my Silhouette software and then changed my blade to a pen in my Cameo.  Once the writing was done, I changed the blade back and cut out the little banner shape.  Super simple and a great idea for those projects where you just can't find the "perfect" stamp.

Thanks for stopping by!


Image Hosted by ImageShack.us


Sunday, 5 January 2014

Blossom Box and Thank You Card

Today I am sharing a little box and matching card I made as a thank you gift for someone special... 
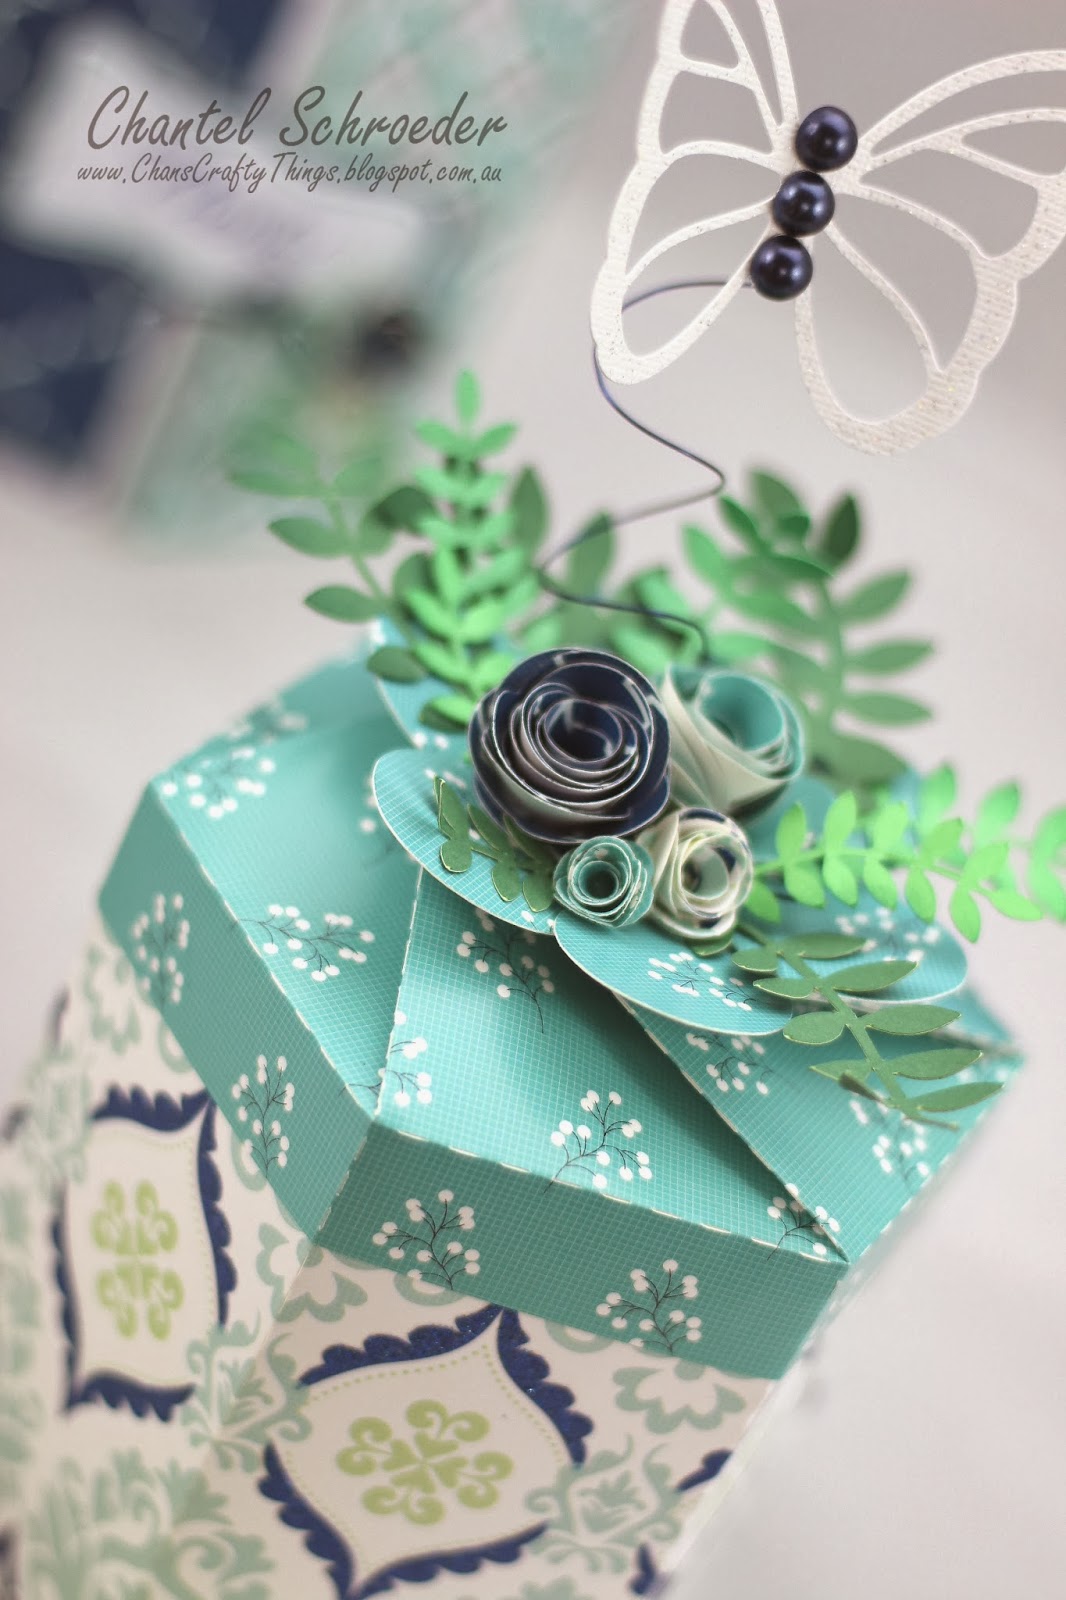
Can I just start by saying that I LOVE these papers!  it's from the DCWV Blue Citrus Stack, and it is just gorgeous!  The colours are so vibrant and I love that it has a combination of shiny and sparkly bits in the papers.  Best of all, it cuts like a dream in my Cameo!
 
Now for the other details... I used the Blossom Box file from the Gift Boxes SVG Kit and embellished it with some rolled roses and greenery from the Mothers Garden SVG kit.  The butterfly is from the High Skies SVG kit (without the vellum) and the navy pearls are from Kaisercraft. 
The card is also from the High Skies SVG kit but instead of the anchor, I added a label from the Mothers Garden SVG kit which I stamped and heat embossed.  Again, I just added some rolled roses and greenery to finish it off.
I'm really pleased with how this gift set turned out and can't wait to give it to the recipient. I'm sure they are going to love it!


Thanks for stopping by!


Image Hosted by ImageShack.us
 

http://www.svgcuts.com/affiliates/jrox.php?id=3640&jxURL=http://svgcuts.com/index.php?main_page=product_info&cPath=29&products_id=358
http://www.svgcuts.com/affiliates/jrox.php?id=3640&jxURL=http://svgcuts.com/index.php?main_page=product_info&cPath=30&products_id=347

http://www.svgcuts.com/affiliates/jrox.php?id=3640&jxURL=http://svgcuts.com/index.php?main_page=product_info&cPath=44&products_id=306

Sunday, 15 December 2013

His and Hers gift set

Today I am sharing a gift set I made for a couple of my friends who celebrate their birthdays a few days apart. 


I don't know about you but I always find it quite difficult to make or buy gifts for guys.  Fortunately, for me, SVGCuts always comes to the rescue with their amazing kits. So, for "His" gift, I was able to dress up my friend's favourite bottle of happy juice by using the door hanger file from the B is for Birthday kit with some "boy" paper from Kaisercraft. I also made my own bottle cap embellishment by punching out a circle from matching paper and the covering it with an epoxy dot. I thought this would be more suitable than a flower or a ribbon...

For "Hers", I made the champagne bottle from the New Years Eve SVG kit and embellished it with burlap strips, ribbon and flowers.  I stamped the happy birthday tag with a freebie I received when I purchased a scrapbooking magazine.  I thought it was perfect for this occasion.

As a final touch, I added a whole bunch of Teresa Collins vintage brads.  These are my favourite brads of all time and I've had them in my stash forever - just waiting for the "perfect" project to use them on.
Here's the bottle with the top off - revealing the treats I put inside... my friend's favourite chocolates...


Thanks for stopping by!
 

Image Hosted by ImageShack.us
 
   
http://www.svgcuts.com/affiliates/jrox.php?id=3640&jxURL=http://svgcuts.com/index.php?main_page=product_info&cPath=20&products_id=349

Saturday, 19 October 2013

Decorating for Halloween!

Hi there,
We don't really celebrate Halloween in Australia which is why I was super excited to read about the SVGCuts Halloween Challenge... I finally had a good reason to decorate my house for this cool holiday! 

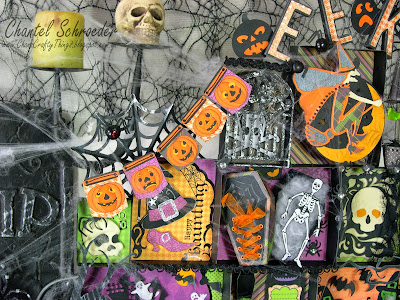
As this was my one chance to play, I wanted to use as many files as possible!  So, I wanted to make something where I could incorporate a bunch of flat and 3D elements.  I'm so happy that I can finally share my finished project with you today.  This is what I came up with...
I made a Halloween Shadow Box and the finished project measures about 24"x24".  It sits proudly on my mantel in our entrance way and on its own, makes for a pretty cool decoration.    

It consists of 11 boxes (I used the gift box from the Catacomb Manor kit and scaled it to different sizes), glued together and mounted on two stands.  These were made from the lid of the tall apothecary jar from the Toil and Trouble kit.

I used one of my all time favourite paper collections - the Bewitched stack from DCWV.  I think that it's the same stack Mary from SVGCuts used when she created the Gimme Candy Boxes Kit.  It's super fun with bright oranges, purples and greens.  But there are so many cute Halloween files to choose from at SVGCuts, I didn't know where to start... So I decided to take it one box at a time. 
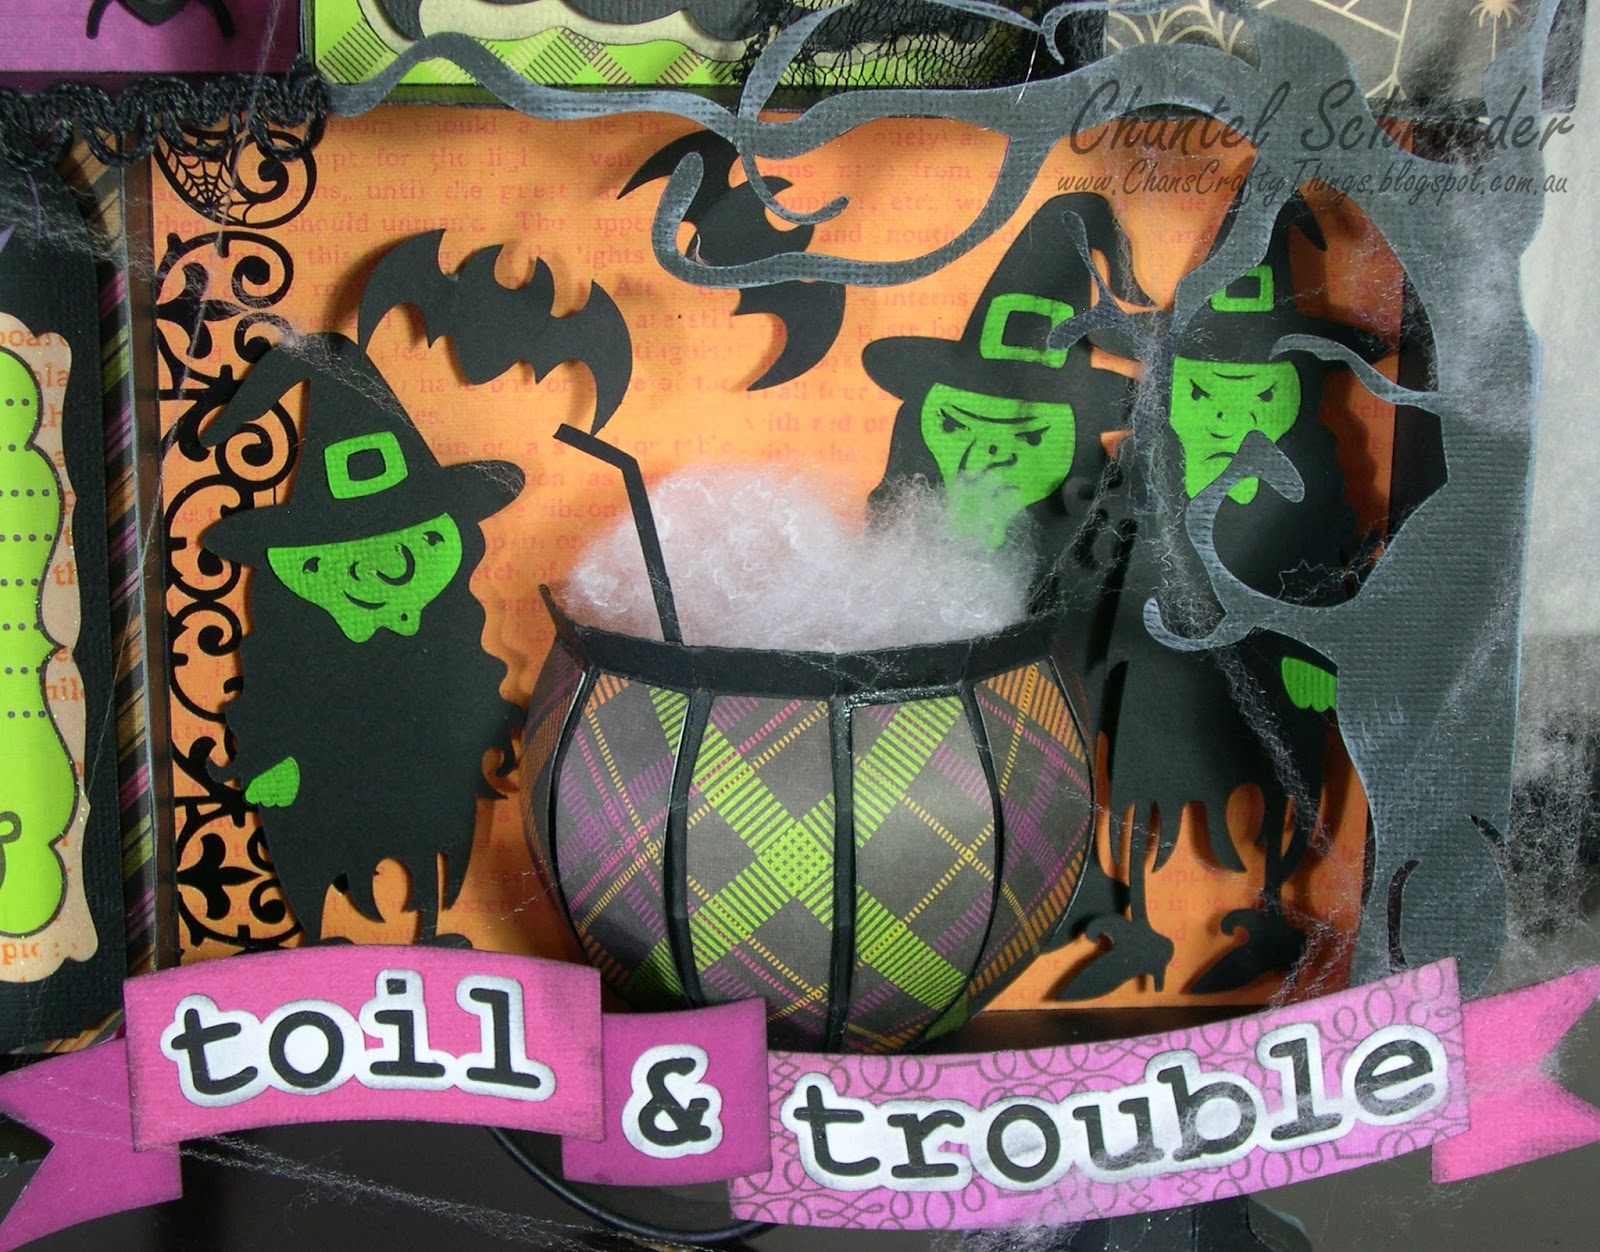
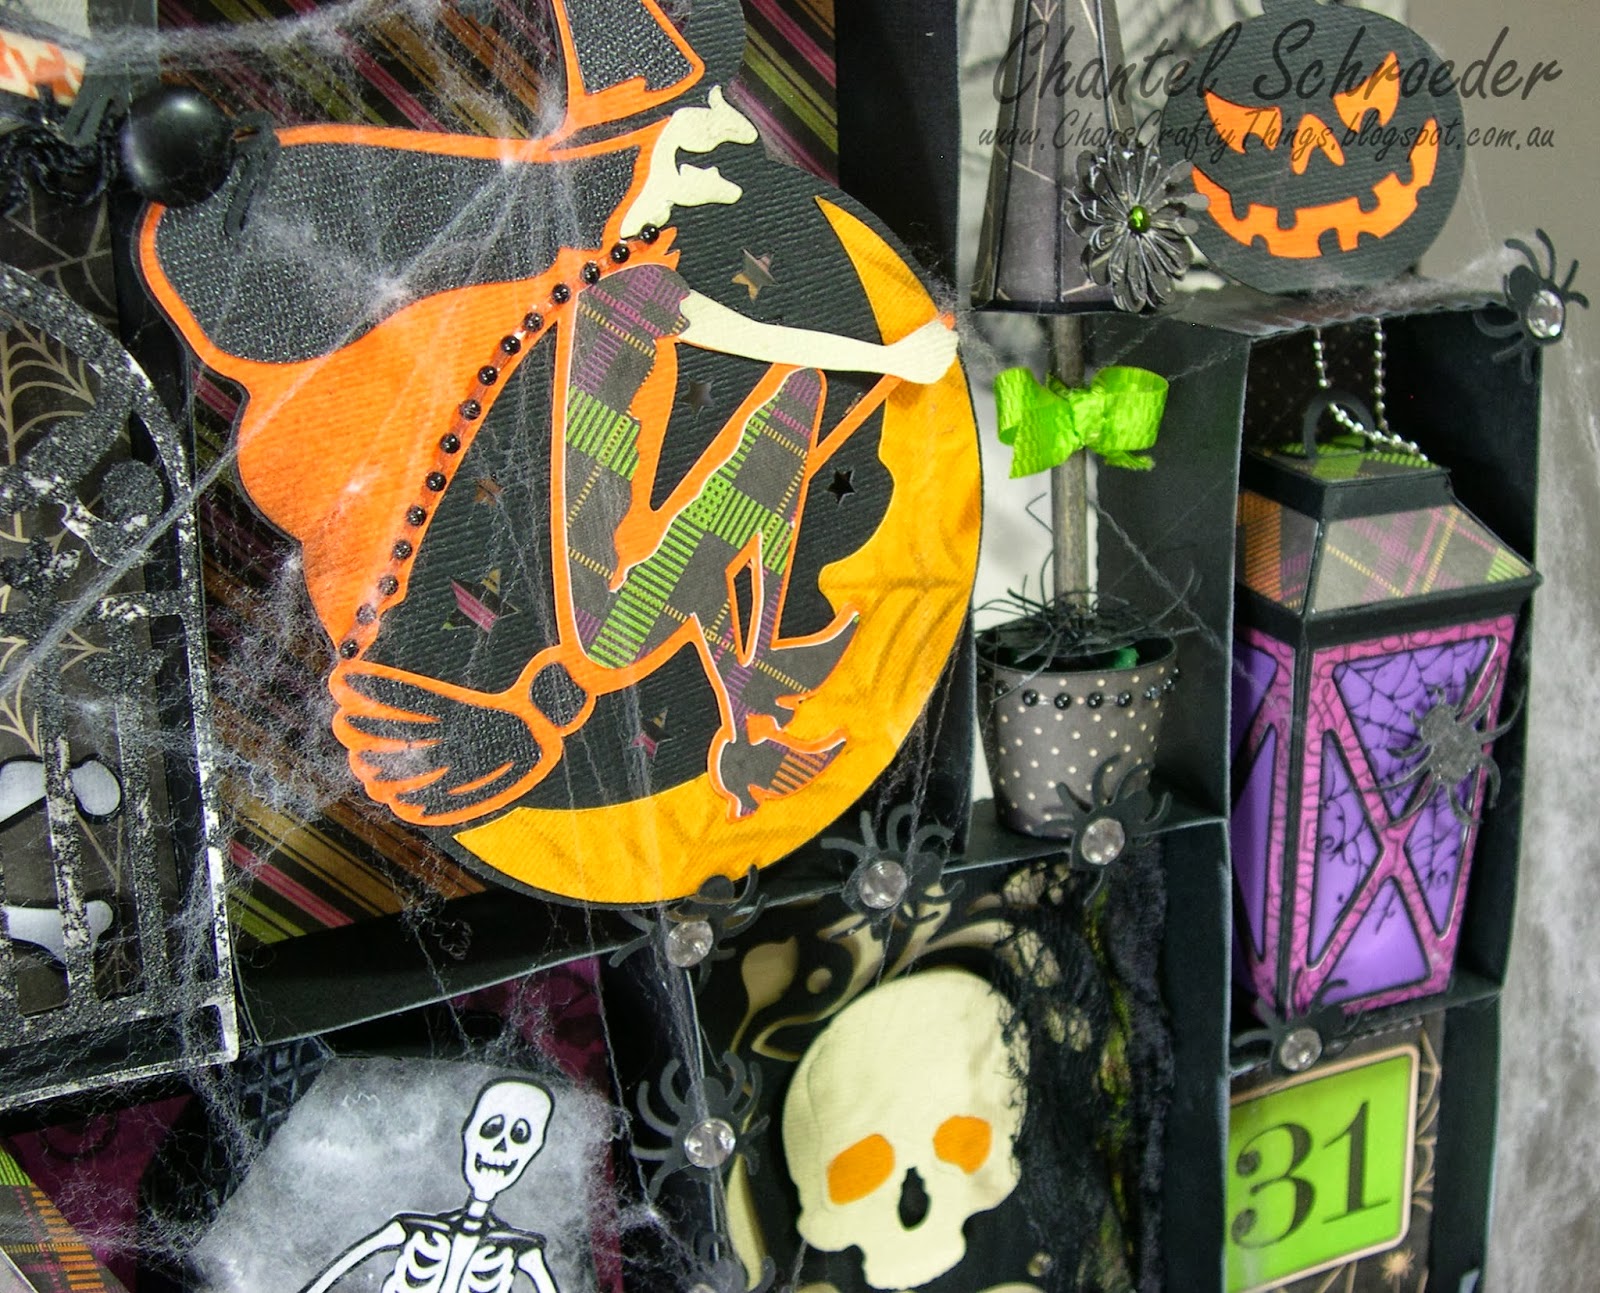
I knew I wanted to make the cute witches shoe from Toil and Trouble, so that's where I began. I made a tiny one which is only about 1.5".  I then added the Double Double sign with a cute element from the paper. Whilst I was at it, I cut out the Toil and trouble sign too as I knew I would use it somewhere on the project.  It wasn't long before I knew where that one would go...

I've always thought the three witches from the Hazel's Wicked Witch Crafts Collection were pretty cool, so I just had to create a scene with them too. That said, I wasn't happy with them on their own.  I wanted to create a bit of depth in my boxes and the flat elements just didn't do the trick.  So I made half of the cauldron from the Party on Elm Street Kit and stuffed it with some fluffy white stuff to make it look like the cauldron is boiling.  It looks great with the LED light on - as if Cassandra, Gwendolyn and Hazel are boiling up a witches brew or some other magic concoction...

I had the same problem with the haunted house silhouette from  the Spooky Silhouette's collection though.  It just looked too flat in the back of the box - even with pop dots.  So I placed a fence, a tree silhouette and the pumpkin from the card in the Toil and Trouble Kit in the front of the box to make it look like the haunted house is far in the background. 
The fun part about this project was scaling everything down to miniature size.  This jointed skeleton from the Spooky Soiree Kit was scaled down to about 5" tall (or should I say short) and fits perfectly into the coffin box from the Elmurst Hollow Kit. 
I made the lantern from the Sooky Soiree Kit too.  I stamped the velum with a spiderweb stamp and added a glittery spider on top.  I used a bit of bathtub wire to "hang" the lantern from the top of the little box and put a little LED tealight inside.  


I must admit, I couldn't get enough of the elements from the newest kit - Catacomb Manor.  So many great files!  So I made designated one of the boxes to skull from the Catacomb Gift card and made a tiny witch hat topiary to fill in the gap between two boxes.

I cut the spiderweb rosette out in different sizes and placed a large one around the edge of the Shadow Box and another around the K from the "EEK" sign (which is also from the same kit). 
Once I was done decorating each of the eleven boxes separately, I shuffled them around until I thought the order looked right and then I glued them together.  I then proceeded to cut out a whole bunch of other elements such as spiders, spiderwebs, pumpkins and Jack  o' Lanterns from various kits and collections and glued them all over the Shadow Box.  I also made a miniature version of the banner from the Midnight Jamboree Kit.  It really ties everything together so nicely.
 
Well, that's it for the close ups.  But here are some pictures with the lights off... I just love how it comes to life with the LED tea lights in the cauldron, the lantern, behind the pumpkin and behind the flying witch..
Finally, here's a list of all the kits I used to create my Halloween shadow box:
This was by far the biggest project I have ever taken on - and BOY WAS IT FUN!  Hope you enjoyed looking through the pictures.  Please leave a comment, sign up to my blog or "like" my Facebook page - I would love to hear from you.

Thanks for stopping by!
 

Image Hosted by ImageShack.us


Friday, 18 October 2013

Happiness is not a destination...

My friend's (very crafty) daughter received an invitation to a "Paris" party the other day.  Whilst shopping around for a birthday gift, they came across one of those inspirational hanging plaques with a beautiful picture of the Eiffel Tower on it.
When I saw the picture, I just new that we needed to make the Eiffel Tower box from the Amelie's Accessories SVGCuts Kit to go with it. 
So, my crafty little helper (Keyra) and I set out to put something together for the birthday girl quickly.  This is what we came up with...


The paper is from a Kaisercraft stack I have in my stash.  I think Keyra did an amazing job at inking all the edges to match the colours in the plaque.  It was also the first time she had a go at using the Big Shot to dry emboss, which was very exciting!

The little birthday tag with  baker's twine was Keyra's idea - the perfect touch to finish it off nicely, don't you think?
I just love this little box. I was really surprised how quick it was so assemble - and everything was done in no time (especially as there were 4 hands instead of 2 thanks to my crafty friend)!


Thanks for stopping by!
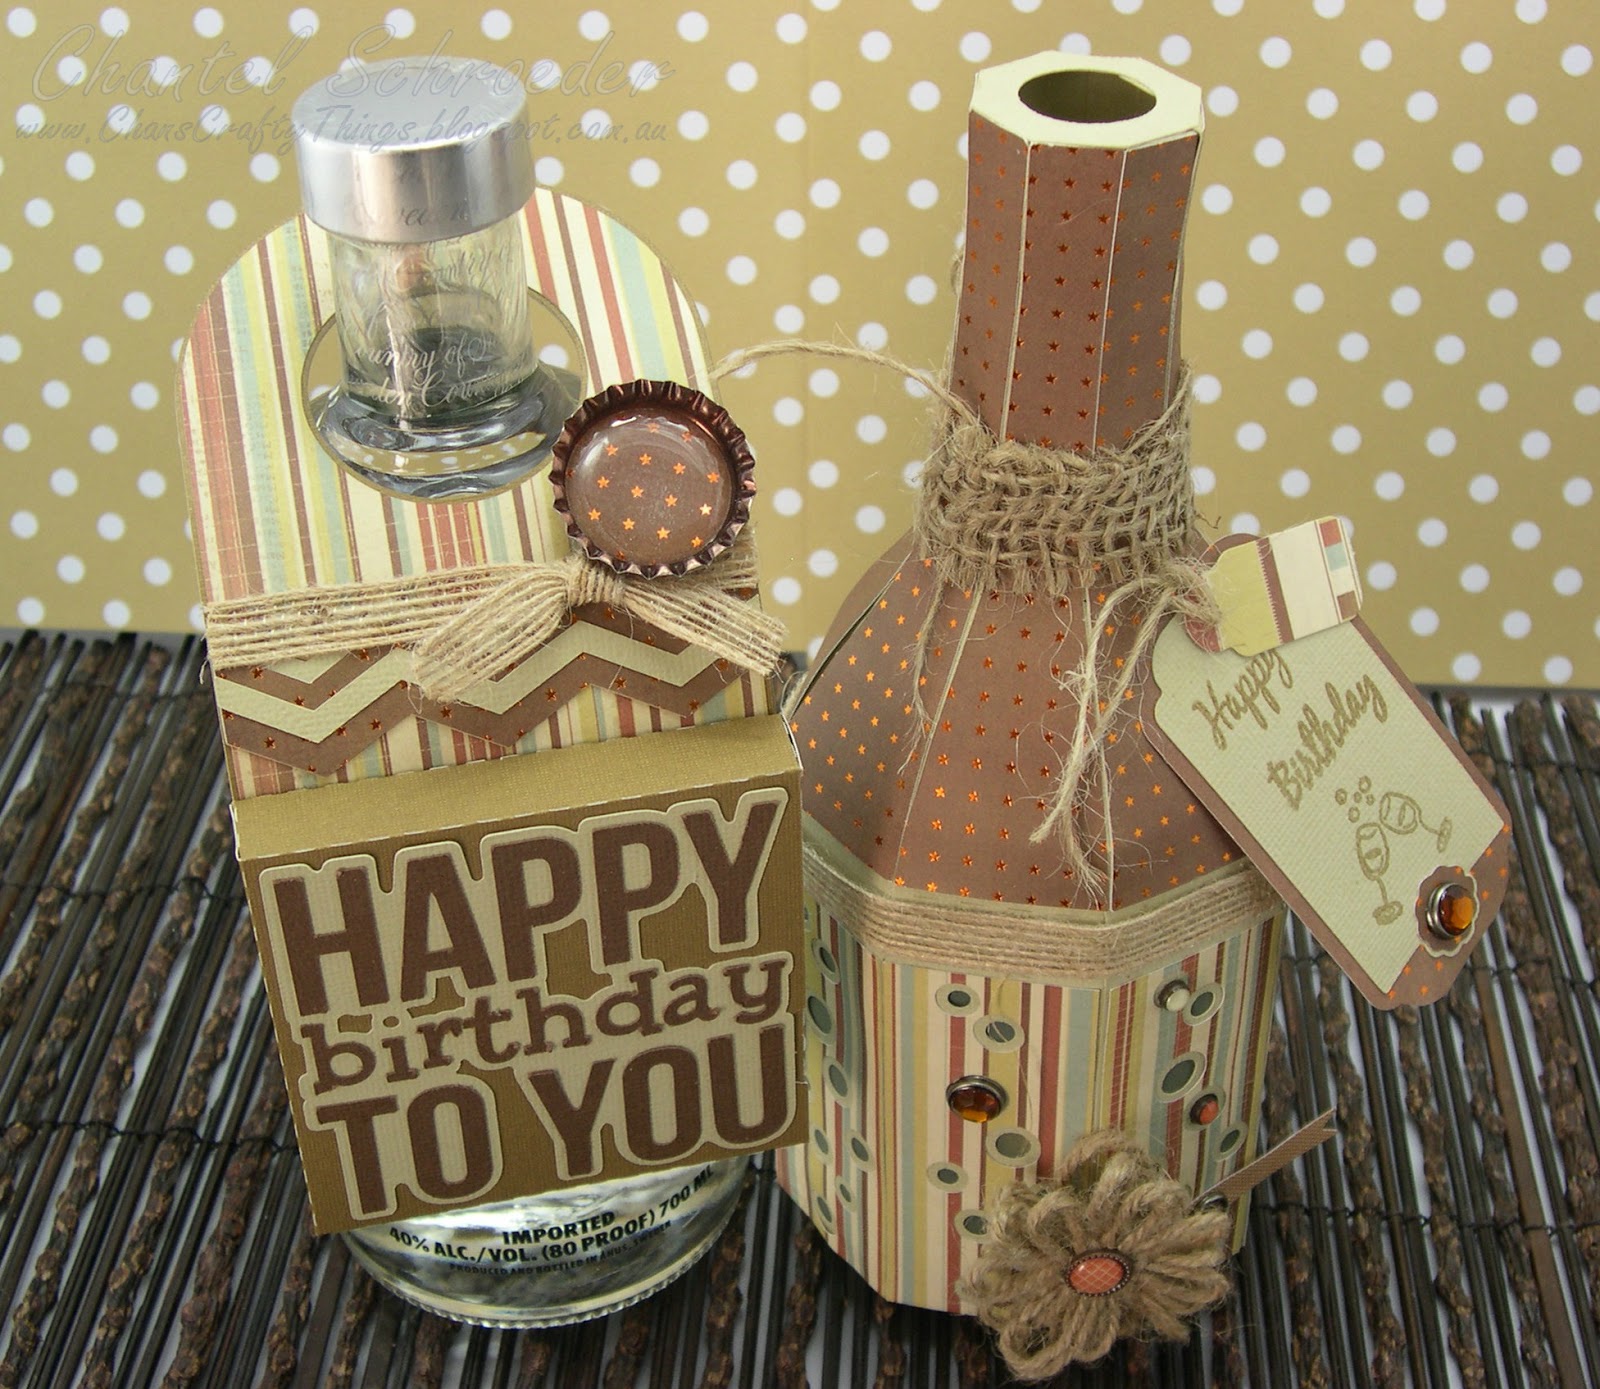
 

Image Hosted by ImageShack.us