Are you ready for New Year's Eve yet? If not, today's blog post is just for you as it is full of quick and easy ideas you can use to get ready for a fantastic party! I'll show you how to "jazz" up anything from old frames and vases to dollar store glasses, chocolate coins and even straws!
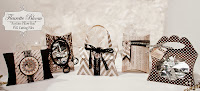
I went for a black and white theme which was totally inspired by Fleurette Bloom's new Putting on the Ritz paper collection. If you haven't checked it out yet, you should! I love this paper... so many possibilities!
So without any further ado... here it is...
I used a mishmash of various cut files from Fleurette Bloom's shop as well as SVGCuts kit and collections. I also used my Silhouette Designer Software and used the print and cut feature on my Cameo for almost everything (apart from the vinyl). So, here's the scoop...
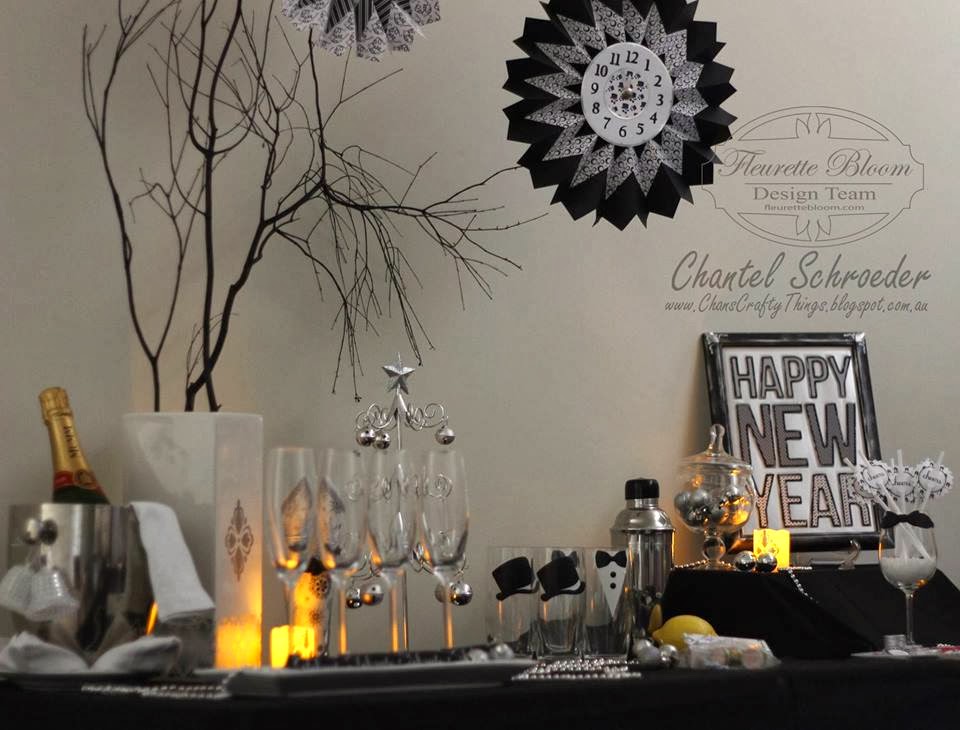
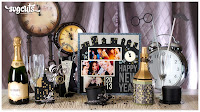
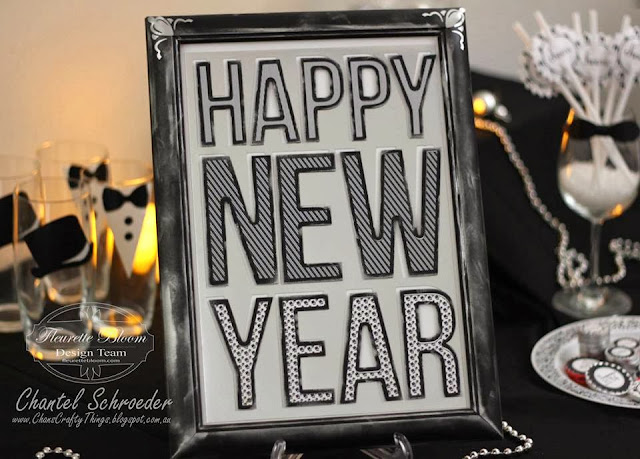
First up is the "Happy New Year" sign. I enlarged the scrapbook page sign from the New Year's Eve SVGCuts kit to A4 size and cut the background out of silver cardstock from the dollar store. I then filled the letters with different digital papers from the Putting on the Ritzs paper collection before cutting it out. I had this old frame lying around so I decided to spruce it up with a bit of silver ink and vinyl cut-outs I had left over from decorating the candles.
 To dress up my champagne glasses, I used the banner file from the Cards for Mom's Simple Stampable Card and added the text using a basic font (Cursif). I lined the tray with a rectangular piece of cardstock which I printed with the same paper collection. I decorated the edges of the white tray with silver vinyl pieces I cut out using the brocade design from the Christmas Gifts Vinyl SVG collection. I also used the same design to decorate my vase and candles (in the background) with vinyl so that everything would tie in together nicely.
I've always liked these little champagne bottles and thought they would make a nice gift for my guests. I made the little tag with an extra shape in the Anytime Pillow Box collection and filled it with digital paper before adding the circle with text. For the label, I drew a square in my software and filled it with the Celebrate paper which made a perfect little border. I framed the 2014 with another element from the Christmas Gifts Vinyl Collection.
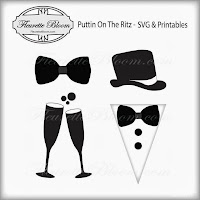
I didn't want to use my best glassware (after all, it is New Year's Eve and people do tend to get a little merry, lol), so I picked up some cheap glasses from the dollar store and dressed them up with vinyl. The cut files for these elements are also from Fleurette Bloom's store - aren't they just too cute?
The drinking straws also received a make-over... For these, I used the same shape as for the champagne bottle tag but a bit smaller. I simply replaced the text with cheers and added a couple of half-moon cuts (top and bottom) for the straw to slide through. The paper bow-tie on the wine glass is a wonderful freebie which you can find here on the SVGCuts website.
I had a whole bunch of chocolate coins left over from gift bags I made for our friend's children over Christmas. I really didn't want them to go to waste but they had Christmas pictures all over them... So I decided to give them new life as well and use them for my party by adding the same shape as above again (just in different sizes) to each. I printed and cut 40 from one sheet of paper and they were so quick to put together. I really like how they turned out. It also gave me an idea for another party theme... hmmm... Can't tell but hopefully you will see soon...
So, after a whole night of eating and drinking, we're supposed to kiss people right? We'll I've got just the thing to get you ready for that "mint-nite kiss"... So simple and yet so cute, right? I know my friends will love these! I used basic fonts for these along with the "for" and "the" from the vinyl collection.
For the party favours, I used the same label as for the small champagne bottle and just changed the text at the top. I added another rectangle at the top and welded the pieced together so that I could fold it over and tie together with some string.
Finally, I made some large rosette's to hang from the ceiling above the drinks table. The rosette file is from the Catacomb Manor SVG kit and I just love how these turned out. They look so elegant in this colour scheme, don't you think?
I think this one is my favourite! I used the same rosette file but enlarged it a little so that I could add the clock face from the Maison de Madelain SVGCuts kit in the centre. I love it and think it's the perfect, final touch to complete my New Year's Eve party decorations. Now all I need to do is whip up some canapés, blow up some balloons and enjoy the party!
I had so much fun with this project! I hope you enjoyed looking through the pictures and that you feel inspired to decorate for your New Year's Eve party as well.
Happy New Year everyone!
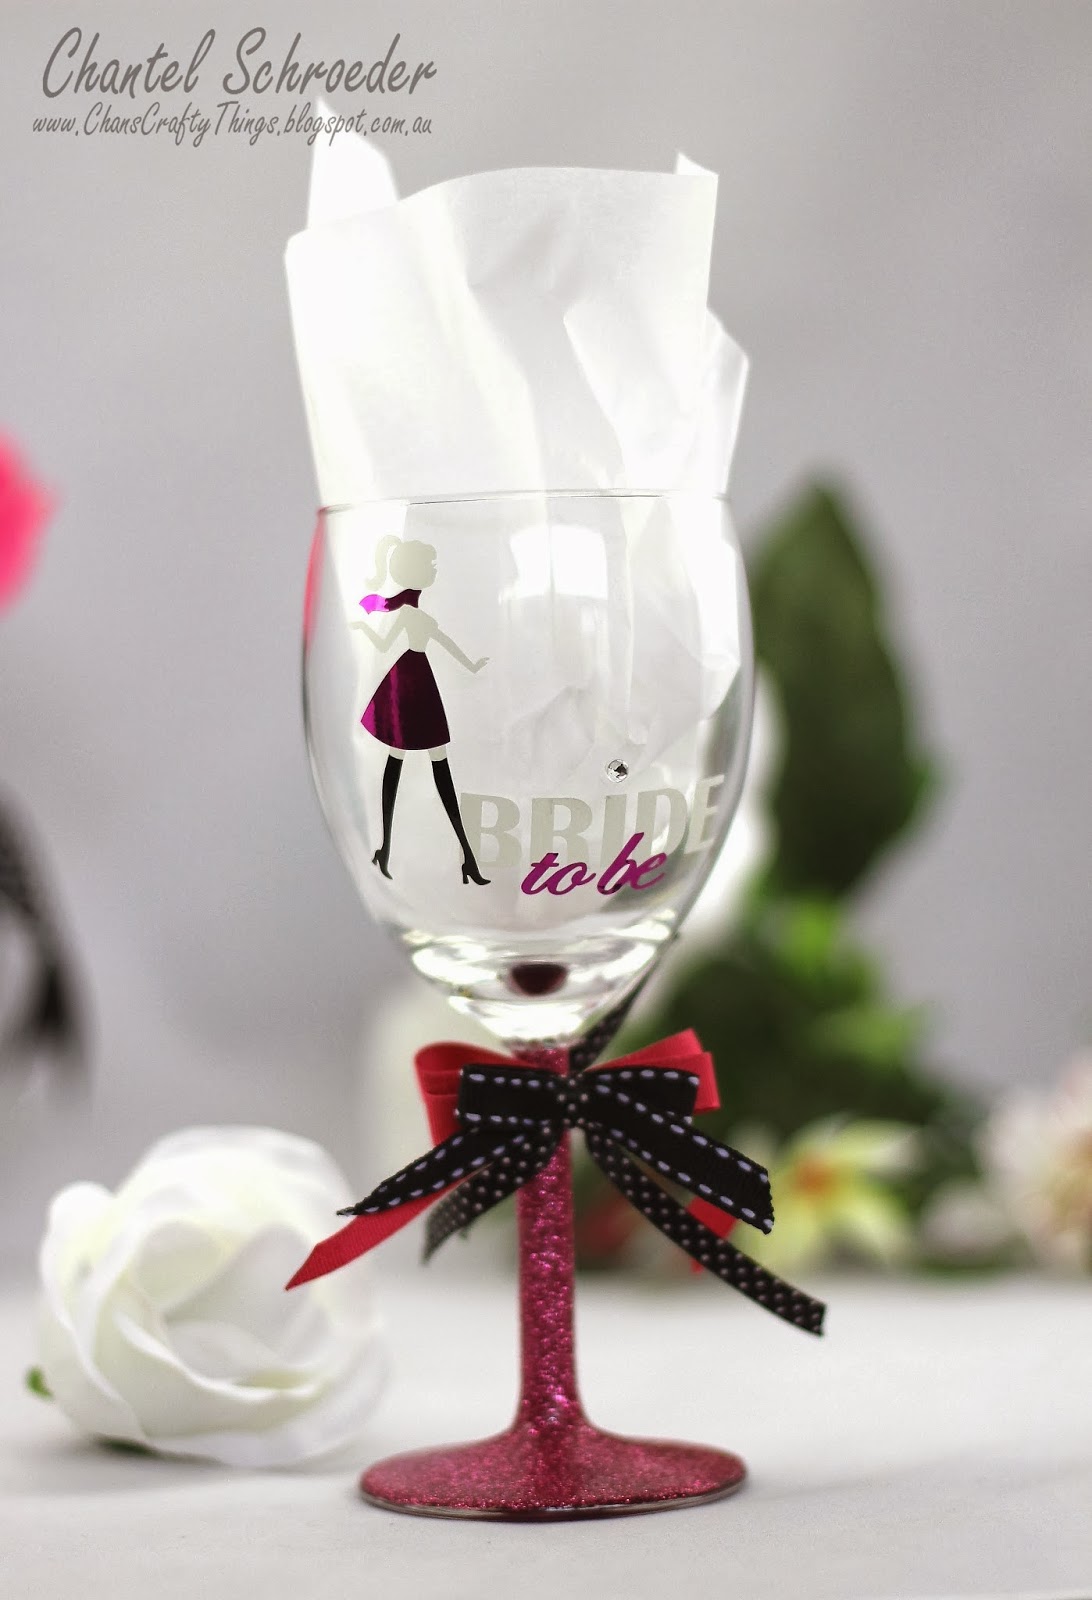
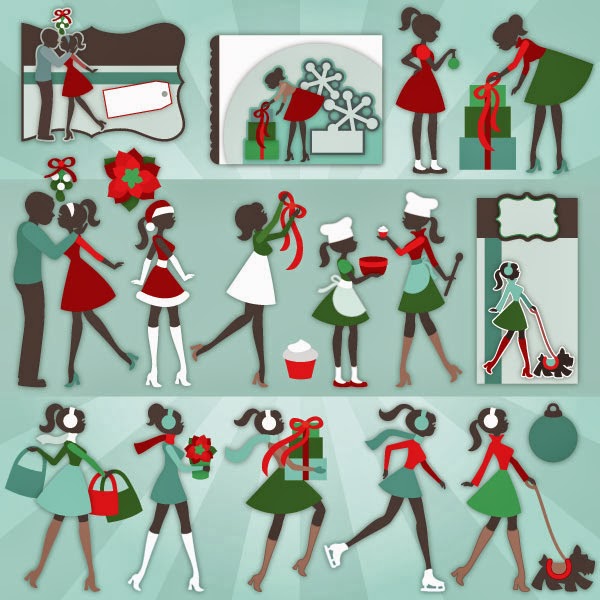
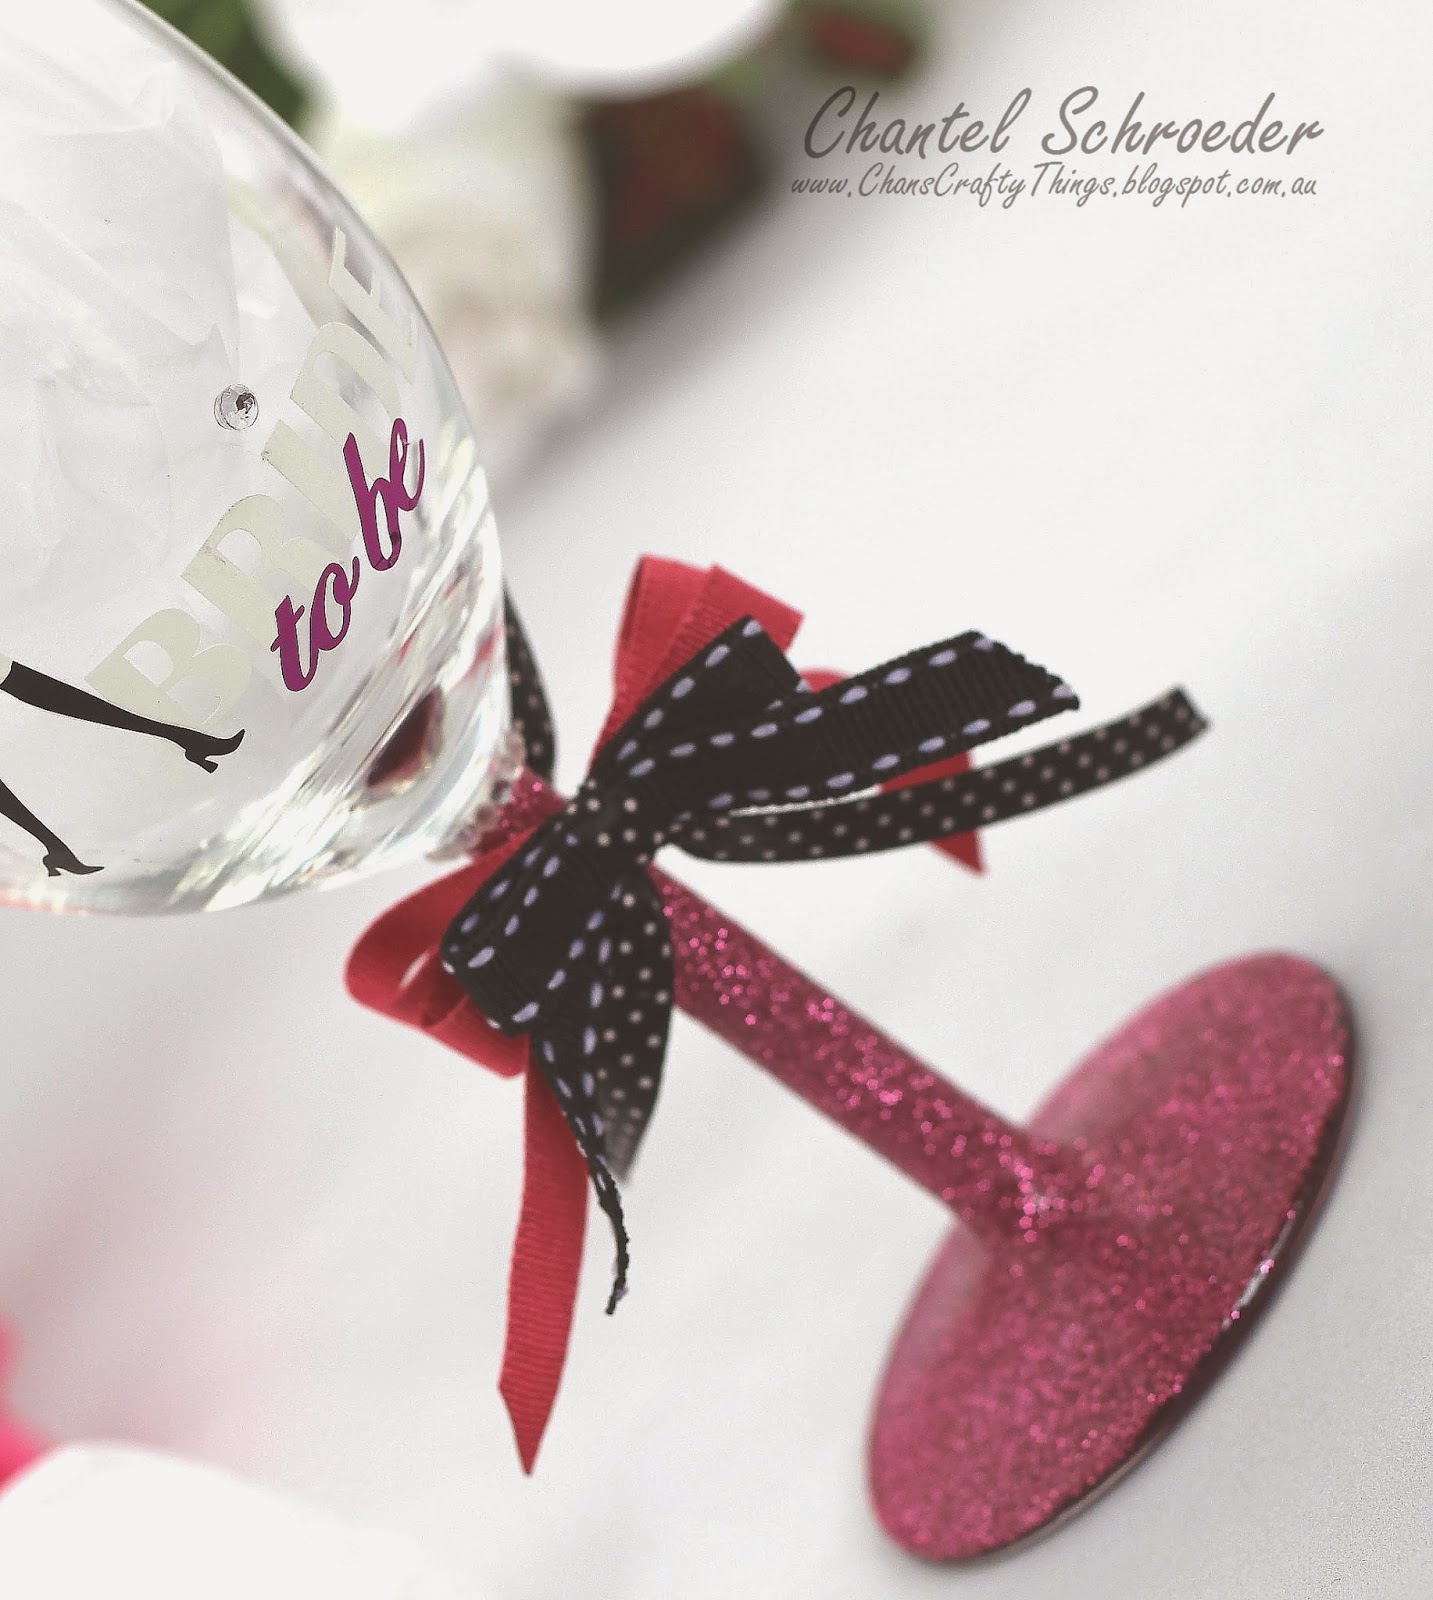 After the glitter dried totally, I was able to add my vinyl and bling to the rest of the glass. I used basic fonts and an SVG file from the Kate's Holiday Silhouettes SVGCuts kit.