I came across the idea for this card on Pinterest quite a while back. Unfortunately, I looked for it again since but just haven't been able find the original source to give credit.
Nonetheless, this is my take on the butterflies on the fence card.

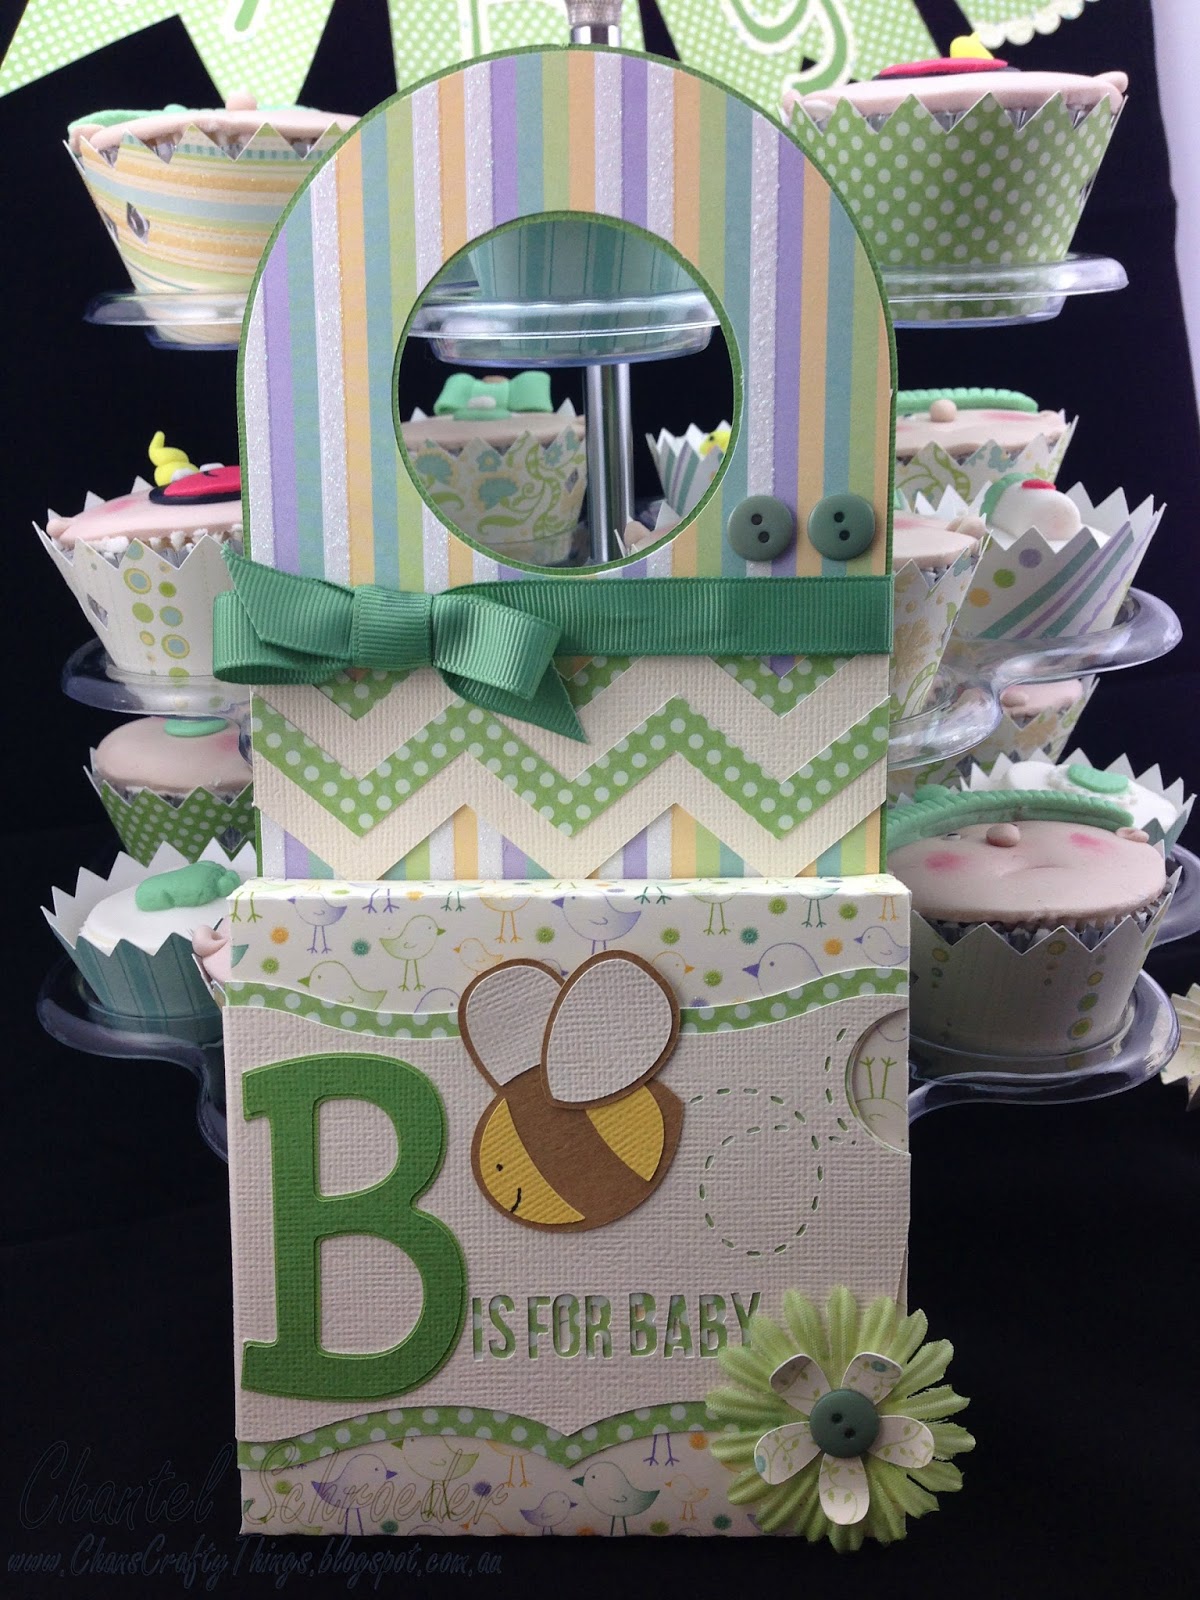
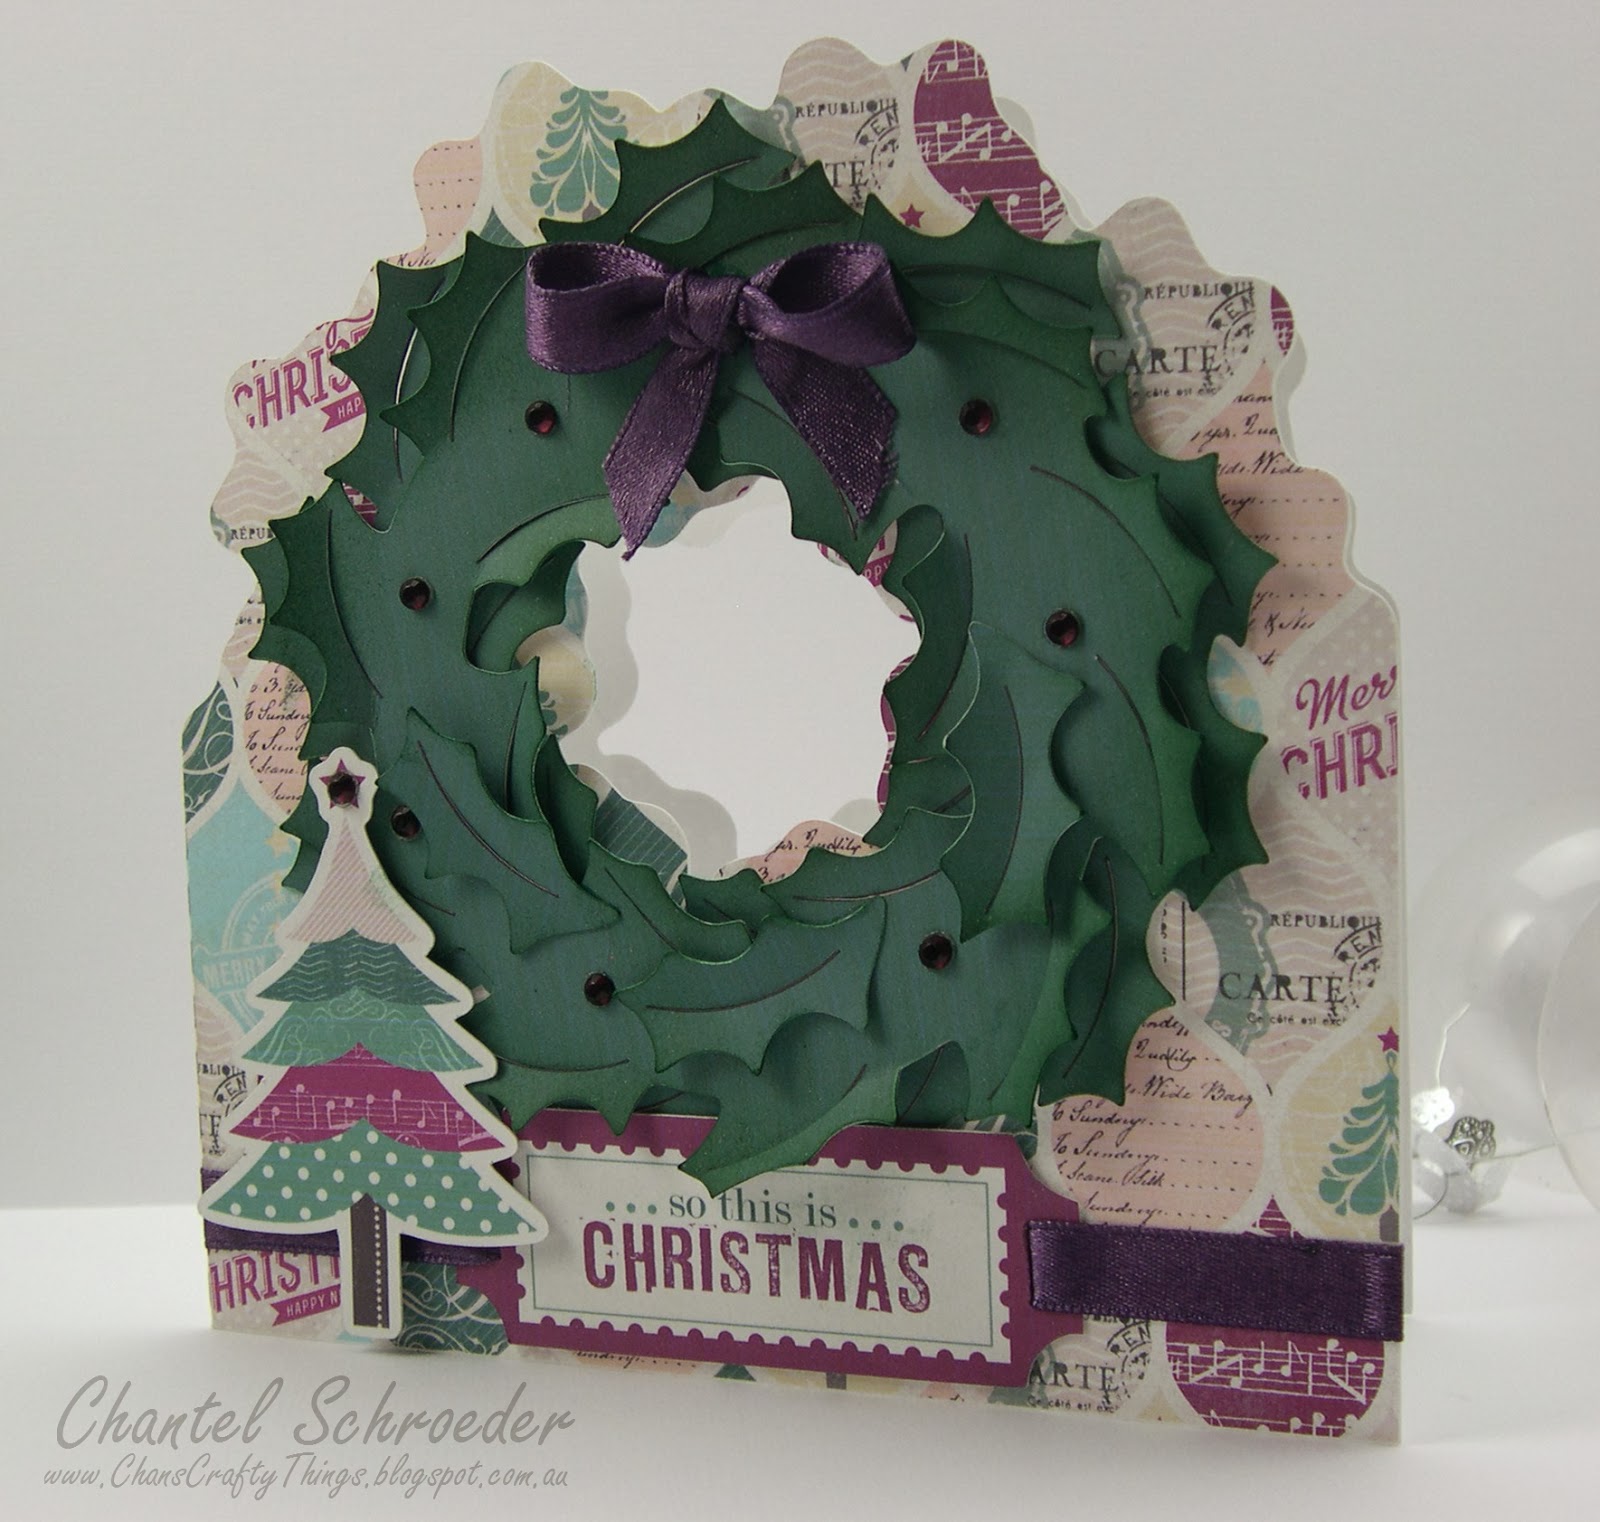
The base of the card was made with one sheet of 12x12 AC cardstock, cut in half (at an angle) and with two folds in different directions to create the three panels of the card. I wasn't specific with the measurements - just wanted the back panel to be a little larger than the front. As I wanted the card to look like a fence, I printed a piece of paper from the All Wood digital collection from Miriam's Scraps and adhered it to the cardstock and cut to size.
I then cut out a whole bunch of butterflies from various SVGCuts kits and collections and inked their edges before layering them all along the edge of the card. As a final touch, I added some Kaisercraft pearls for their bodies.
Unfortunately, you'll notice that the third butterfly from the bottom is torn. I should note that this didn't happen during cutting, but afterwards... I was in such a hurry when I lifted it off the cutting mat and ripped it as a result (note to self - be more careful next time!).
At first, I thought I could get away with the broken butterfly but once I put it all together, you could still clearly see it.
So, at the very last minute (and after I packed my camera away), I decided to quickly cut out another butterfly and replace it after all. I just couldn't let it go... :). Once I was done, I looked at it again and realised it was still missing something so I added a die-cut oval with a stamped Happy birthday sentiment to the front with a bit of twine.
Next time, I will try to leave myself a bit more time to take pictures of the finished product (not halfway through... lol).
Thanks for stopping by!


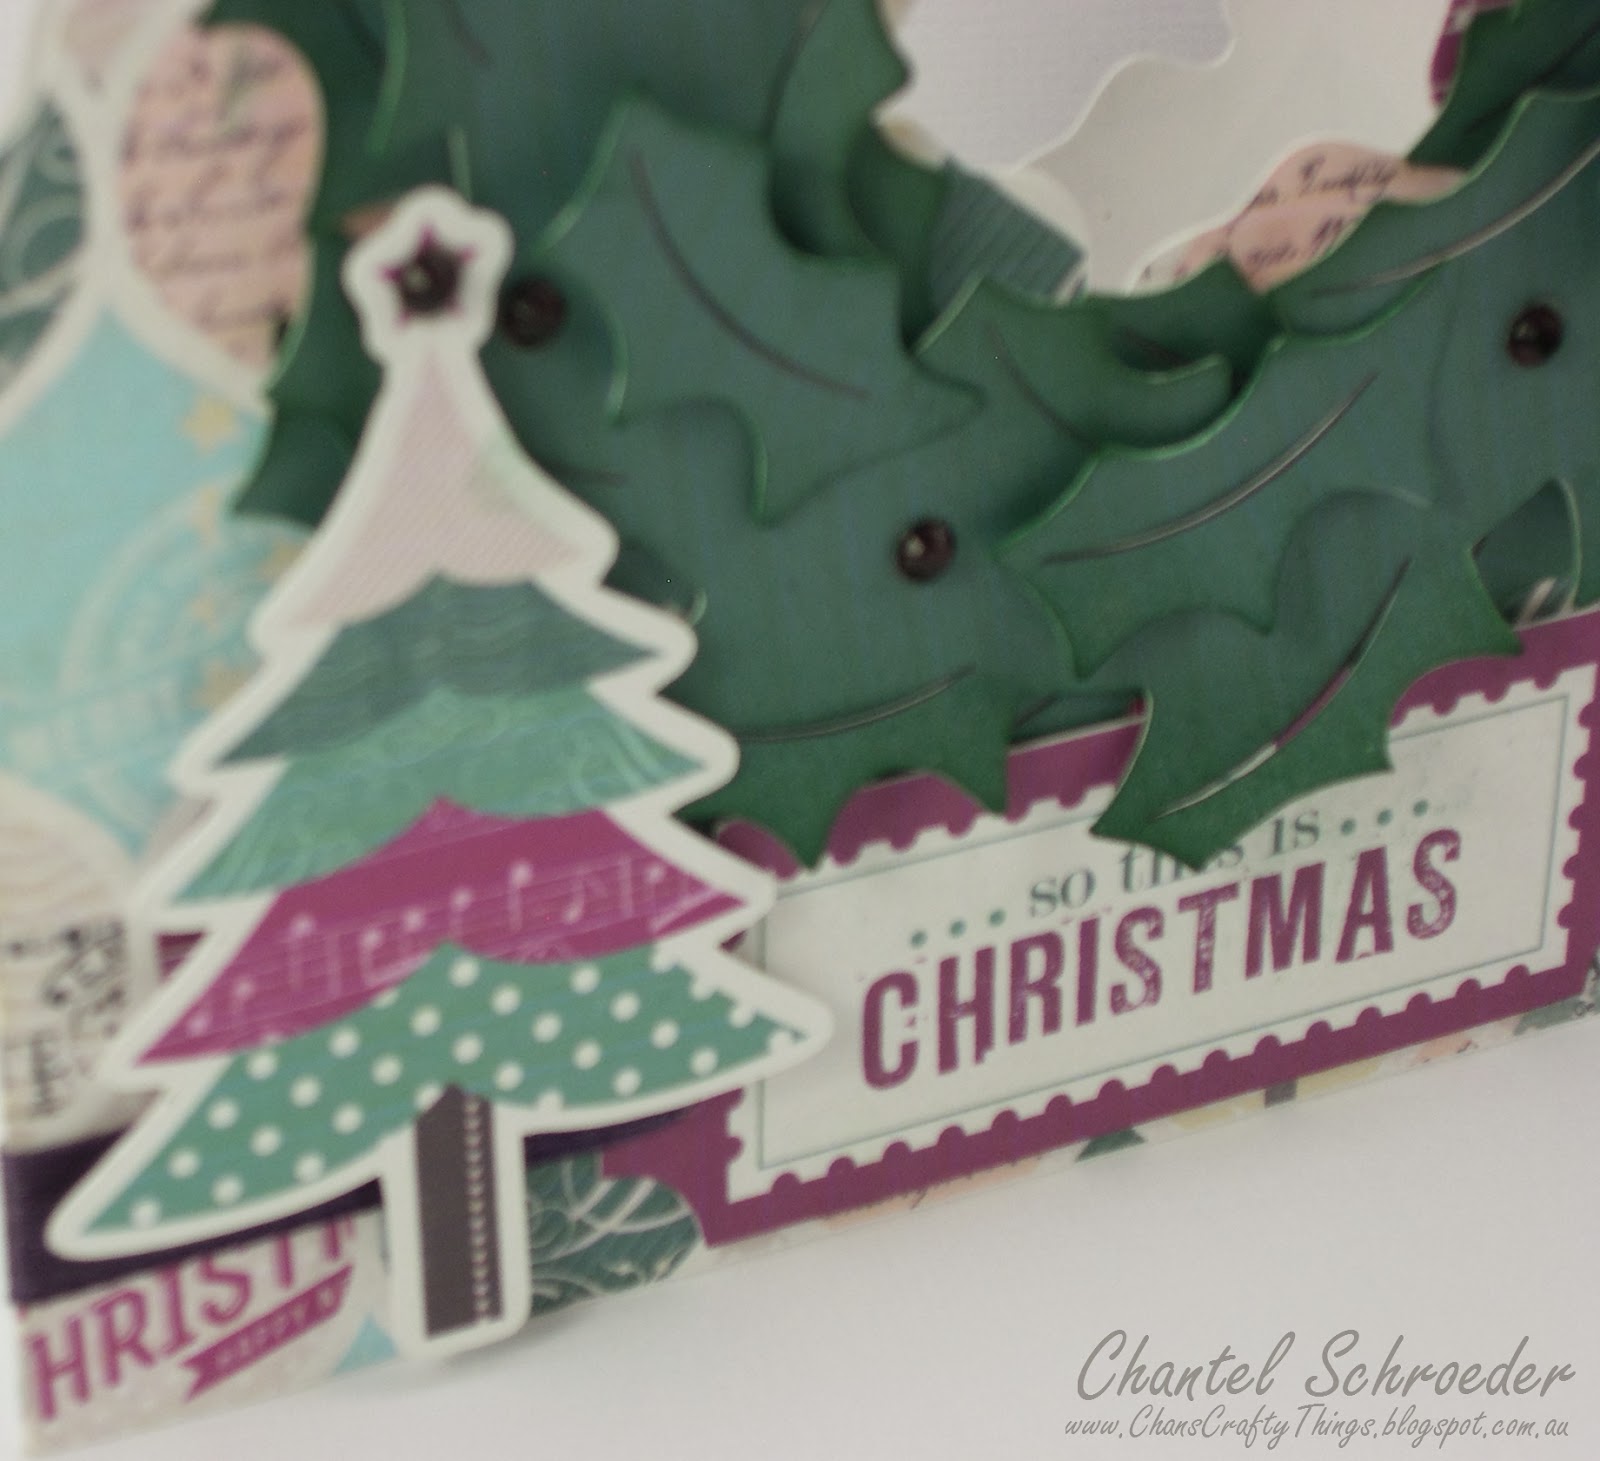
 Below is a close-up picture of the buckle (which I initially forgot). I used POP Gold from American crafts to add texture.