As you all know, I am a super big fan of SVGCuts and have been for quite a few years! So, you can just imagine how excited I was when I was asked to do a guest post for the SVGCuts blog!!!
I still have to pinch myself as I can't believe that this actually happened to little old me... but apparently it really did! My guest designer post went up on the blog yesterday and I am so SUPER excited to share it with you today:)
For my project, I used a combination of kits to make a miniature upside down cake box on a stand with a matching card. You can find complete instructions on how to make this project here on the SVGCuts blog.

For the stand, I used the pedestal file from the Happy Birthday to You SVG kit. The round box files that form the cake is from the Poplar Street Tulips SVG kit. I sized them down quite a bit so that the cake would fit on the stand.
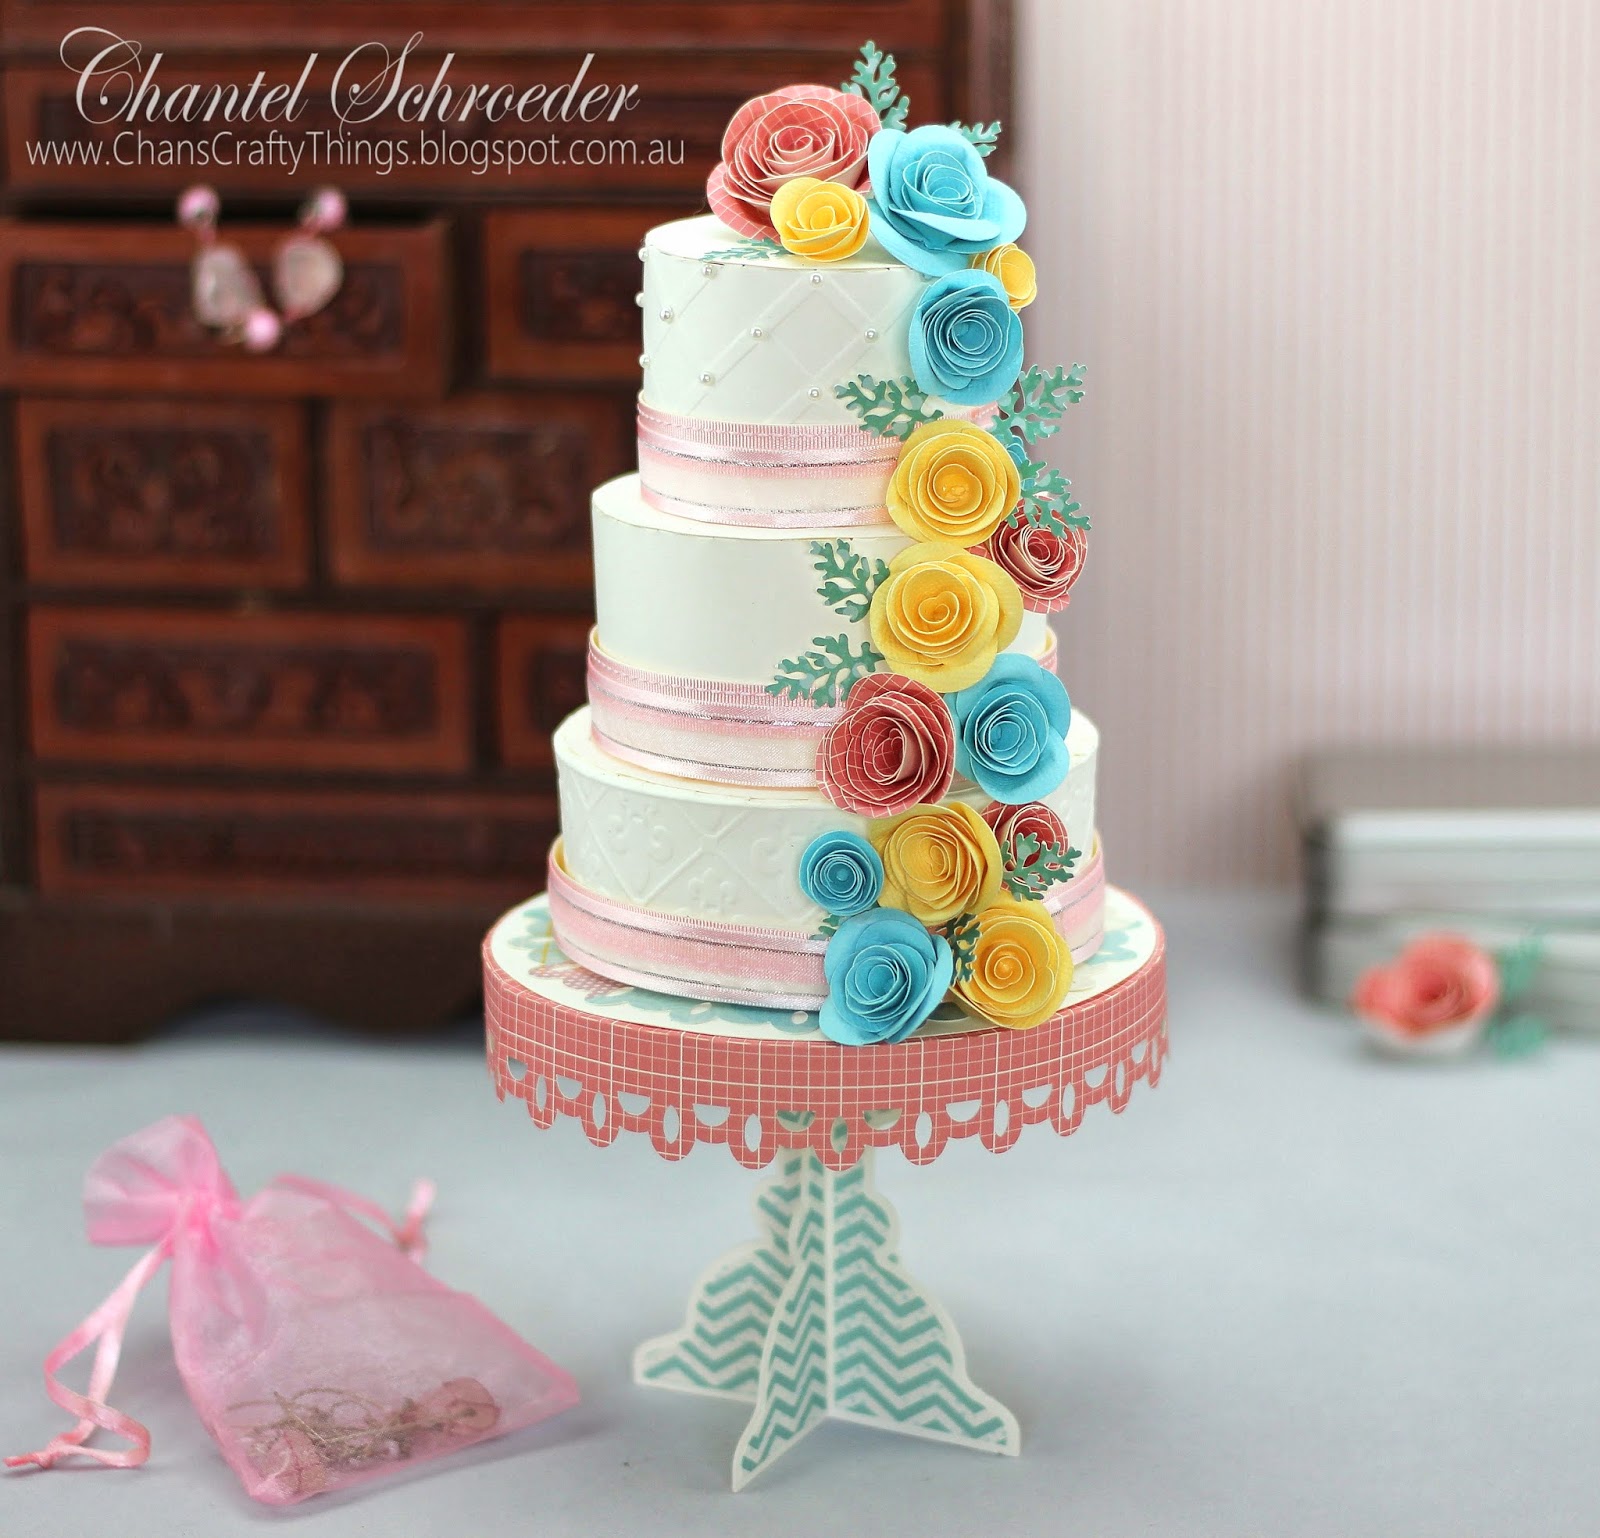
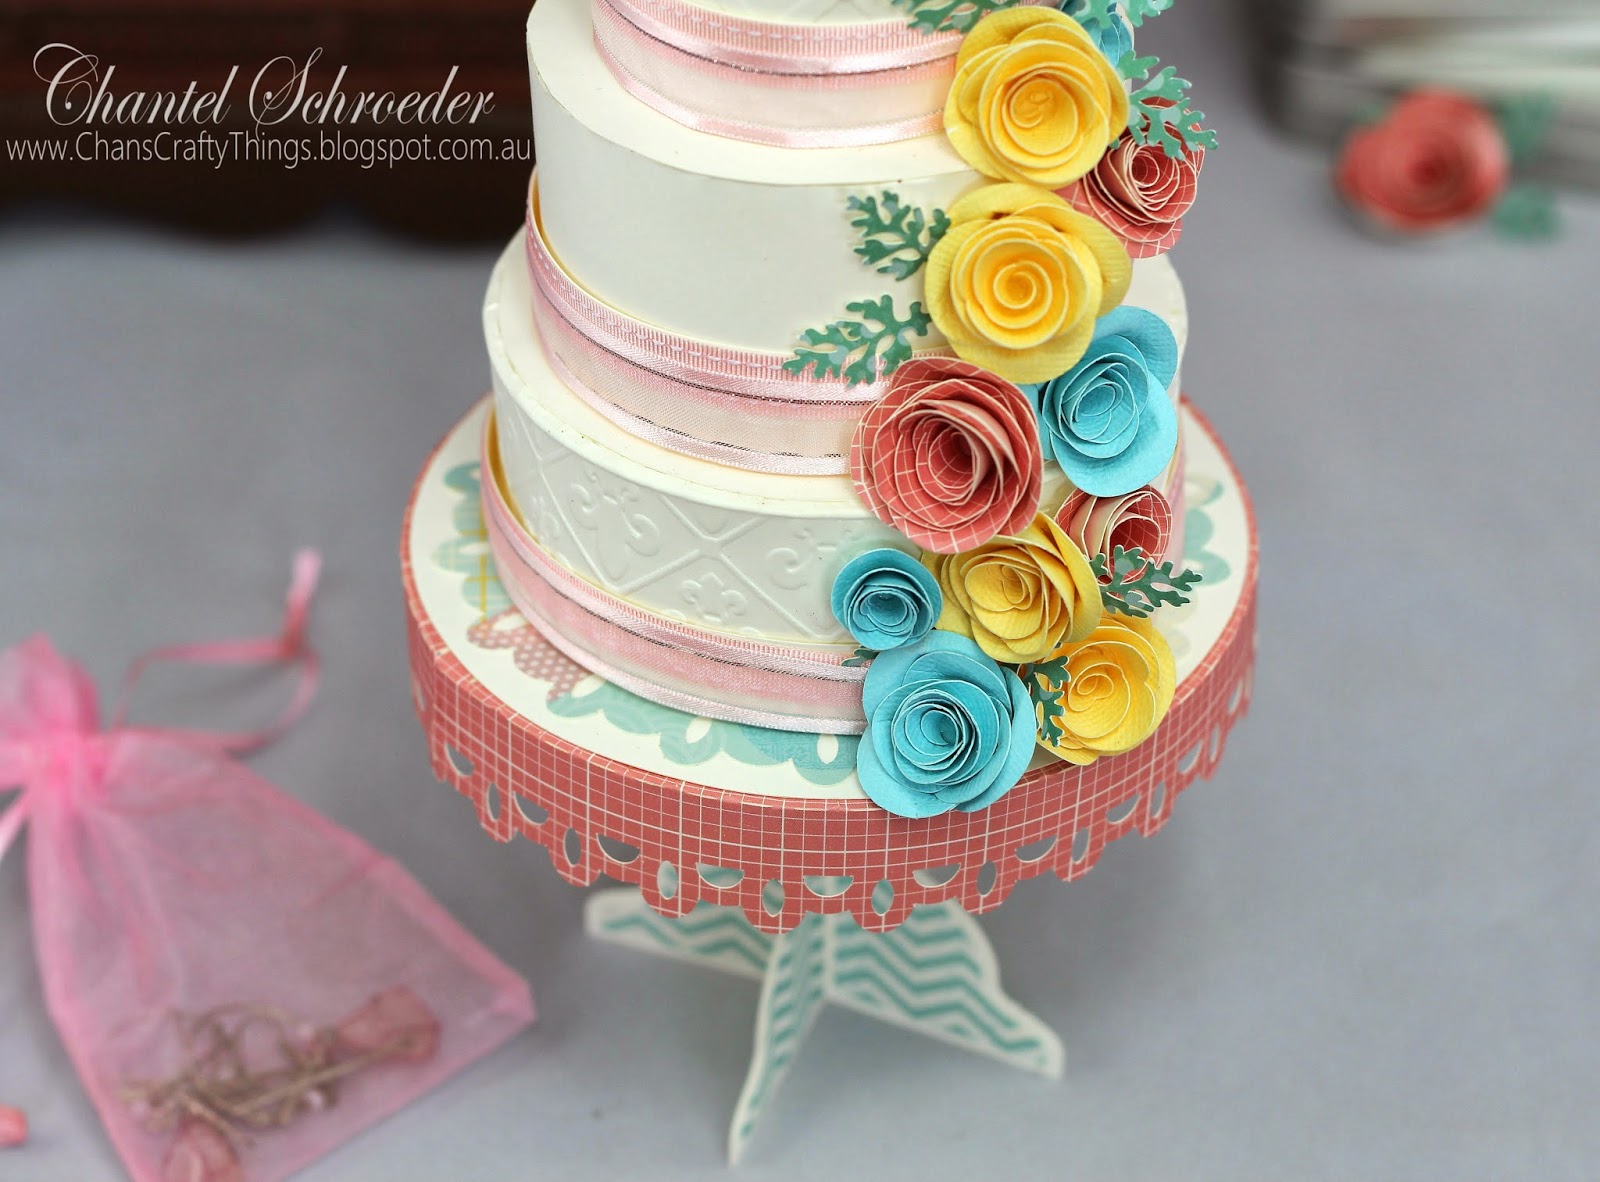
All the boxes were assembled as usual after I ran the side panels through my embossing folder. I then adhered the three boxes upside down on top of each other so that the lids become the "ribbon" around each of the cake tiers. I then decorated it with ribbon and roses from the Crush on You Boxes SVG kit.
As the cake is made up out of three separate boxes, each can be used to store small items such as jewelry.

The card file is from the Breezy Backyard Lever Cards SVG kit however, I decided to embellish it with some leftover roses I made for the cake, along with a few cut-outs from the DCWV Sunday Afternoon paper stack I used for the rest of the project.

I'm really pleased with how this project turned out. If you would like more details, please stop by the SVGCuts blog and remember to share photo's if you decide to make one yourself.
Thanks for stopping by!


