Saturday 28 September 2013

Happy Birthday Sailor Boy

Today I'm sharing a card I made for the weekly challenge on the KaDoodle Bug Designs Facebook page


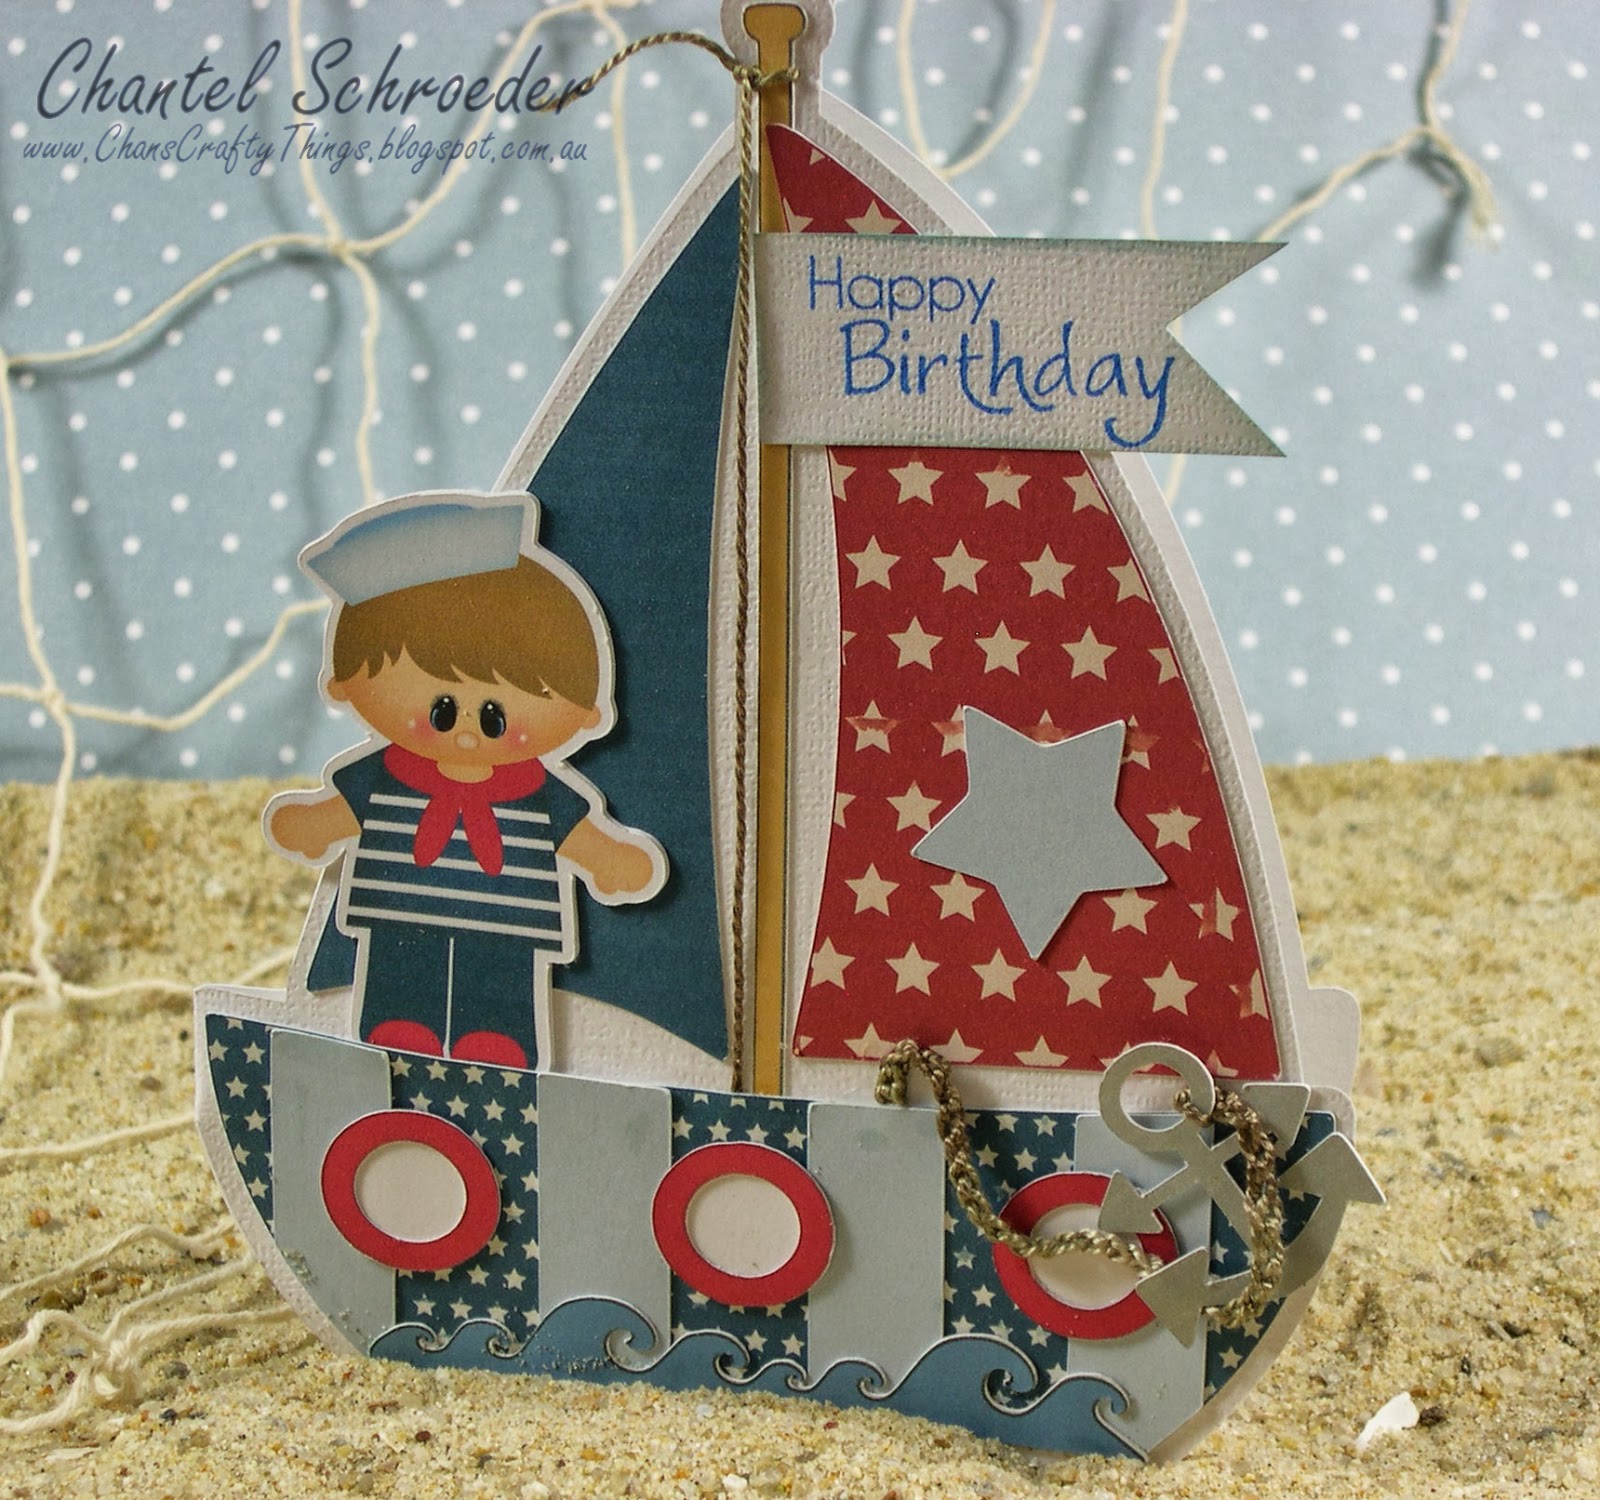
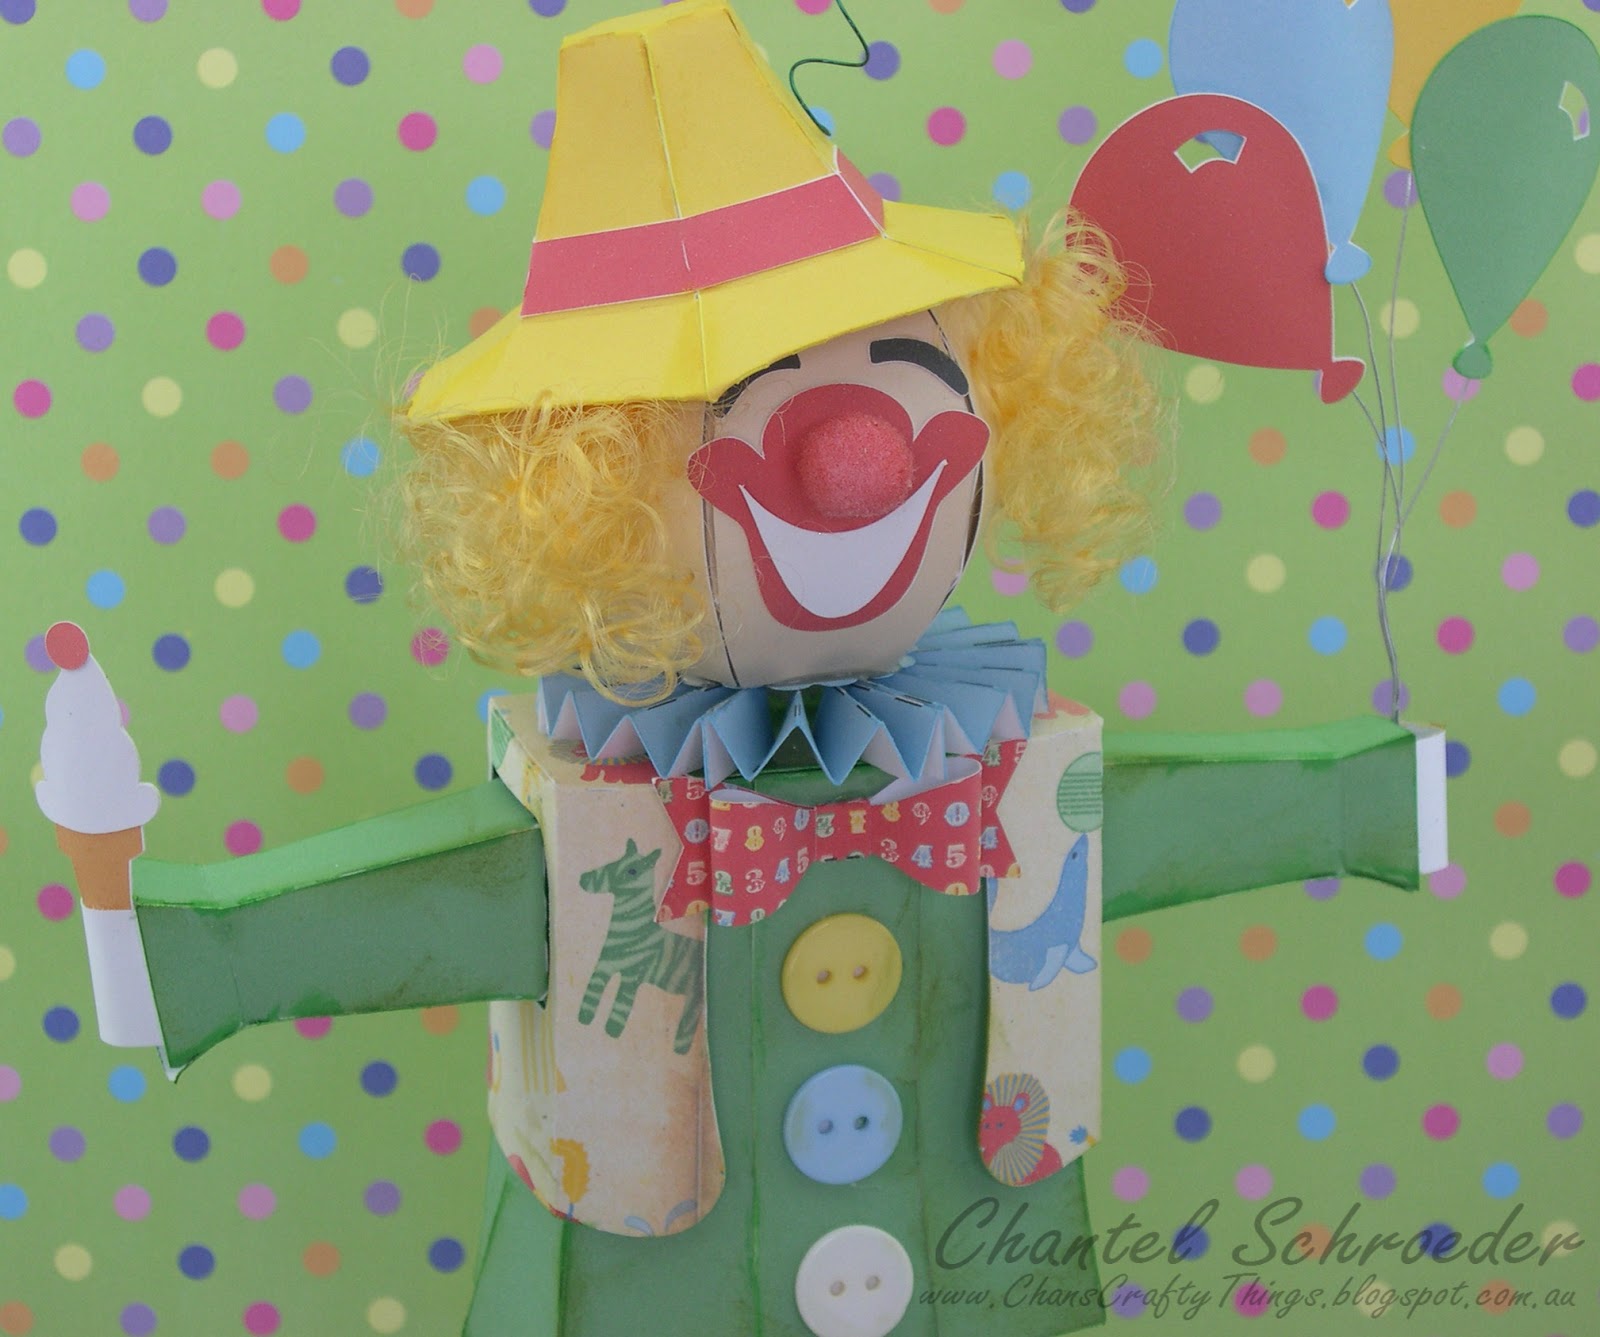
The challenge was to make a birthday card using files from KaDoodle Bug deisgns, so I decided to use the Goodship Lollipop Kids file along with the Americana digital paper collection from Carina Gardner. 

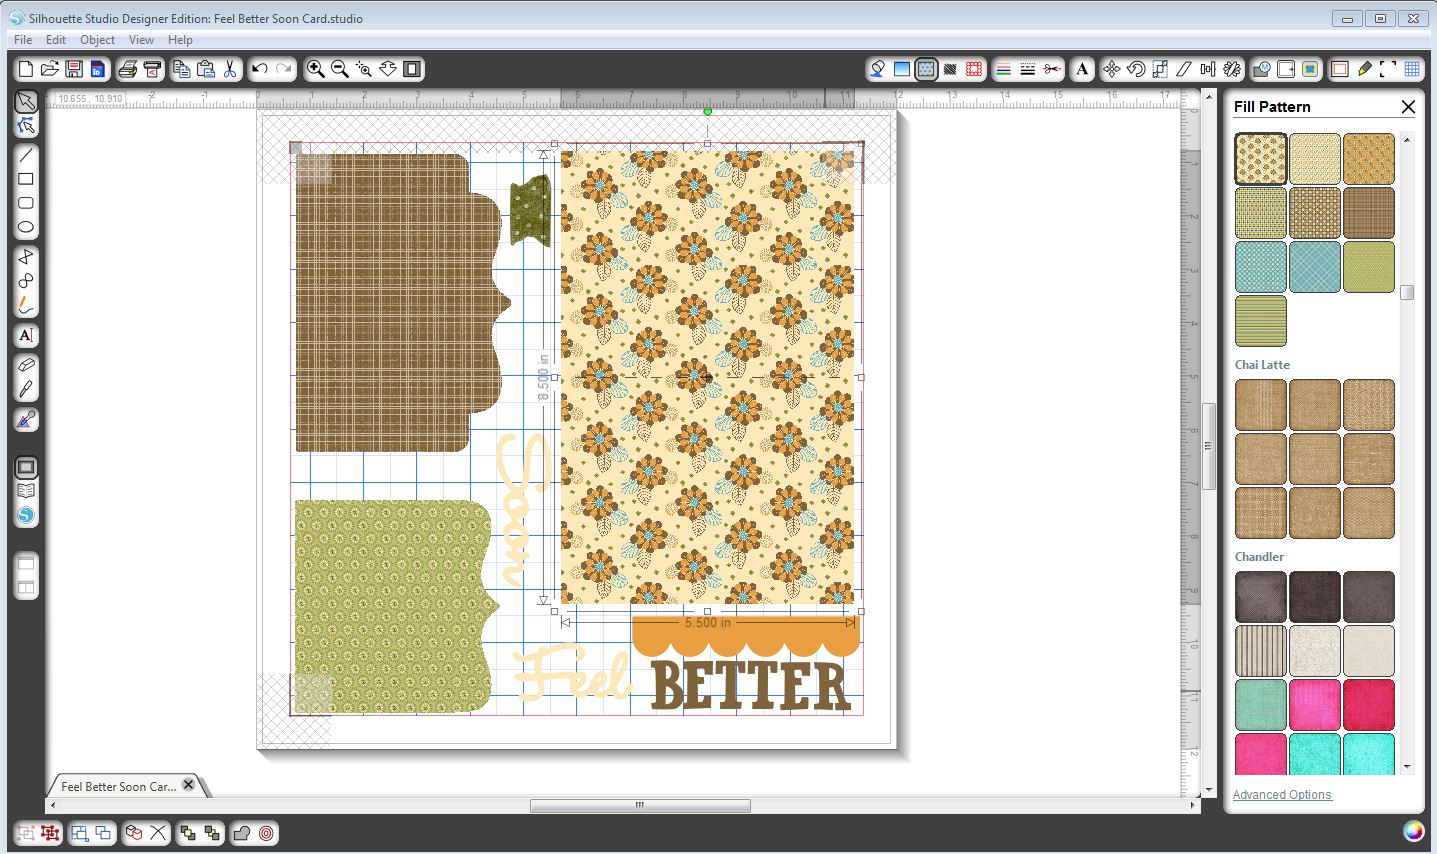
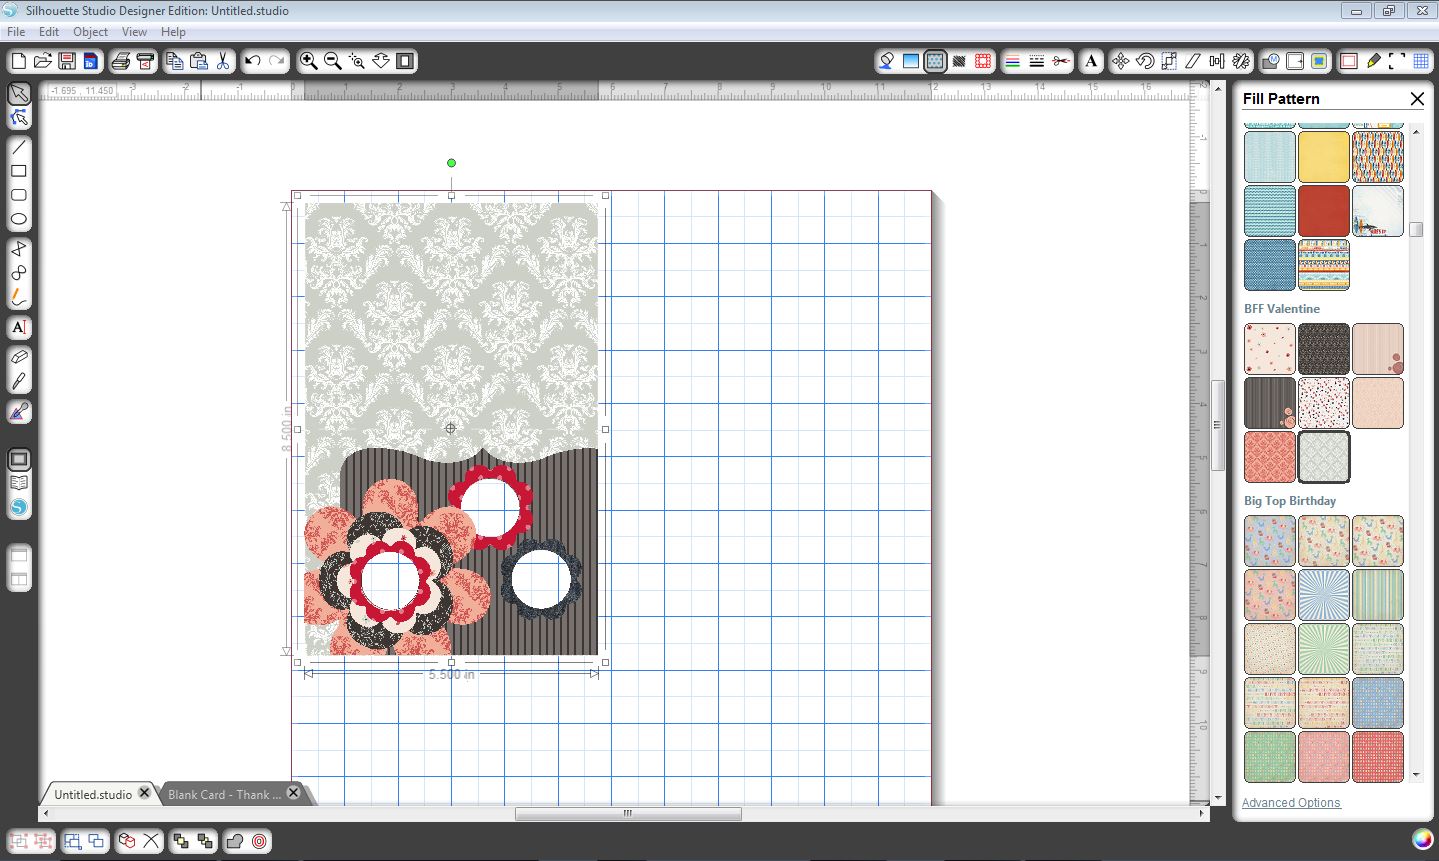
I put all the pieces of the sailing boat together on my mat and then made a shadow around the whole thing.  I made a duplicate of the outline, flipped it horizontally and then welded the two pieces together to make the base of my card.  All the elements (including the little boy) were done with the print and cut feature on my Cameo - although I had to trace the little boy first to make him into a file I could cut with my machine.

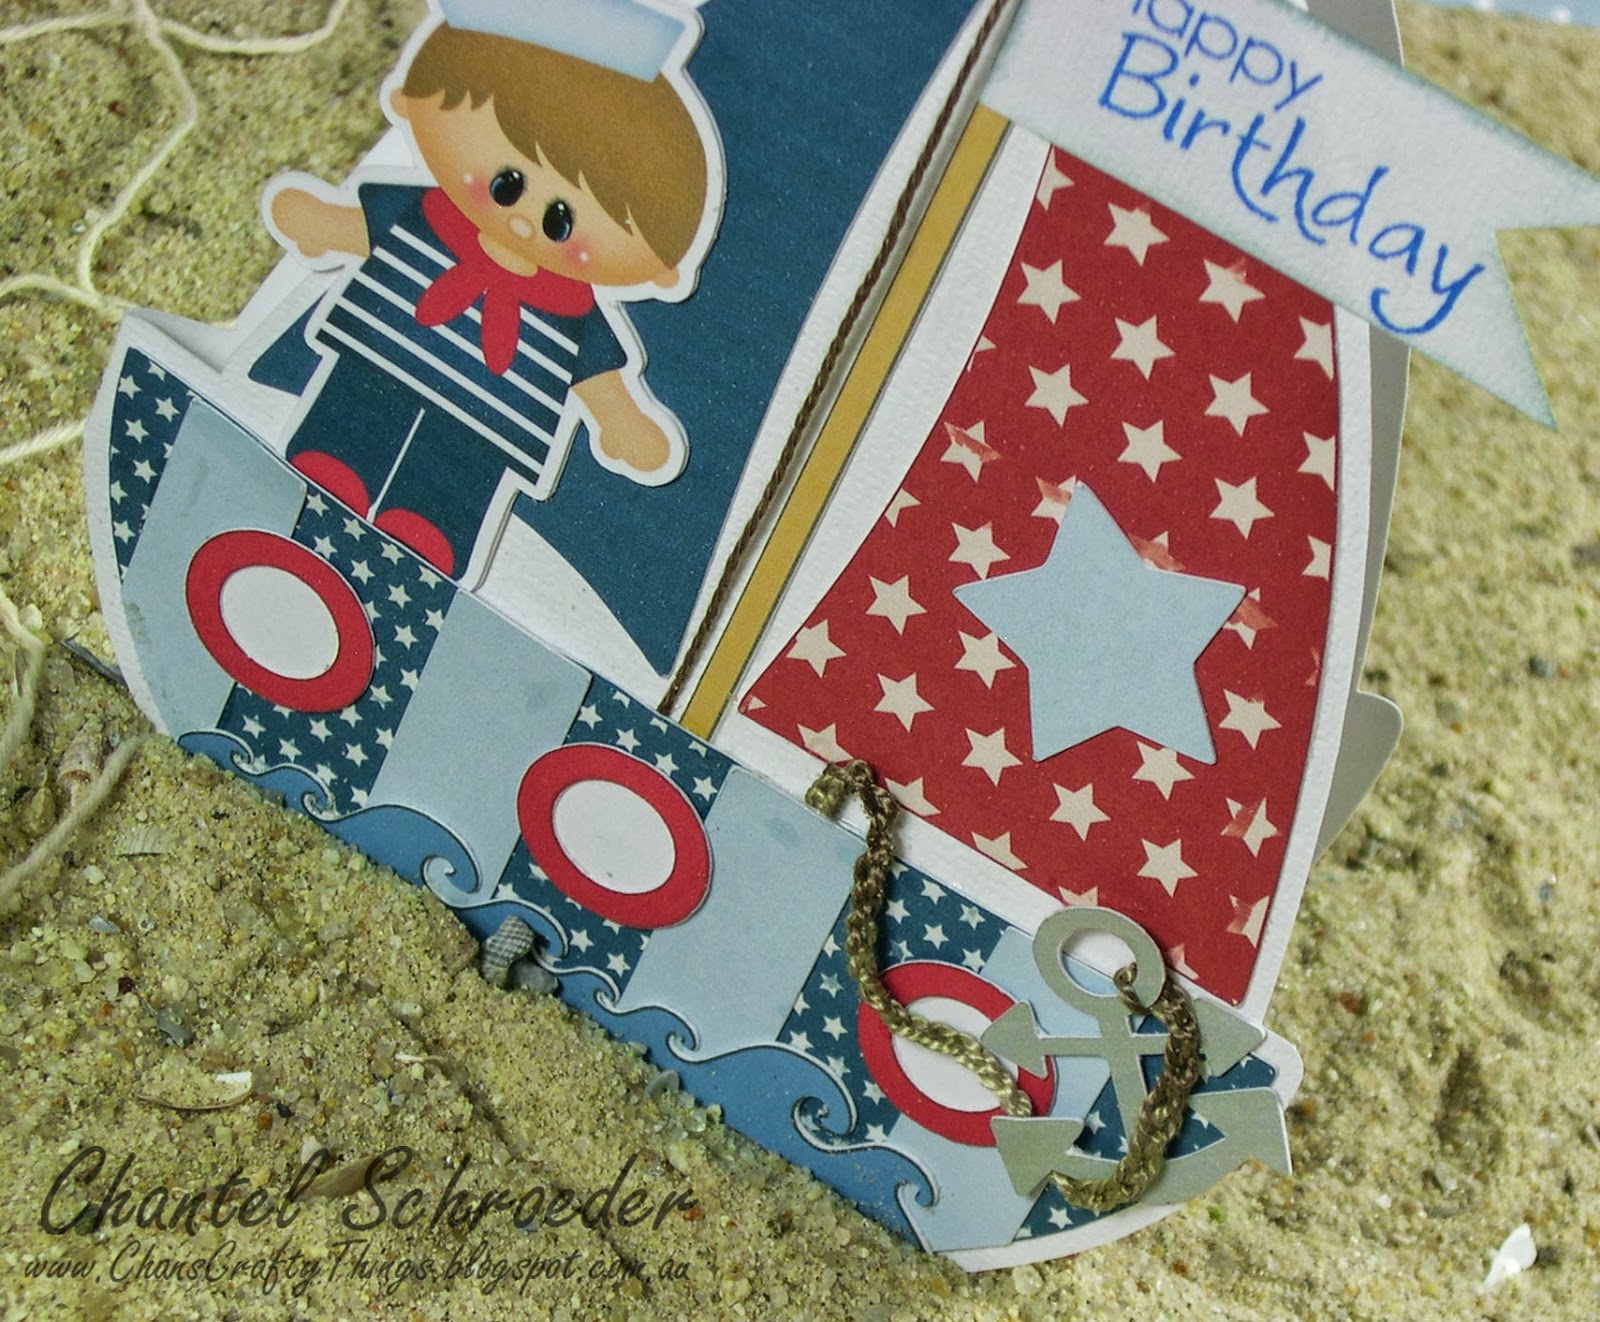
I added some embroidery thread for the ropes and hand knitted a piece for the "anchor chain".  Finally, I hand cut the flag and stamped the happy birthday with Stazon ink before I adhered it to the card.
Such a fun little card to make...


Thanks for stopping by!


Image Hosted by ImageShack.us


Friday 20 September 2013

Spring is in the air!


The theme for this month's project over at Scrapbook Boutique  is "Spring is in the air". The challenge is to use this picture of a cupcake as inspiration to create a card, scrapbook layout or off the page project. 
I decided to do another card for the challenge.  This time, I used a file from the  Cards for Moms SVGCuts kit.   When going through my paper stash, I just couldn't find the "right" paper (you know how that goes - heaps of paper but nothing looks "right" lol), so I decided to go digital.  I landed on the Dinner Party collection from Shabby Princess.
 
I filled all of the shapes in my Silhouette Studio DE software and then used the print and cut feature to cut out the base and all of the elements for my card.
I ran a strip of printed cardstock through my BigShot and inked the raised edges to make it pop a little.  I also cut out a strip of lace from the Battenburg Lace and Crochet Trim SVG collection and adhered it on top.  As a finishing touch, I added a button and embroidery thread from my stash.  
I hope you like it - I sure had fun making this card and loved participating in the monthly challenge!

Thanks for stopping by!
 

Image Hosted by ImageShack.us


Sunday 15 September 2013

Fond Childhood Memories

Hi there, oh, I am so excited to share my latest project!

I had a blast making this VW Kombi the other day!  It brought back so many wonderful childhood memories of friends, family and vacations!
The file is from the Surf Shack SVGCuts kit and I as usual, was super easy to assemble.  The best thing about this kombi is that the whole top lifts off which means you can use it to put a little gift inside for someone or you could make it for yourself and use it as storage box for small items.


I cut the wheel caps and piece sign out of silver cardstock I found at Dollars and Sense and I added two big bling rhinestones for the headlights.

A couple more blings for the tail lights, vellum for the windows, and my kombi was ready to go on holiday! 


Once I know who this will be going to, I will make a personalised number plate and stick it in the little space on the back...


Thanks for stopping by!


Image Hosted by ImageShack.us


Saturday 14 September 2013

Under the Weather...

Sharing another quick print and cut card from the Everyday Cards kit.  This time it's the Feel Better Soon card for someone who is feeling a bit under the weather.

I really like this digital paper collection.  It's called Celebrate and is from Sherry K Designs.
I even tried to print and cut my own piece of washi tape - not quite the same thing  but I think it works okay on this card... 
ran the orange panel through my Bigshot, inked the raised edges and finished the card off with some old school baker's twine I found in the bottom of my kitchen drawer.
Here's a screenshot of all my pieces on my mat.  I first printed them on my computer, loaded them into my Cameo and then cut them all out in one go.
Yet another quick card - and all with one piece of cardstock!  Gotta love it!

Thanks for stopping by!


Image Hosted by ImageShack.us

Everyday Thank You

Today I'm sharing a quick thank you card I made from the Everyday Cards kit from SVGCuts.

I looked through my stash of paper and just couldn't find what I was looking for.  So I decided to use digital paper and do the whole thing in print and cut. The digital paper is from My Time Made Easy - BFF Valentine.


I love doing cards with print and cut as you can play around with all the different patterns in the Silhouette Studio DE software and lay out the card with all the elements to get an idea of what it will look like once assembled.


Once I was happy with the final look, I moved all of the elements around the cutting mat (ensuring they didn't overlap) and then set my cut lines.

 
That done, I was ready to send my project to the printer and cut all the pieces out in one go with my Silhouette Cameo.
 
Once the card was assembled, I added a few buttons and some red string to finish it off nicely. 
 
In hindsight, I should have taken a few minutes to ink the edges of the flowers to cover the white background.  I usually do - but I was in such a hurry that I totally forgot and only realised after I had glued everything down.  That said, it was supposed to be a quick card...
 

The best part about this project is that I was able to cut the card and all the elements out of one sheet of white cardstock!

Thanks for stopping by!


Image Hosted by ImageShack.us


Sunday 8 September 2013

Clowning Around

I was super excited when I saw the cute little scarecrow in the new kit from SVGCuts, Leaves are Falling.  The whole kit is great but I couldn't wait to make the scarecrow.  The only problem was that I just couldn't get into the right mood.  Perhaps it's because spring has sprung in Australia and the fall colours just didn't do the trick for me.

So... I decided to change the scarecrow up a little and turn him into a bright and happy little clown. 

I used digital paper from Samantha Walker's Big top Birthday collection with the print and cut feature on my Cameo.


The clown's mouth and eyes, as well as his ice cream and balloons were all from
A Day at the Carnival Collection.  The bow is a free file on the SVGCuts blog.
I think I might use this little guy as a topper for a diaper cake I'm making for a baby shower.  I'll post more pictures when it's all done.
 
Thanks for stopping by!


Image Hosted by ImageShack.us


Sunday 1 September 2013

Birthday Roses

I finally got a chance to do a bit of crafting this weekend (yippee!). 

I've wanted to make the urn and roses from the Mom's Garden Gifts Kit from SVGCuts since it was released but just never got around to it.  So as I was going through my cut files in search for a birthday gift this morning, I came across this kit again and just knew that today would be the day!  This is what I came up with...
The paper is from the DCWV Fiesta stack.  My husband picked it out one day (yes, much to his dismay, I drag him into scrapbook stores on occassion) and I fell in love with it instantly!  The papers are all so bright and "happy" with great textures on each page. I really struggled to decide on which papers to use but in the end, I chose one of the very colourful, high gloss pages for the urn.  

The roses and leaves were also cut from the same stack.  Unfortunately the paper is only printed on one side so I inked the white sides and edges so that it would blend in with the coloured sides. 


I added a couple of elements from the stack and also cut a small banner from the For My Valentine Kit.  The "Happy Birthday" text was done with my Silhouette (pen function) before I cut the banner out.

I had so much fun making this and can't wait to give it to the birthday girl tomorrow!
 
Thanks for stopping by!
 

Image Hosted by ImageShack.us