Wednesday 20 August 2014

A+ Student Candy Wrapper and Bookmark - Fleurette Bloom DT Project

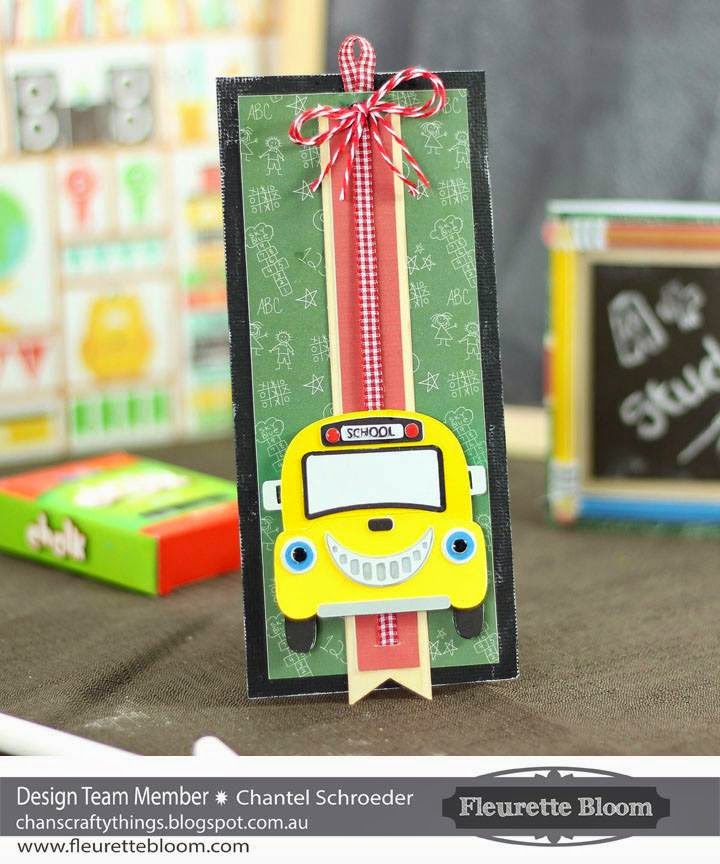
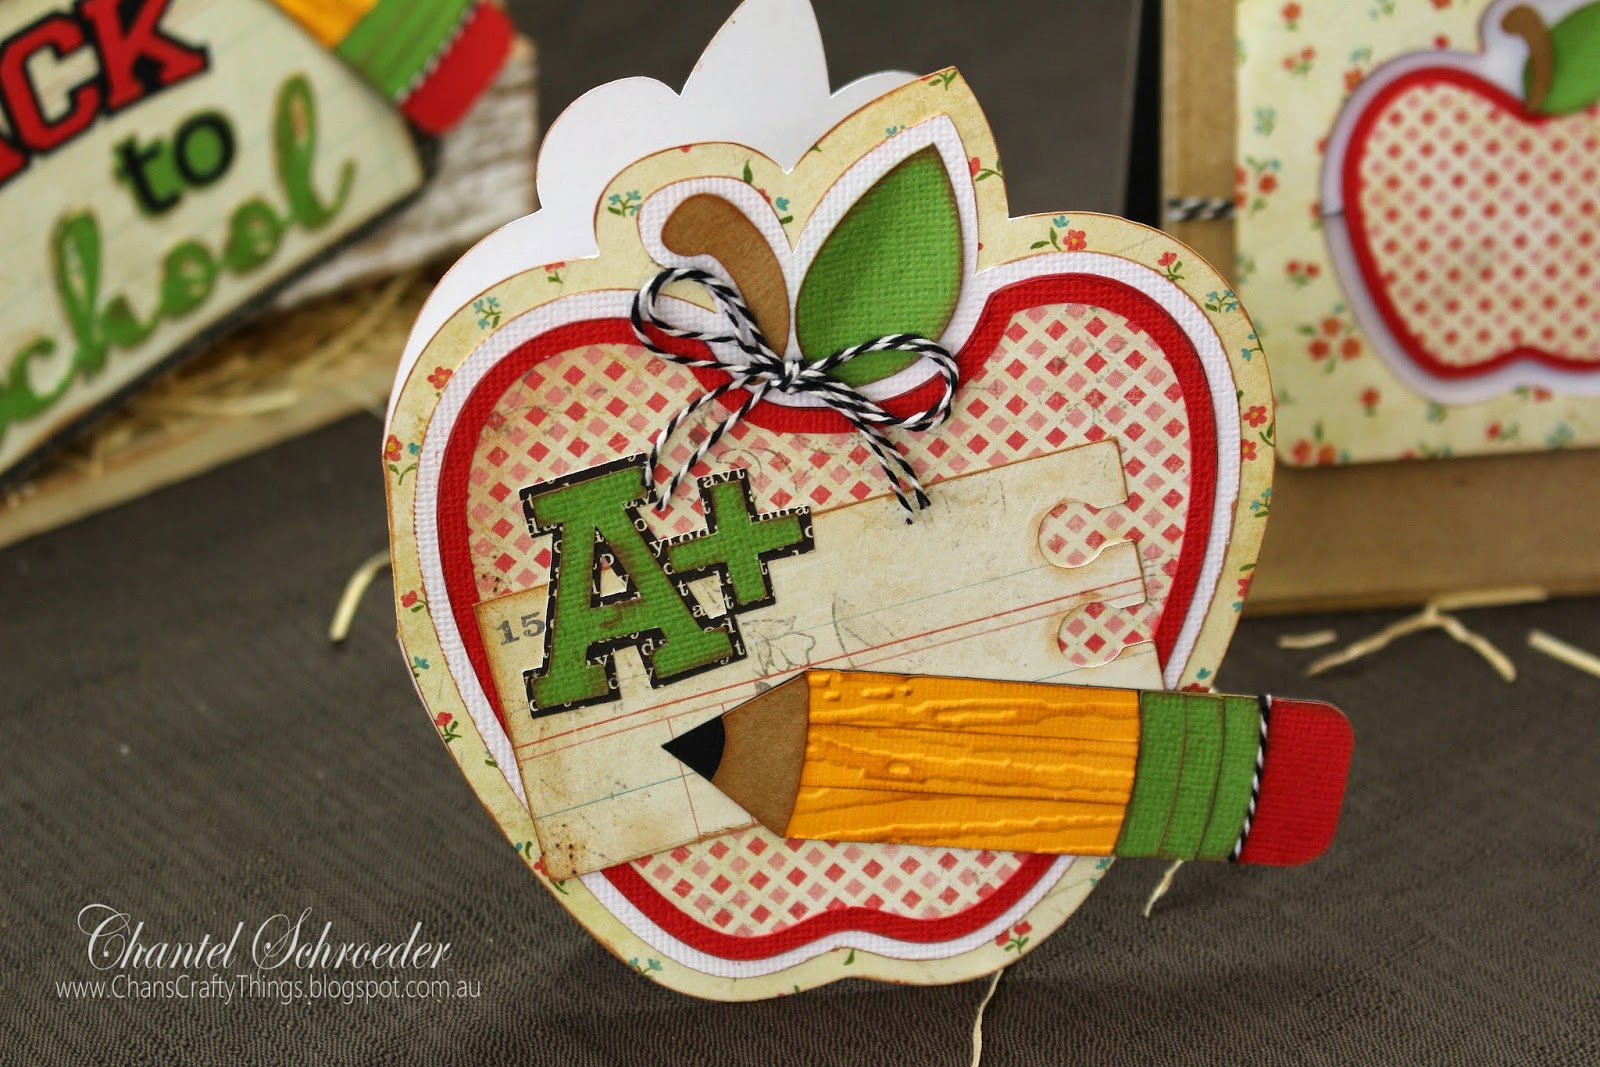
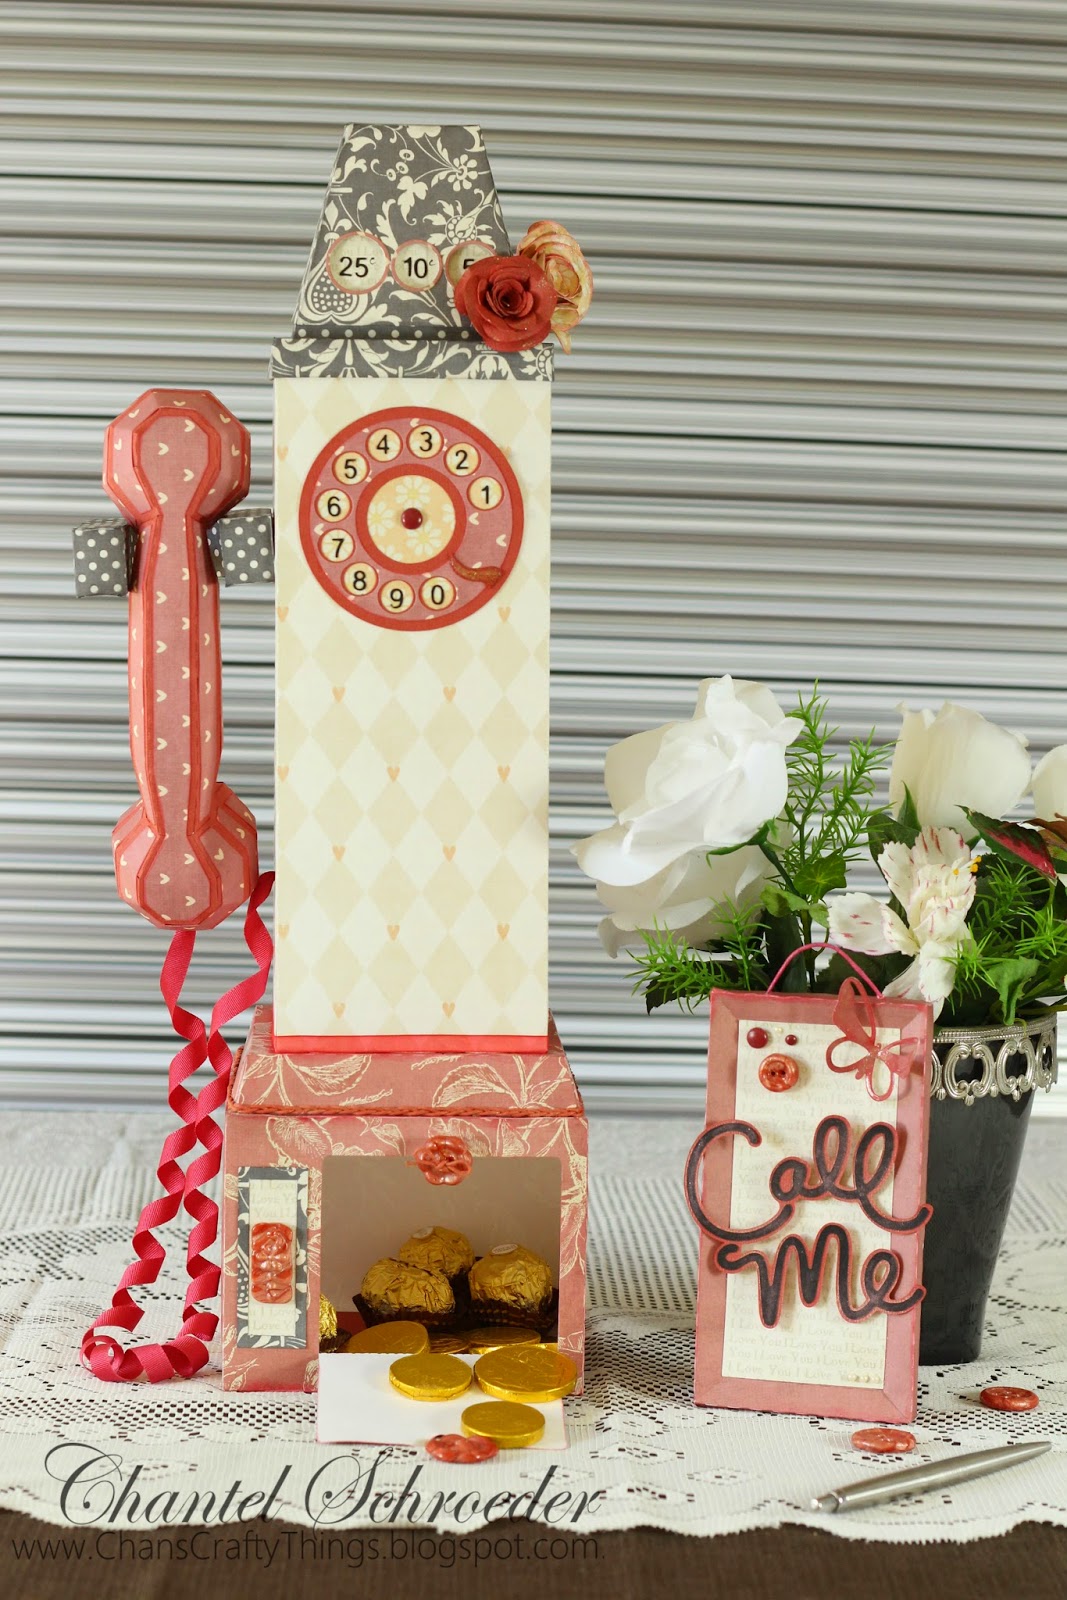
Hi there, today I'm sharing my Fleurette Bloom DT back to school project with you.  This time, it's a little something to make your child's first day back extra special...  A chalkboard treat wrapper and a bookmark with the cutest little school bus on it.

I used the Candy Treat Wrap Kit along with elements from the SVG School Days Cutting Files and Printables Collection by Fleurette Bloom.   The digital paper is from the ABC & 123 Paper Pack which is also by Fleurette.  


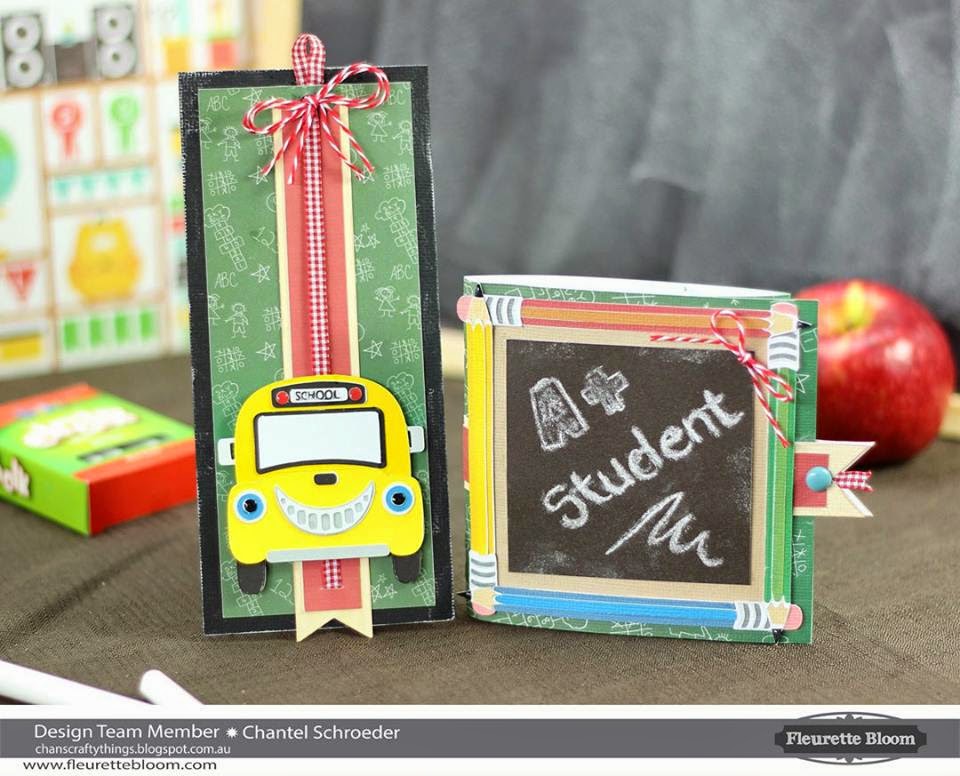
I cut and assembled the treat wrapper as usual but instead of using the usual label, I decided to add some pencils around a "chalk board".  To make it look more authentic, I actually used some Chalkboard paper for this.  I love this idea as you can use chalk to write anything you wish on the front of the wrapper.  Why not personalise it with the child's name or write an appropriate quote on the front?

For the bookmark, I used a basic shape rectangle and added the same banner from the treat wrapper.  I added some checkered ribbon and "Rosalie" Whimsy Farm Twine before adhering the cute little school bus from the SVG School Days Cutting Files and Printables Collection with some foam dots.  Finally, I rubbed some chalk around the edges of the bookmark and added a bit of ribbon and Rosalie Whimsy Farm Twine as a finishing touch.
Another quick and easy print and cut project with my Cameo... I just love digital more and more each day! 

Thanks for stopping by!


Image Hosted by ImageShack.us


Saturday 16 August 2014

Back to School Gift Crate - SVGCuts DT Project

Hi everyone,

Yes, it's that time of year again... Summer holidays are coming to an end!  For some this means finally getting back into some sort of routine, whilst others are dreading the end of summer and are desperately trying to make the most out of the last few days before going back to work and school.  

So I made my latest project with the latter in mind, in the hope that it will put some fun into going Back to School again... It's also my first official post as a member of the SVG Cuts Design Team (whoop, whoop!) and I am thrilled to share it with you today!  

I made a gift crate filled with lots of back to school goedies for a teacher.  It includes a candy jar with decorative doily, an apple (which can be filled with treats as well), a useful notebook and of course, a matching card. 

For full details and instructions on how to make this set, hop on over to the SVGCuts Blog


Here's a close-up of the little crate - my favourite item in the set:


When I showed it to my husband, he first thought that it was only a photo prop and asked me where I had found such a cute little crate.  Well, let me tell ya, he was absolutely amazed when I explained that it was part of my project and that I had actually made it out of paper as well!  

Don't you just love it when you can still surprise people with what you can make out of paper?

Here are some close-ups of the other elements too: 
Doesn't the apple look good enough to eat?  It's such a cute file and I cannot believe that it's taken me this long to make one!  I also really like the doily on the jar, tied down with some "Bessie" Whimsy Farm Twine.

I used the same apple file for the jar, notebook and card and simply resized it to suit.  Such an simple and effective way to make a matching set of, well, almost anything...
Whilst I had a small notebook lying around the house, I think it would be just as easy to make one.  Just cut out a couple of rectangles from some chipboard to make the front and back cover, then cut some paper to size, punch a couple of wholes in the top and bind together with ribbon, string or twine. Easy peasy!

But for those who would just like to know which kits I used, here's the list:
Thanks for stopping by!


Image Hosted by ImageShack.us


Saturday 9 August 2014

Retro Payphone - SVGCuts Guest Design Team Project

Hi everyone,

Today I am sharing my latest project for a guest design post for SVGCuts!  I am super excited about the project, not to mention the opportunity to be featured on the SVGCuts blog again!

So here is what I've created... an old fashioned, retro payphone!  Do you remember these? I'm sure the Generation Y peeps will wonder what on earth this contraption is, but I clearly remember the days before mobile phone when you had to walk halfway around town looking for a payphone to make that ever-so important phonecall!  Anyways, without getting too far down memory lane, let's have a look at some pics...
The payphone itself has three different compartments to put lots of goodies in.  Here, I added some chocolate coins along with a few of my personal favourites...
For those of you who are interested, here's a list of all of the SVGCuts kits and collections I used:

See the "bling" on the roses?  I achieved this look with my new Wink of Stella Brush pen - I love how it just adds a little something to the roses.
I also used some glossy accents in various places to give it some more "bling" as well as dimension.

For the exact measurements and details on how to create this project, just click here.

If you happen to get stuck on step 2 or 3 - here are a couple of screenshots of what I did. Hopefully it will make sense, but if not, please send me an e-mail. 

Step 2
Step 3

I really hope that you've enjoyed my retro creation!  If you decide to make one yourself, please share it on Facebook - I would love to see what you create!

Thanks for stopping by!


Image Hosted by ImageShack.us


Friday 1 August 2014

Texture Paste Technique

Hi there, just a quick post of a thank you card I recently made using a technique I saw on YouTube...


The video is by Jennifer McGuire (sorry, I looked for it again but couldn't find it to share the link) and she uses a stencil, texture paste and embossing powder to create a really cool embossed image for a card front.   So, following Jennifer's instructions, this is what I did:     

I used the 12' x 12' Damask stencil by Kaisercraft and placed it over a piece of plain white cardstock.  First I applied texture paste over the stencil and then carefully removed the stencil whilst the paste was still wet.  Then I covered the wet paste with Stampendous Kaleidoscope embossing powder and set it aside to dry for a few hours.  Once dry, I heat set the embossing powder with my heating tool.

I stamped the sentiment and added a thin strip of red cardstock with a few Kaisercraft pearls before adhering it to the card base.

The raised areas stand out so much and it looks really cool - especially with the Kaleidoscope embossing powder.  I think I'm in love with this technique and hope you like it too.  I just know I'll be using it quite often in the future.  

Thanks for stopping by!


Image Hosted by ImageShack.us