Hi everyone,
Yes, it's that time of year again... Summer holidays are coming to an end! For some this means finally getting back into some sort of routine, whilst others are dreading the end of summer and are desperately trying to make the most out of the last few days before going back to work and school.
So I made my latest project with the latter in mind, in the hope that it will put some fun into going Back to School again... It's also my first official post as a member of the SVG Cuts Design Team (whoop, whoop!) and I am thrilled to share it with you today!
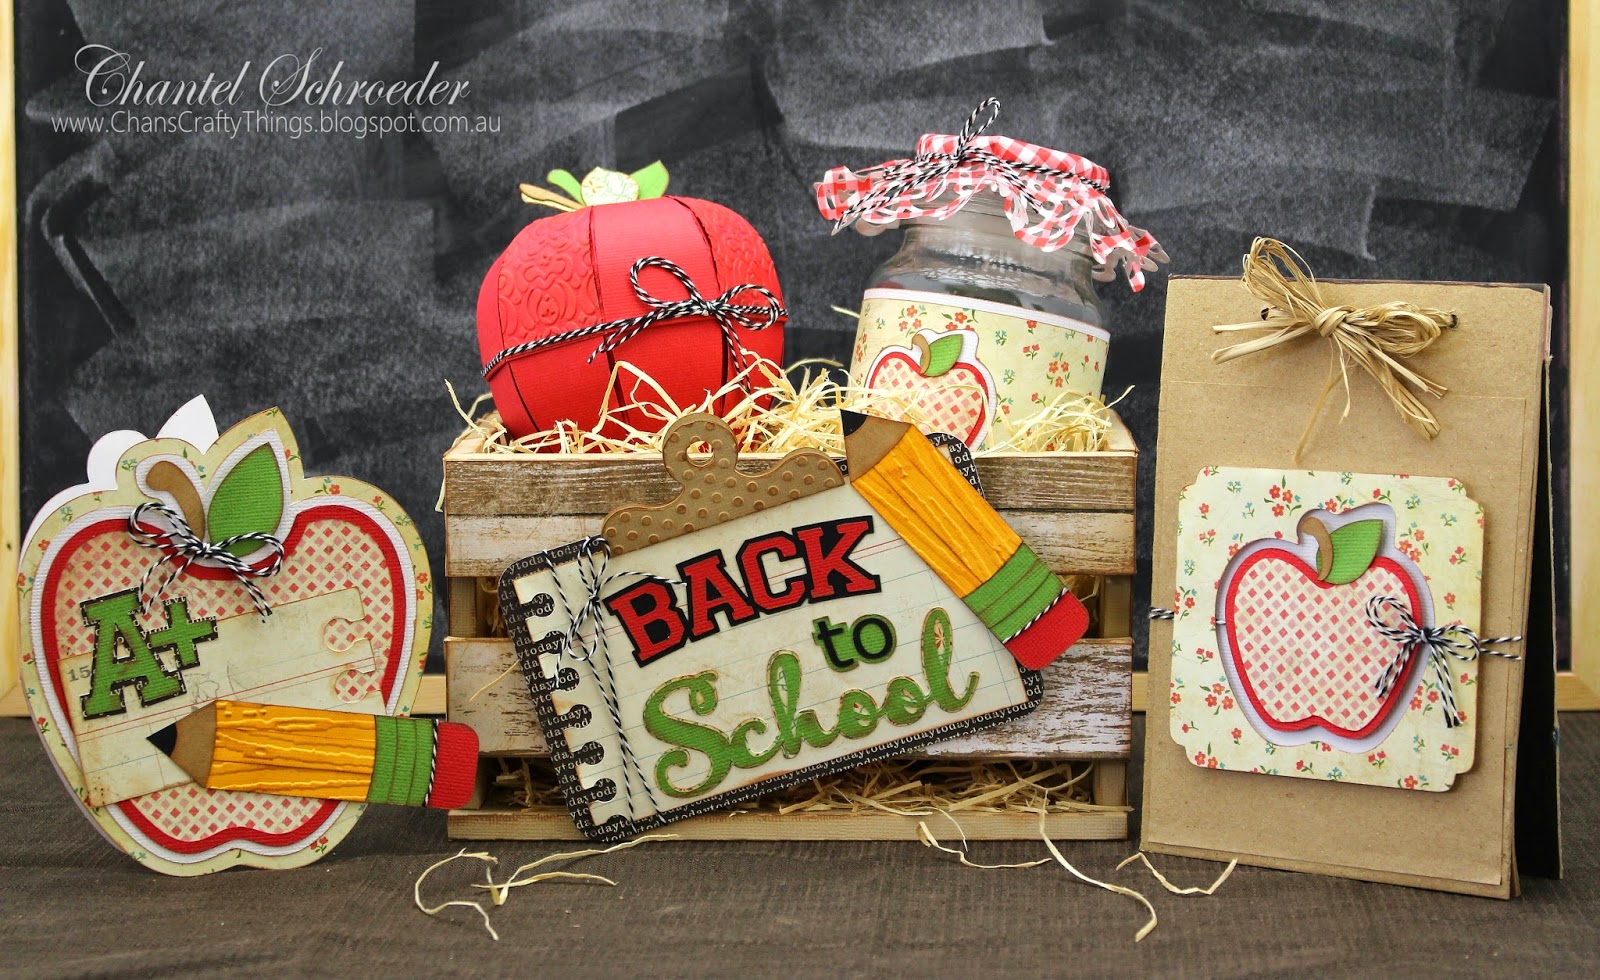
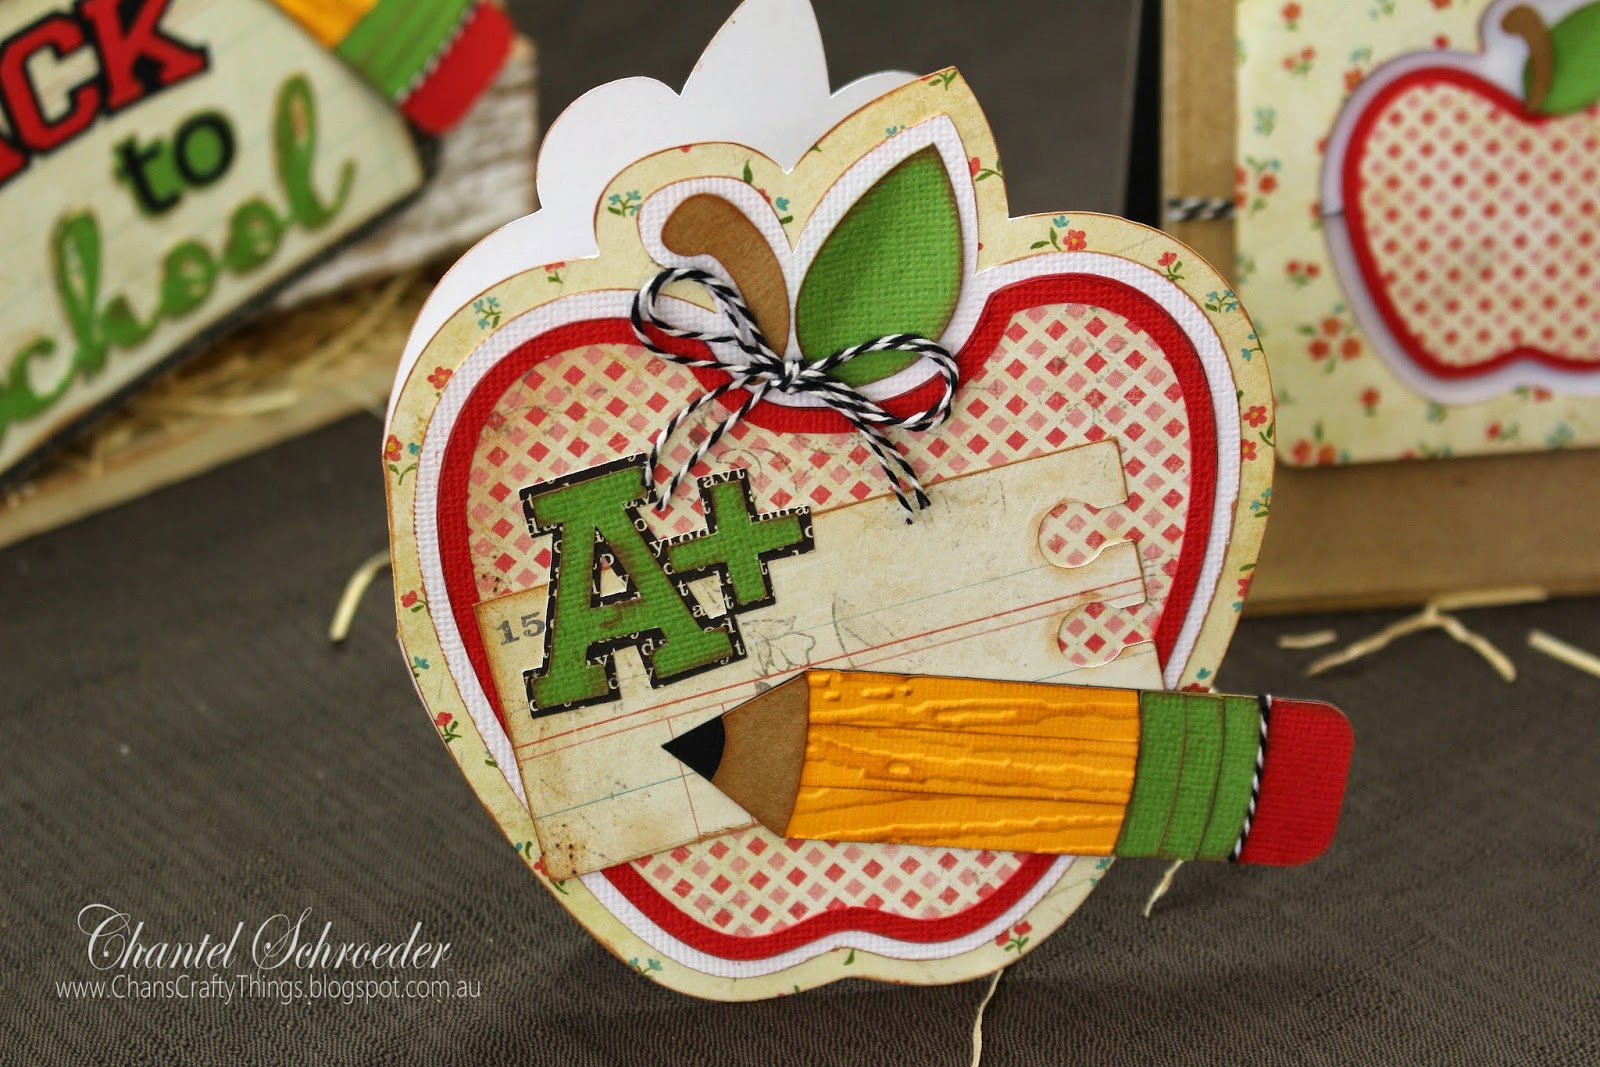
I made a gift crate filled with lots of back to school goedies for a teacher. It includes a candy jar with decorative doily, an apple (which can be filled with treats as well), a useful notebook and of course, a matching card.
For full details and instructions on how to make this set, hop on over to the SVGCuts Blog.
For full details and instructions on how to make this set, hop on over to the SVGCuts Blog.
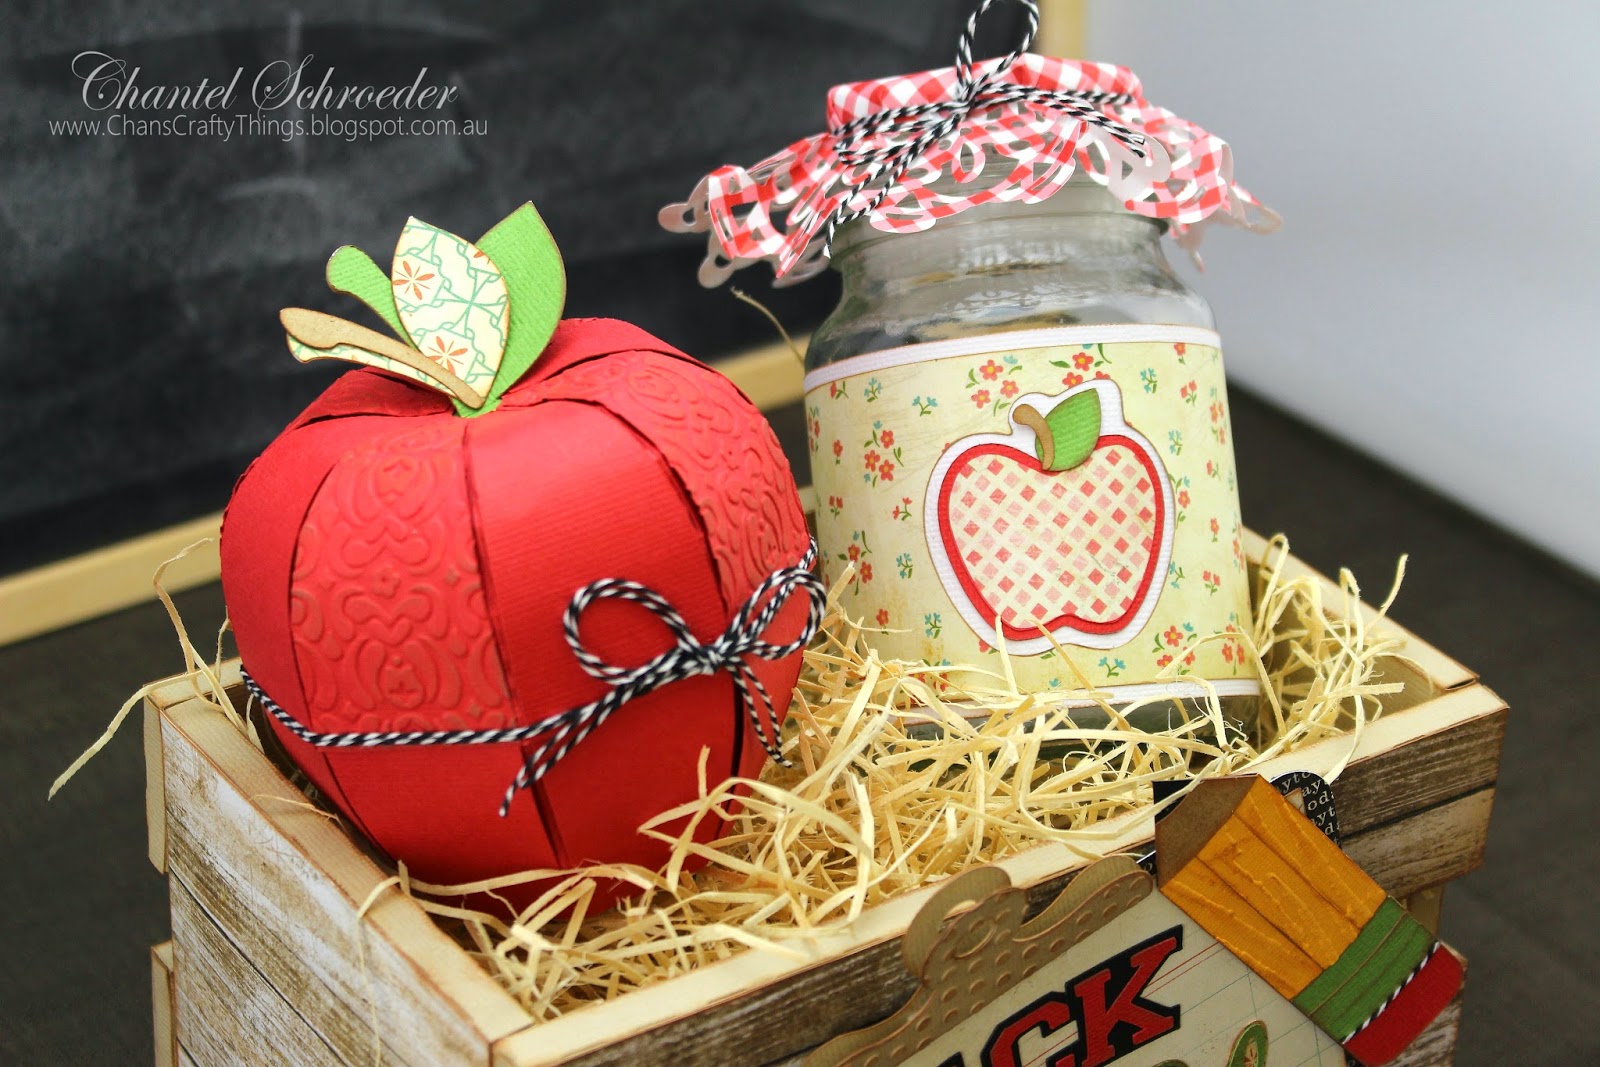
Here's a close-up of the little crate - my favourite item in the set:

When I showed it to my husband, he first thought that it was only a photo prop and asked me where I had found such a cute little crate. Well, let me tell ya, he was absolutely amazed when I explained that it was part of my project and that I had actually made it out of paper as well!
Don't you just love it when you can still surprise people with what you can make out of paper?
Doesn't the apple look good enough to eat? It's such a cute file and I cannot believe that it's taken me this long to make one! I also really like the doily on the jar, tied down with some "Bessie" Whimsy Farm Twine.
I used the same apple file for the jar, notebook and card and simply resized it to suit. Such an simple and effective way to make a matching set of, well, almost anything...
 Whilst I had a small notebook lying around the house, I think it would be just as easy to make one. Just cut out a couple of rectangles from some chipboard to make the front and back cover, then cut some paper to size, punch a couple of wholes in the top and bind together with ribbon, string or twine. Easy peasy!
But for those who would just like to know which kits I used, here's the list:




No comments:
Post a Comment
I would love to hear from you - please leave a comment below.