Monday, 27 January 2014

Glittered Stem Wine Glass

Hi there,

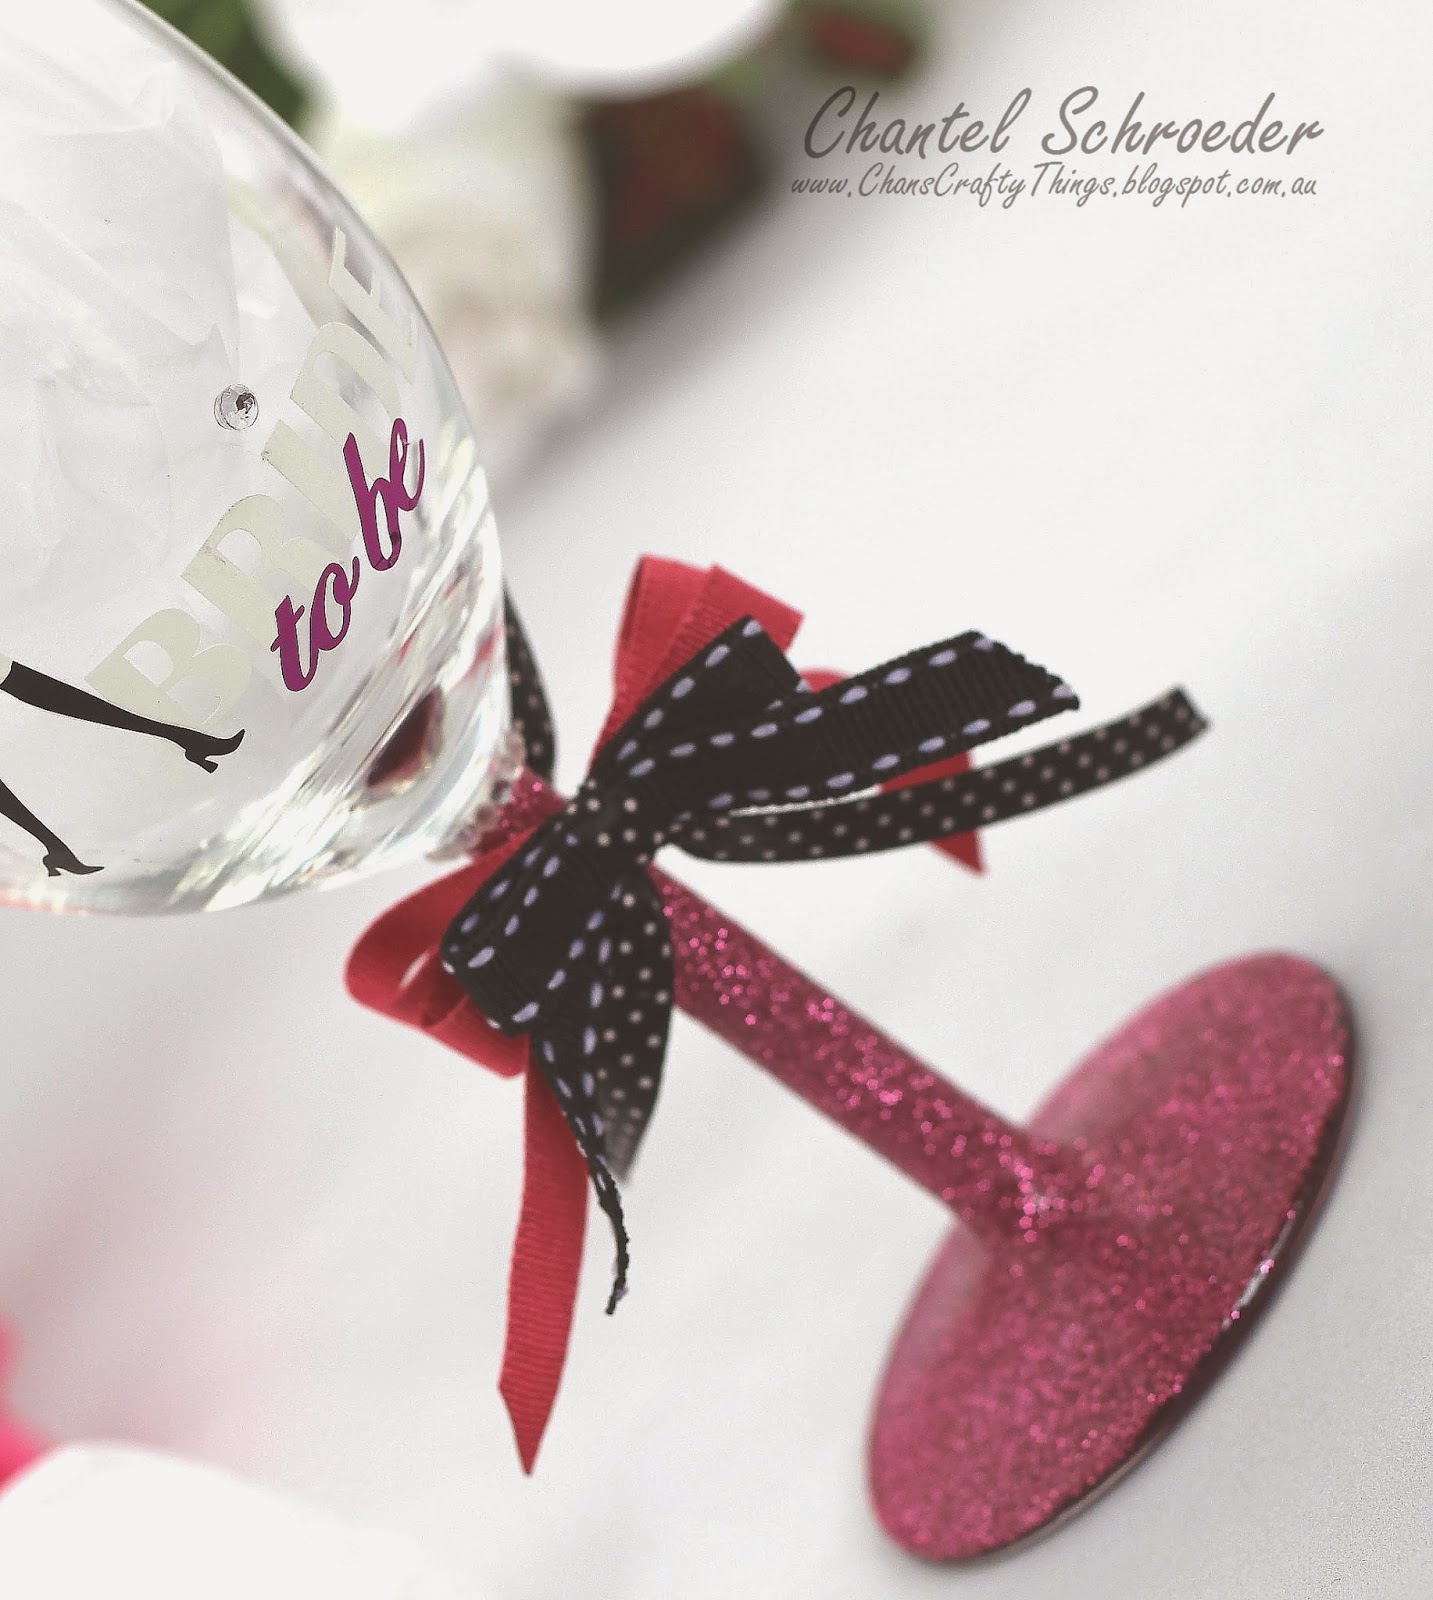
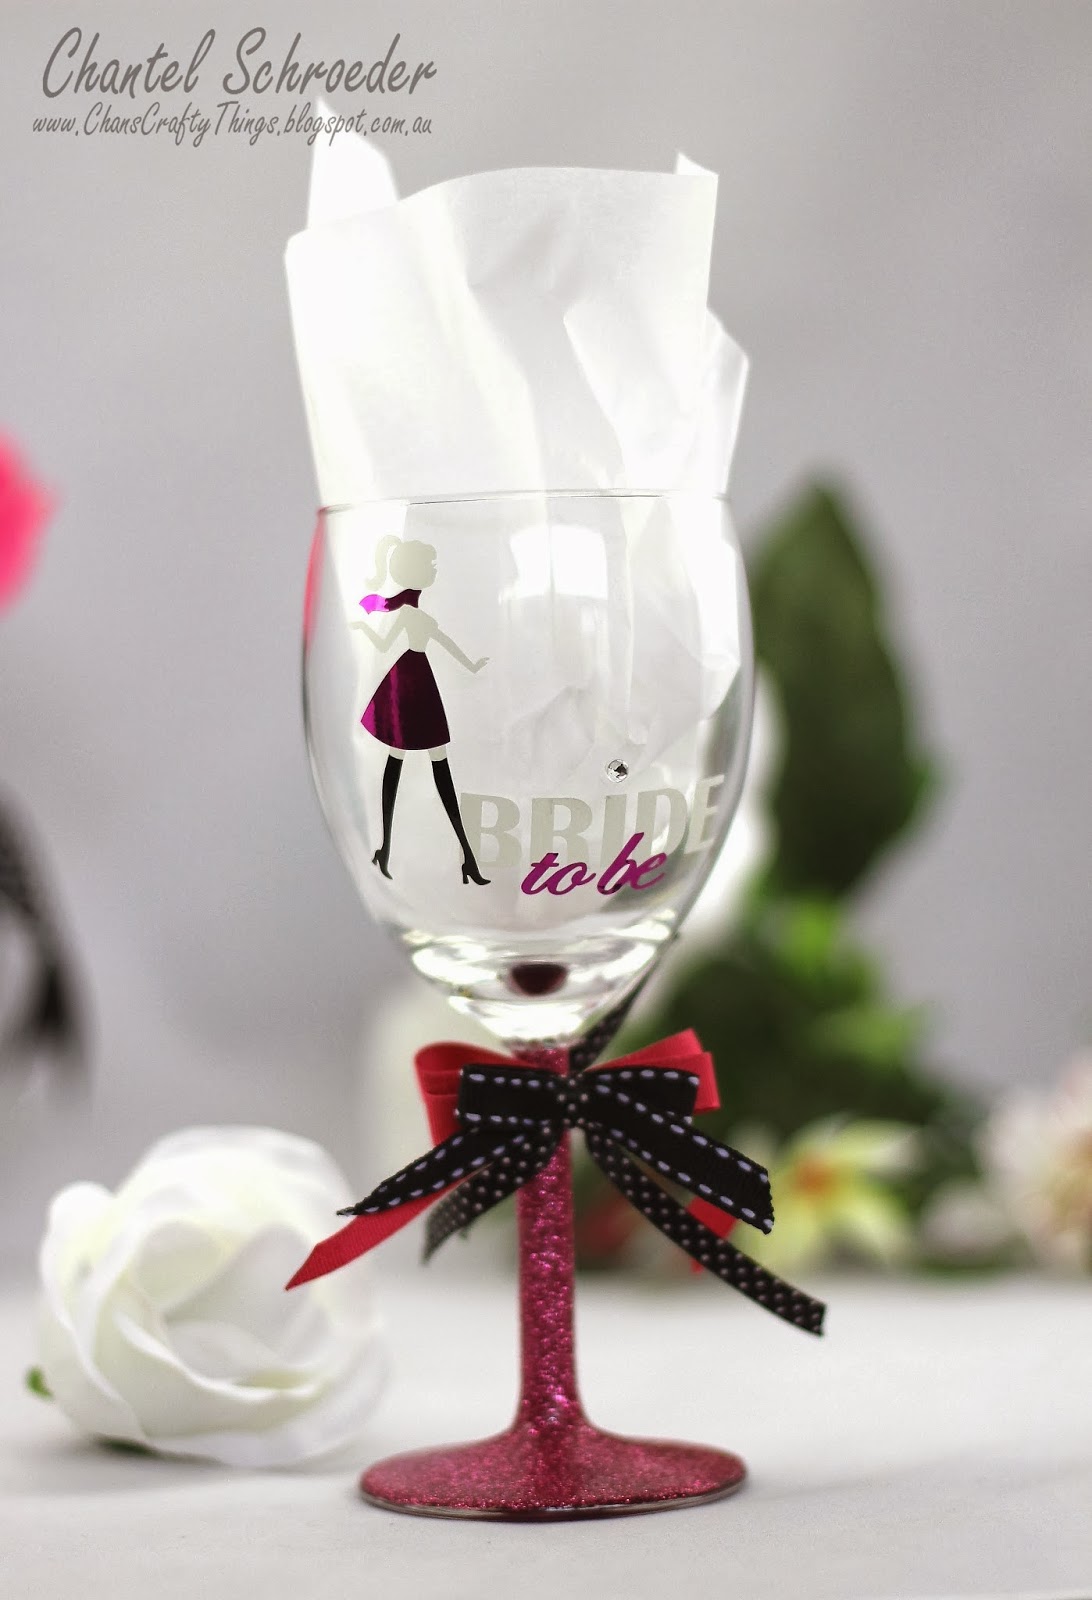
So I finally tried my hand at making a glittered stem wine glass... and it was so much fun! I've been thinking about it for a while but has never been able to work up the courage to do it.  So yesterday, I picked up some cheap wine glasses and decided to give it a go.

To be honest, I didn't even know where to start... but fortunately for me, there are a bunch of lovely Australian ladies on a crafty facebook page who were there to my rescue. Thank you so much to everyone who put up with my endless questions and provided lots and lots of advice.  You are all awesome!
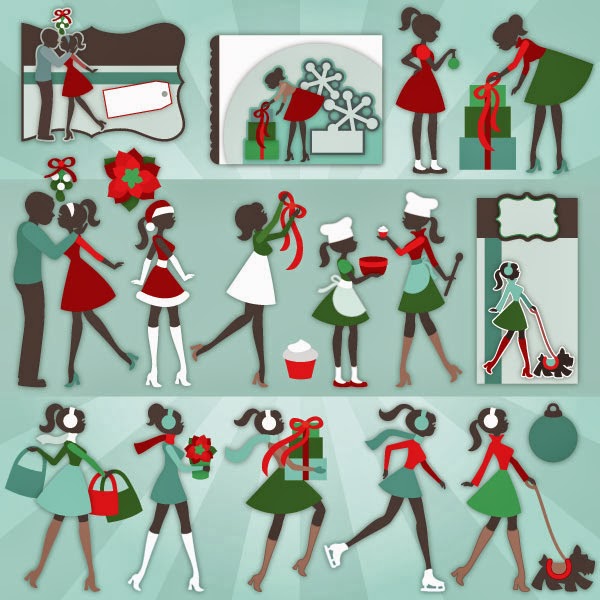
After the glitter dried totally, I was able to add my vinyl and bling to the rest of the glass.  I used basic fonts and an SVG file from the Kate's Holiday Silhouettes SVGCuts kit.

I wouldn't say it's perfect - but I definitely think that I can get the hang of it.  I really am pleased with how it turned out and can't wait to make some more. Guess what my friends are getting for their birthdays this year, lol!
So, what do you think?  I really like it - just need to figure out how to take proper photo's of glasses going forward... lol...

Thanks for stopping by!


Image Hosted by ImageShack.us

Sunday, 26 January 2014

Super Quick Hello Card

Hi there, 

Just a super quick post for a super quick card I made earlier!  

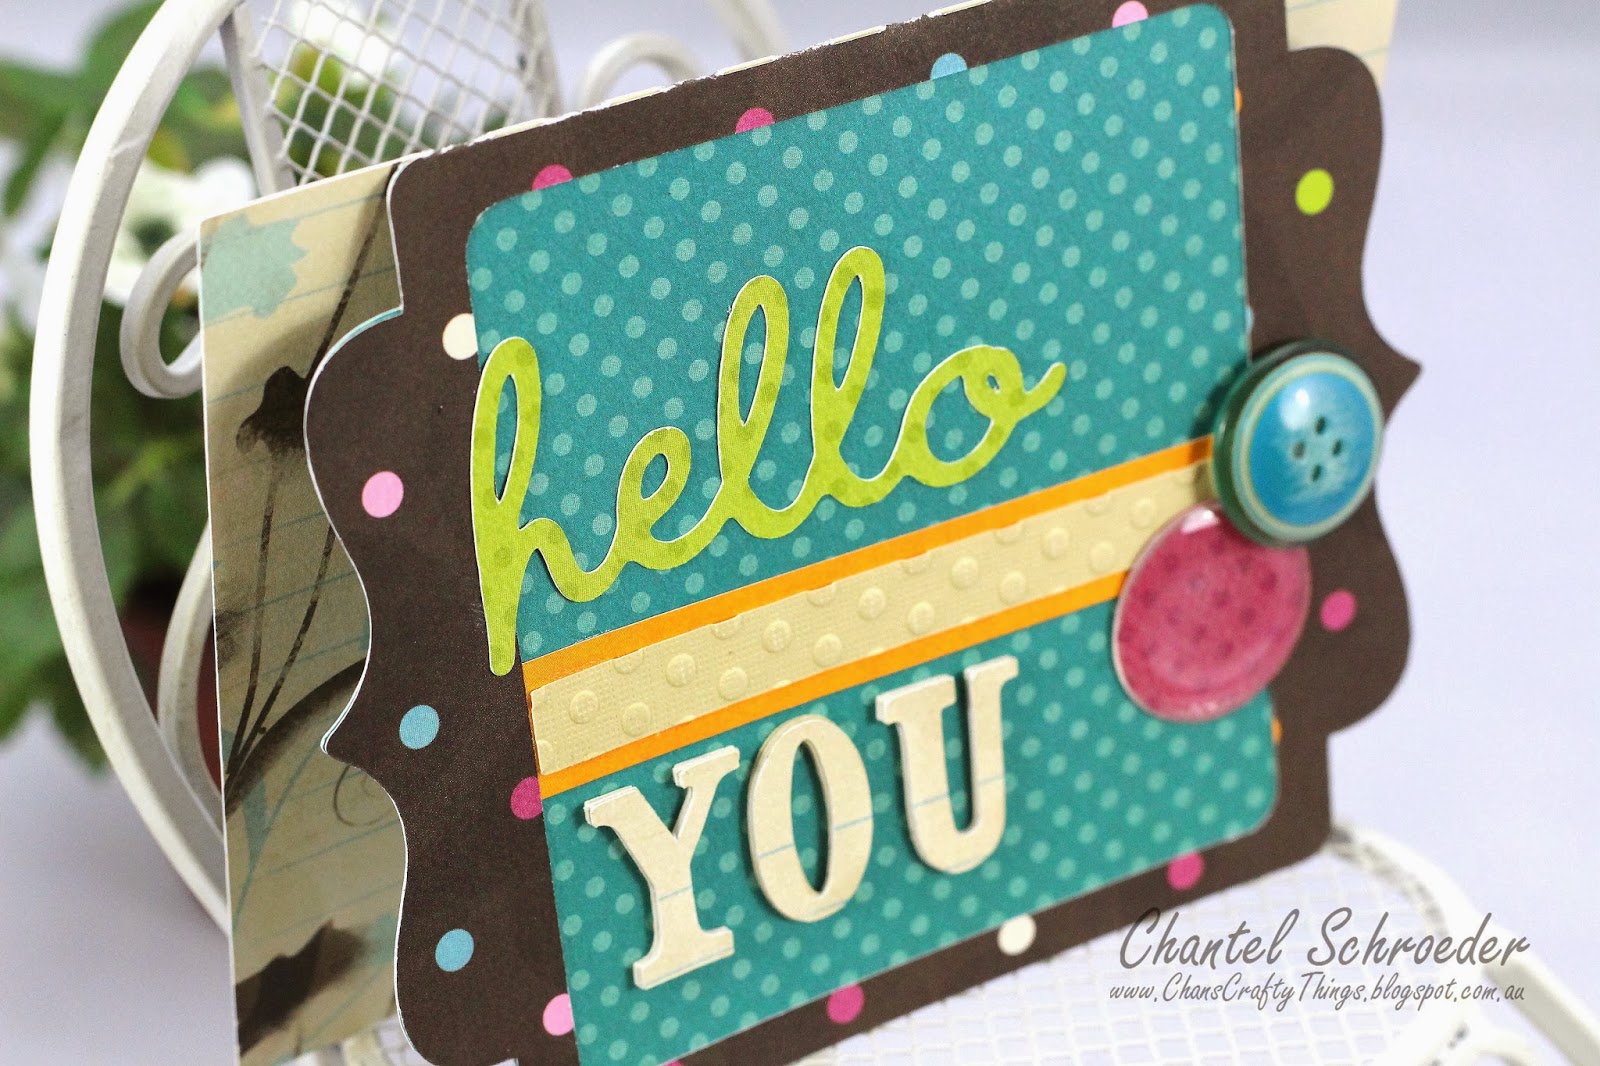
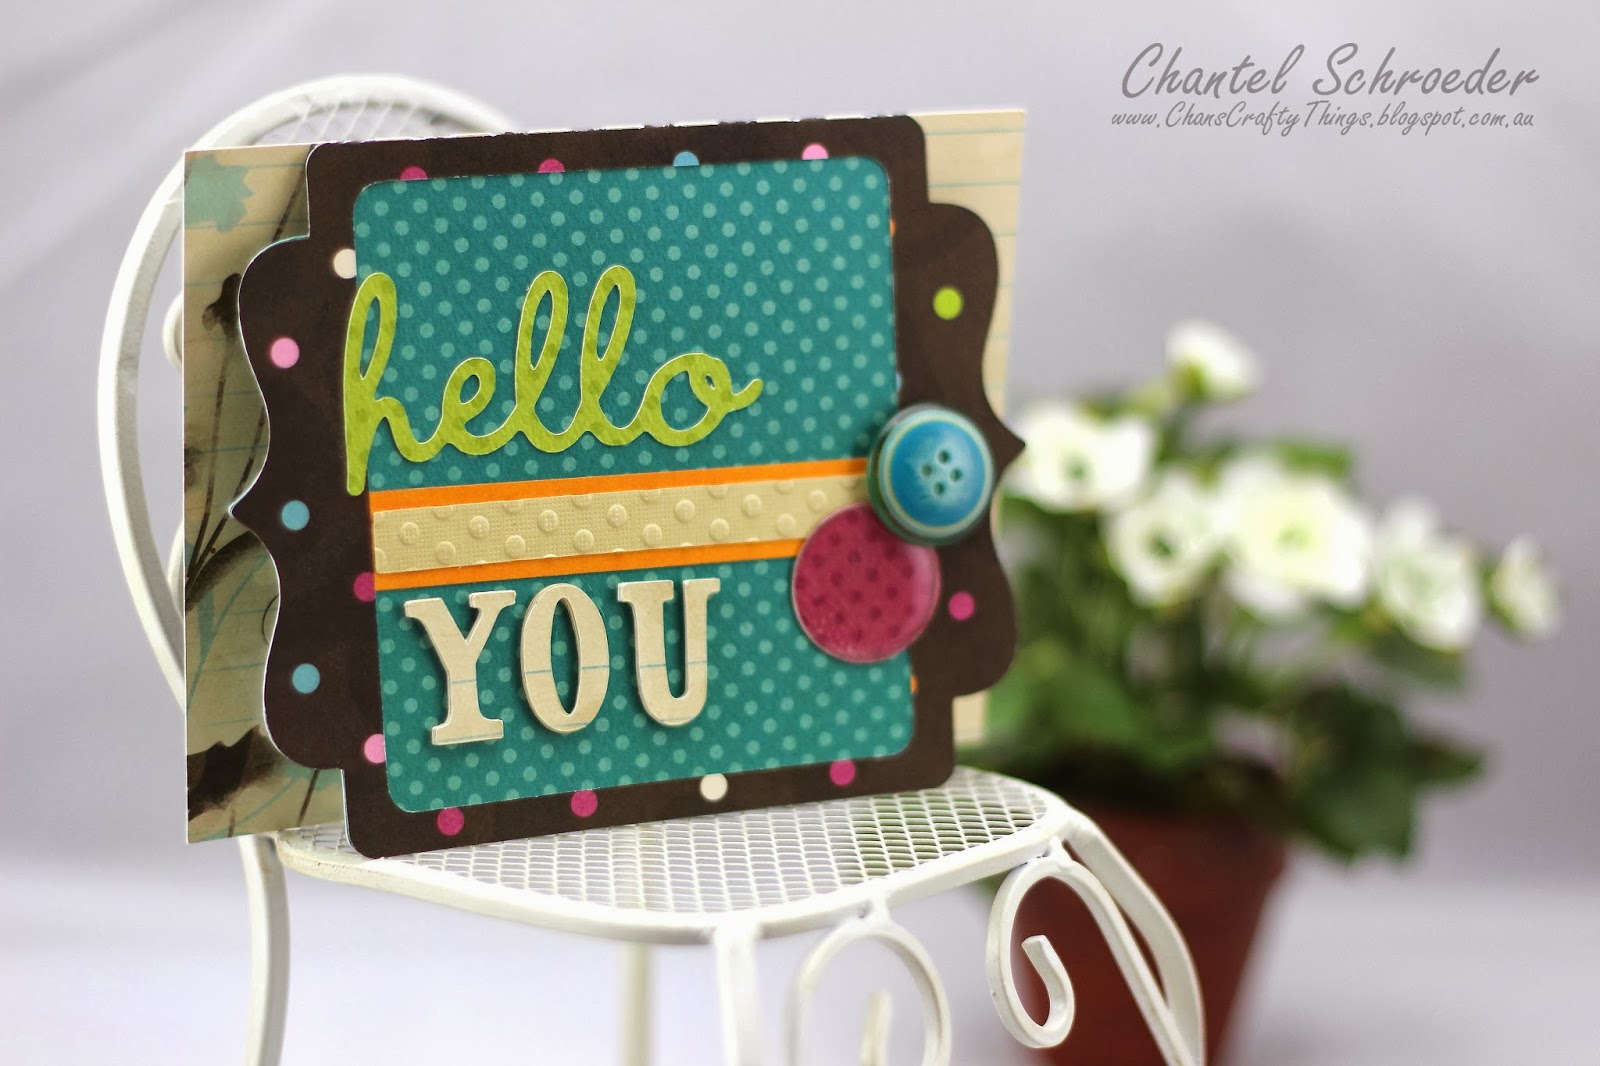
I used the Hello You card from the Everyday Cards SVGCuts Kit with paper from BoBunny's Back to Basics line. I added a thin strip of light yellow AC card stock which I ran through my BigShot and then embellished with a couple of buttons from my stash.  It literally took me 5 minutes to finish this card!


After I took the photo's I realised how obvious the white core of the paper was so I ended up inking the edges slightly to finish the card off nicely.  Hope you like it...

Thanks for stopping by!


Image Hosted by ImageShack.us

Valentine's Box with Heart Cut-outs and Rolled Roses

Hi everyone,

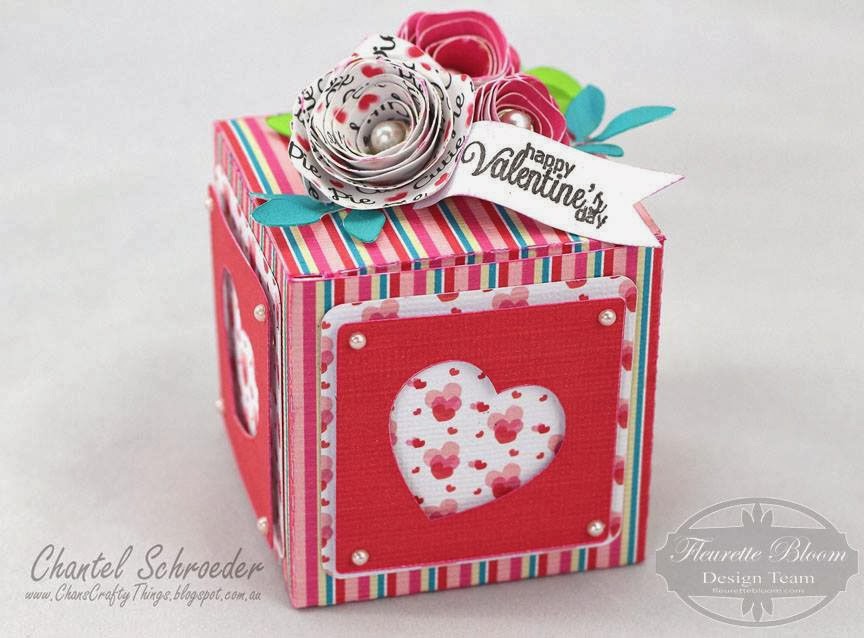
How cute is the new digital paper from Fleurette Bloom?  As soon as I saw it, I simply had to make something with it immediately! The collection is called Hearts a Flutter and you can get it here.   
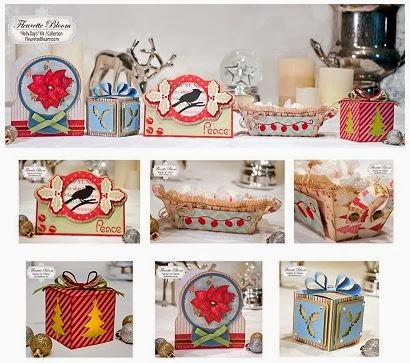
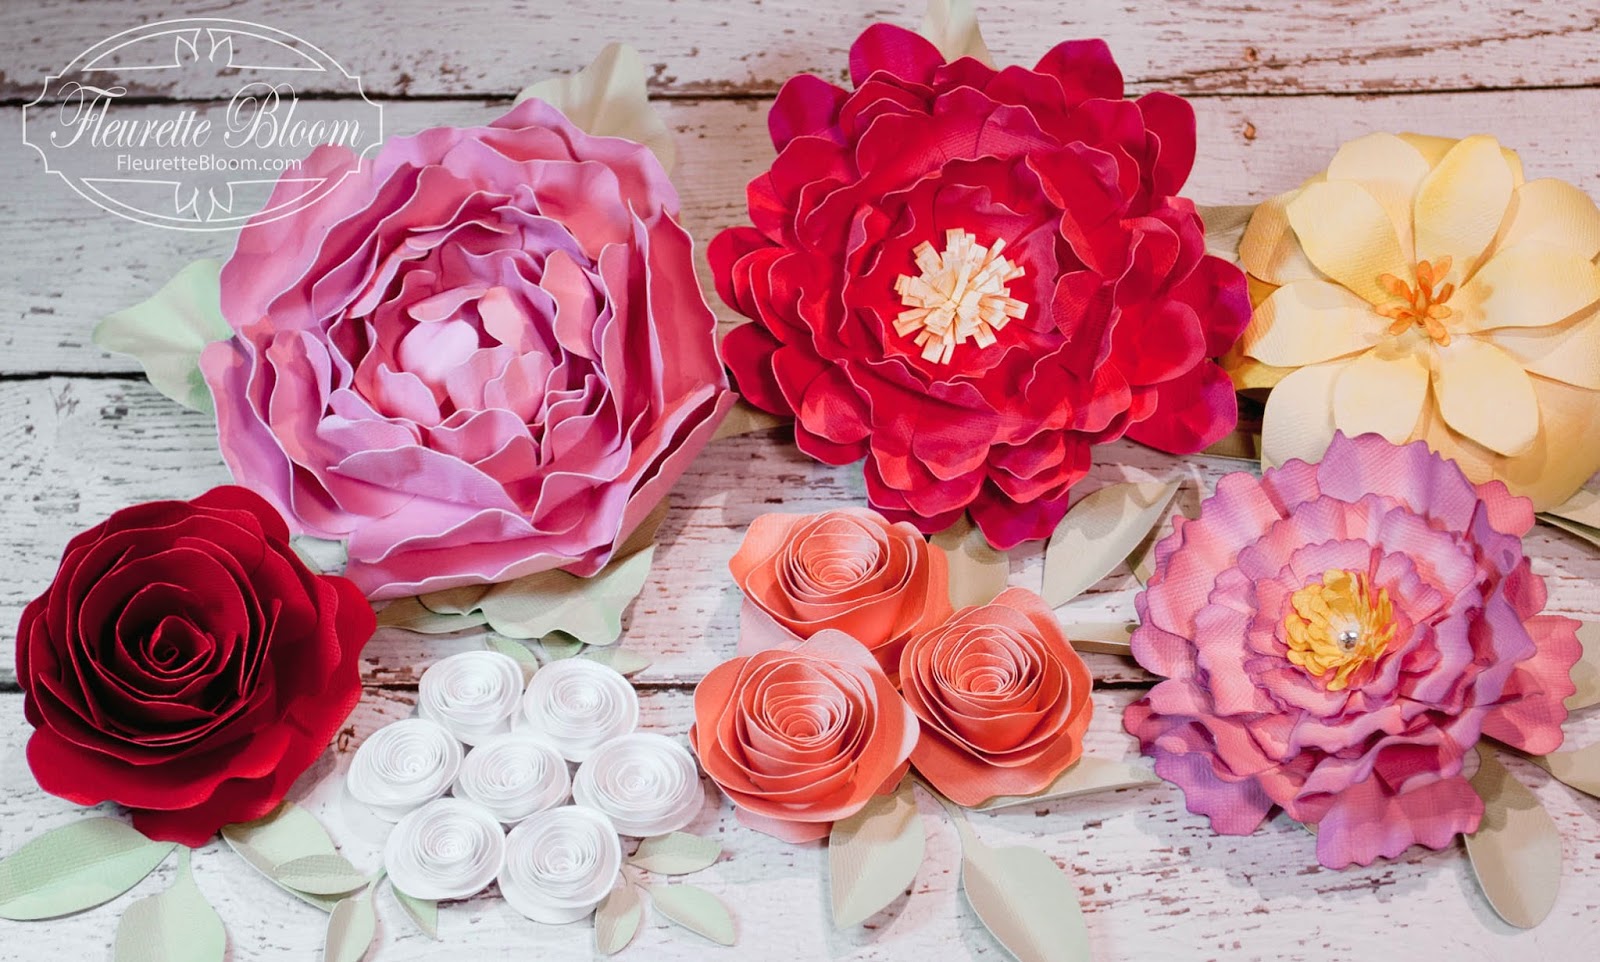
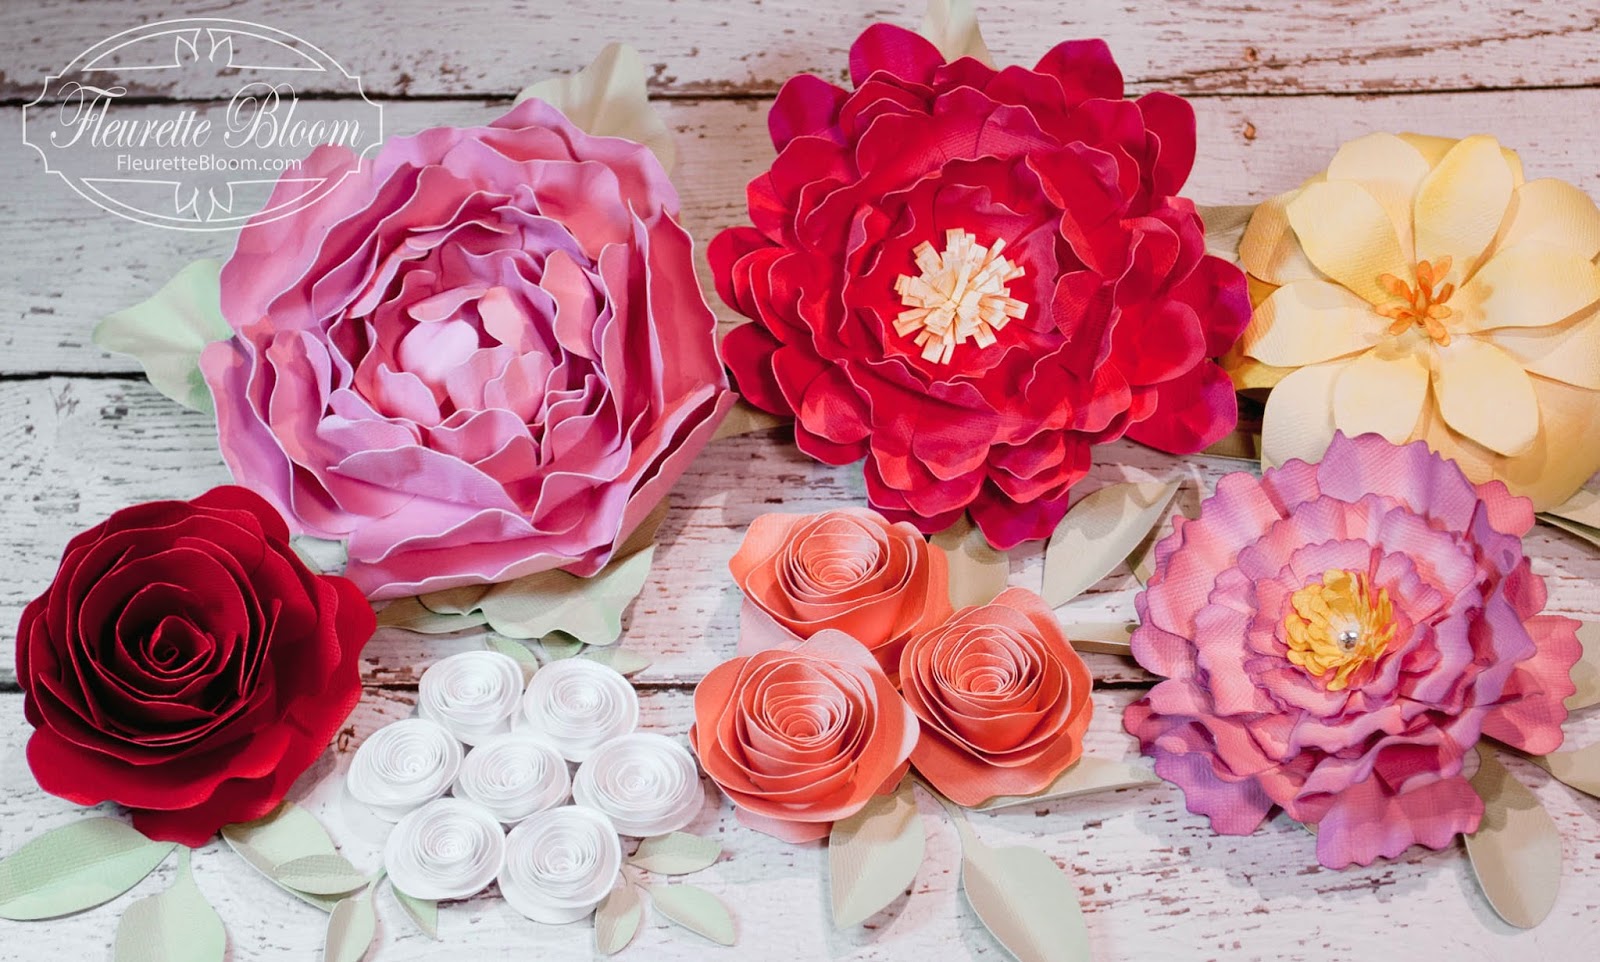
The box cut file is from the Holly Days Boxes and Cards Kit / Collection.  I simply replaced the holly with a heart shaped cut-out from the Valentine Be Mine 3DSVG Kit.  The roses are also from Fleurette's shop, you can find them in the new Lush Flowers 3D SVG collection.

I hand-cut the little tag after I stamped the sentiment.  I'm afraid I don't know the name of the stamp set or the company as I bought a bunch of craft supplies from e-bay and the packaging wasn't included.  But the set is so cute - all very small stamps which are so handy for cards and little gifts like this one.
I used the print and cut feature on my Cameo for this project.  All the pieces and panels for the box was made with one piece of white AC cardstock.  The roses and leaves were done on an A4 sheet of cardstock to save paper. I just love how economical this method is!  You only print and cut what you need and you an use the digital paper over and over again... 

Hope you like my little gift box and that I have inspired you to make something cute for the Valentine in your life!  

Thanks for stopping by!


Image Hosted by ImageShack.us


Saturday, 18 January 2014

I "Like" Love you - Pillow Box

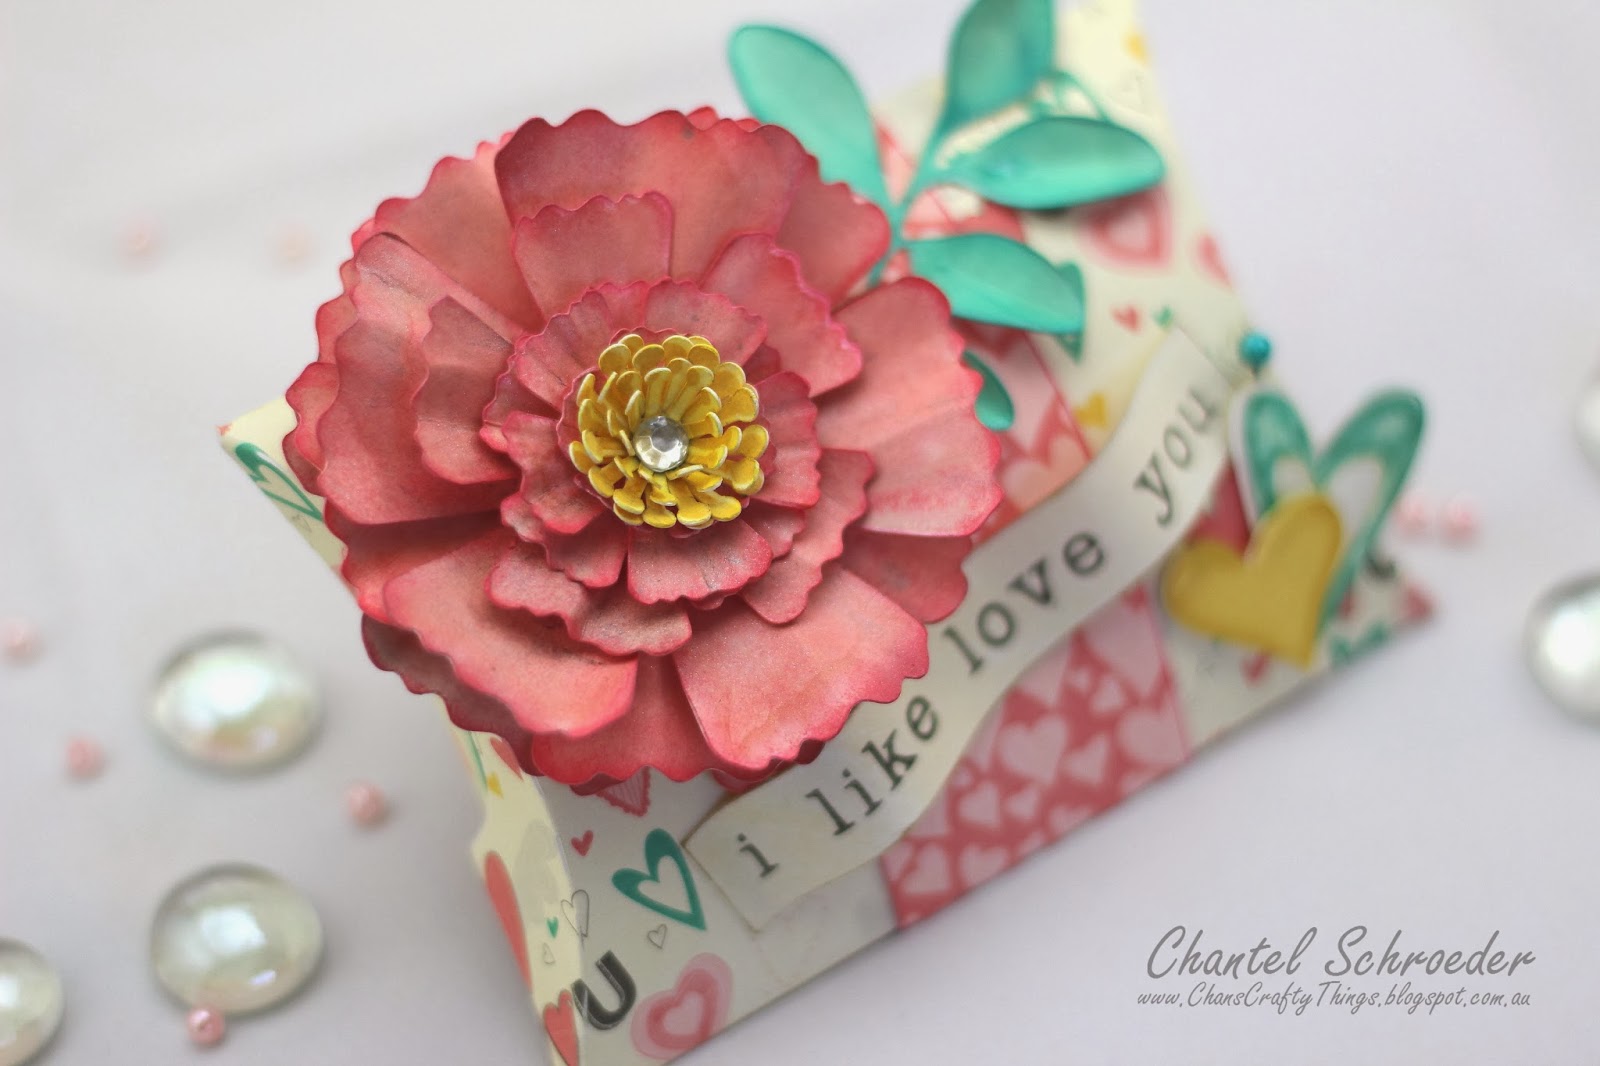
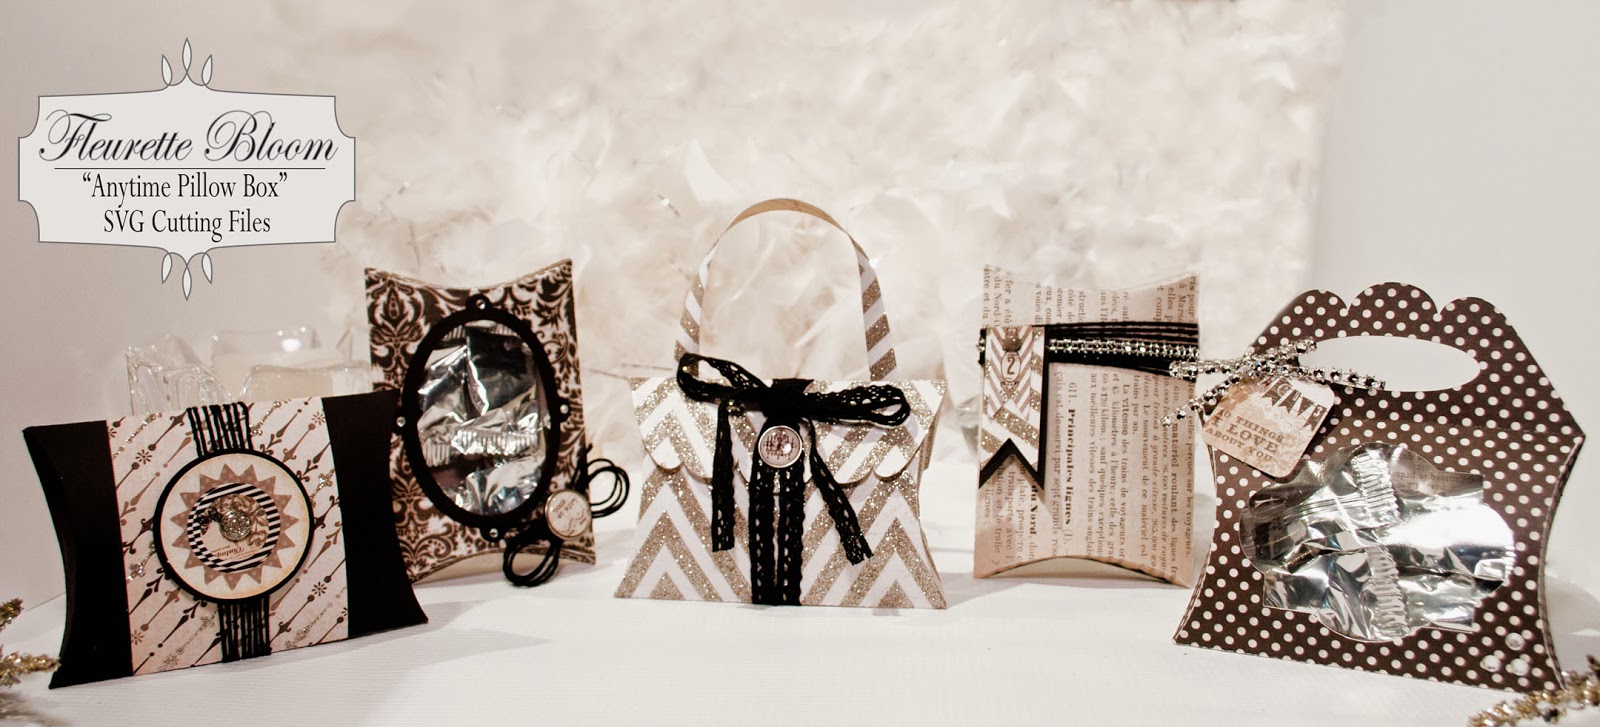
Hi there, today I am sharing a cute little pillow box I made using my Cameo and SVG files from Fleurette Bloom's shop.  

The box is from the "Anytime Pillow Box" SVG Cutting File Collection and the flower is from Fleurette's awesome new "Lush Flowers" 3D SVG Collection. If you haven't seen it yet, you HAVE to check this collection out... it's amazing and I can't wait to make it ALL!:)

I wanted the flower to really "pop" on the box so I inked the edges before spritzing the whole thing with some glimmer mist.  It's not super shiny - just enough to lift it up a little and I really like how it brings the colour in the flower out.      

I used digital paper from the "I Like Love You" collection from Design by Dani which I bought from Jessica Sprague.  I also used some of the digital elements in the collection as embellishments - just a quick print and cut on my Cameo and there it was - perfectly coordinated embellishments.  I did the same with the sentiment (which I love) and finished it off with a decorative pin and some bling in the flower center.

Isn't it super cute?    

Thanks for stopping by!


Image Hosted by ImageShack.us


Sunday, 12 January 2014

You're My Cup of Tea!

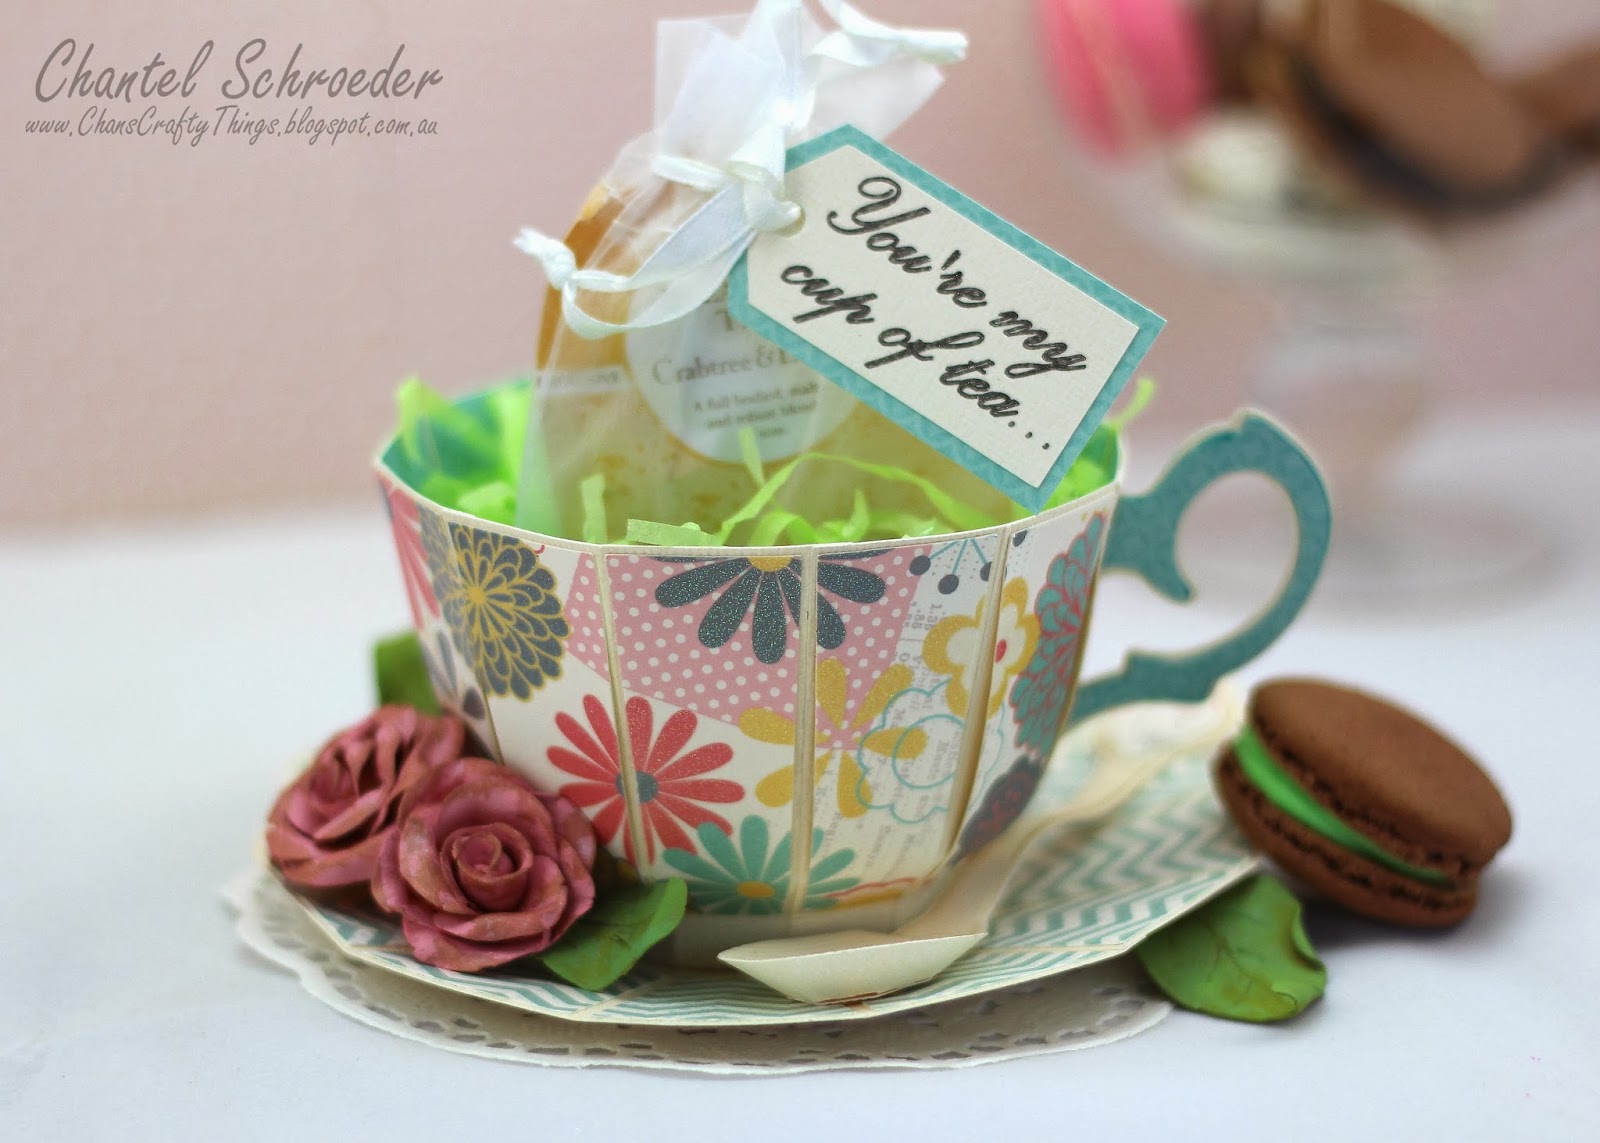
I finally got around to making one of these tea cups from SVGCuts. Isn't it just too cute? 
The file is from the Tea for You and Me SVGCuts kit and the paper is from the Sunday Afternoon stack by DCVW.  I also cut out a little tag and used my Amy Chomas Pen holder in my Cameo to write the sentiment. I love this feature - especially when you don't have a stamp that says exactly what you need...

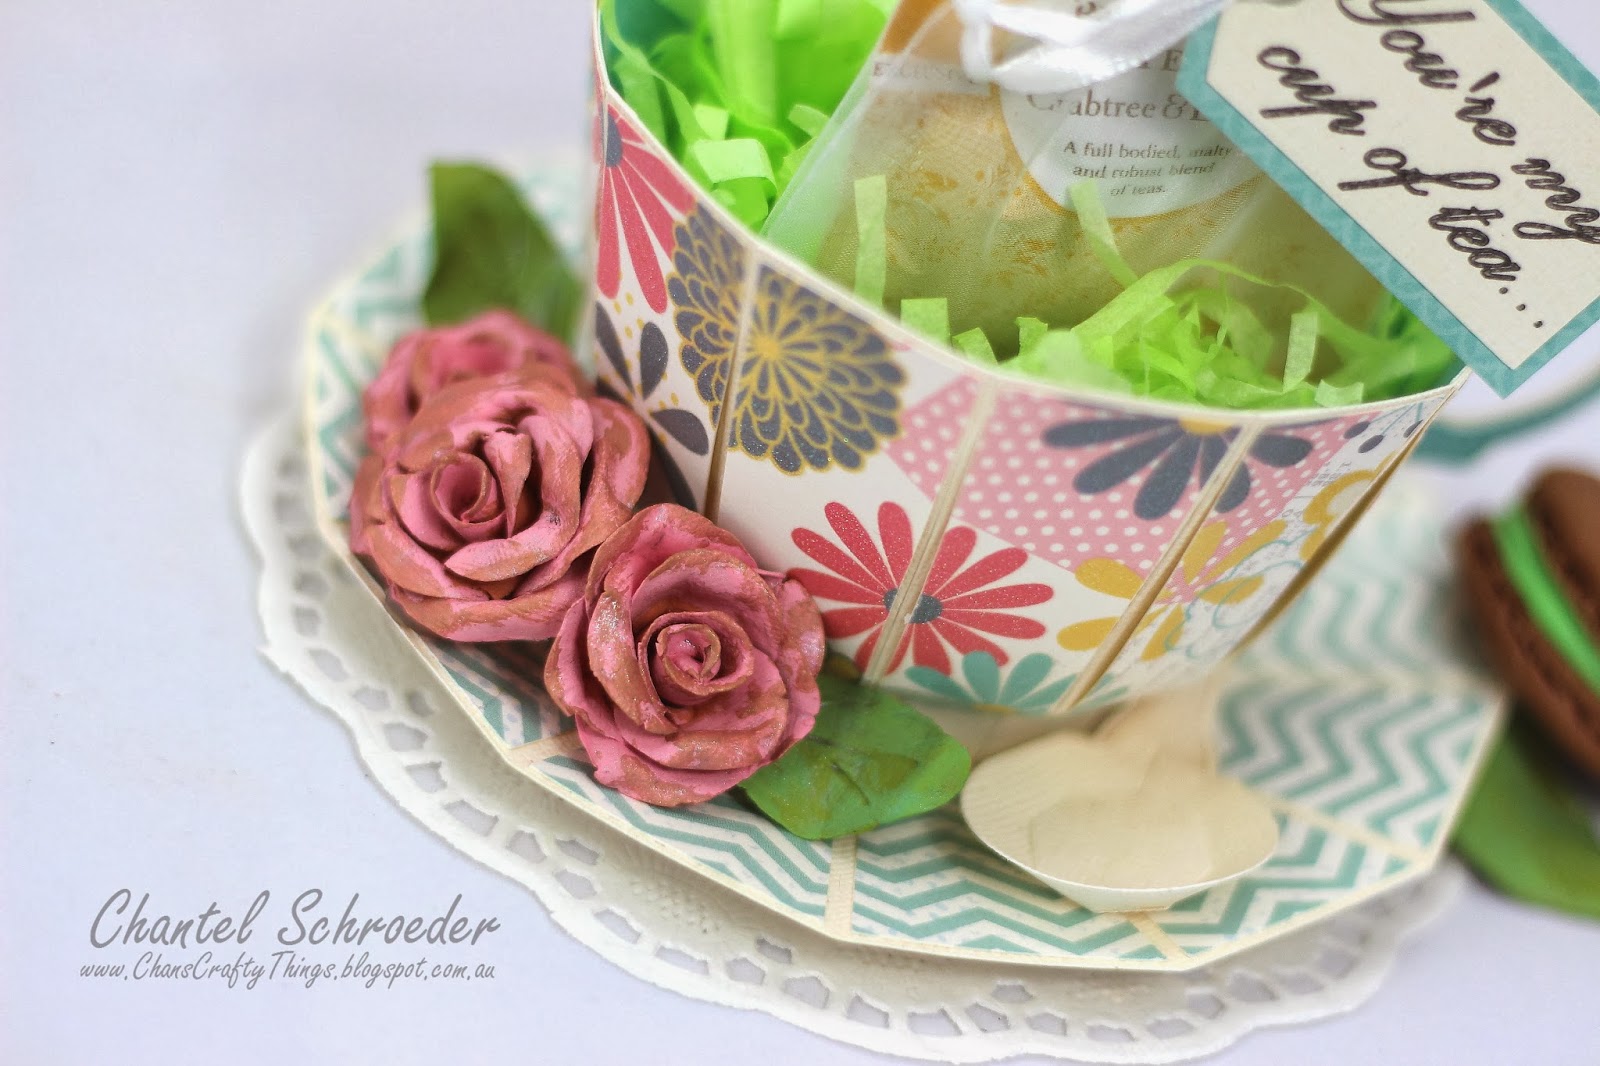
I wanted to mix things up a bit so decided not to use paper for the roses.  Instead, I made them using polymer clay.  Once they were dry, I painted them with acrylic paint and then added some perfect pearls to give it a bit of a distressed shimmer.  
I did the same with the green leaves and am really pleased with how it all turned out. It was fun mixing paper and clay for a change and I definitely think I'll be doing more of it in the future.  

Hope you liked my little cup... I certainly enjoyed the macaron in the picture:)

Thanks for stopping by!


Image Hosted by ImageShack.us

Sunday, 5 January 2014

Blossom Box and Thank You Card

Today I am sharing a little box and matching card I made as a thank you gift for someone special... 
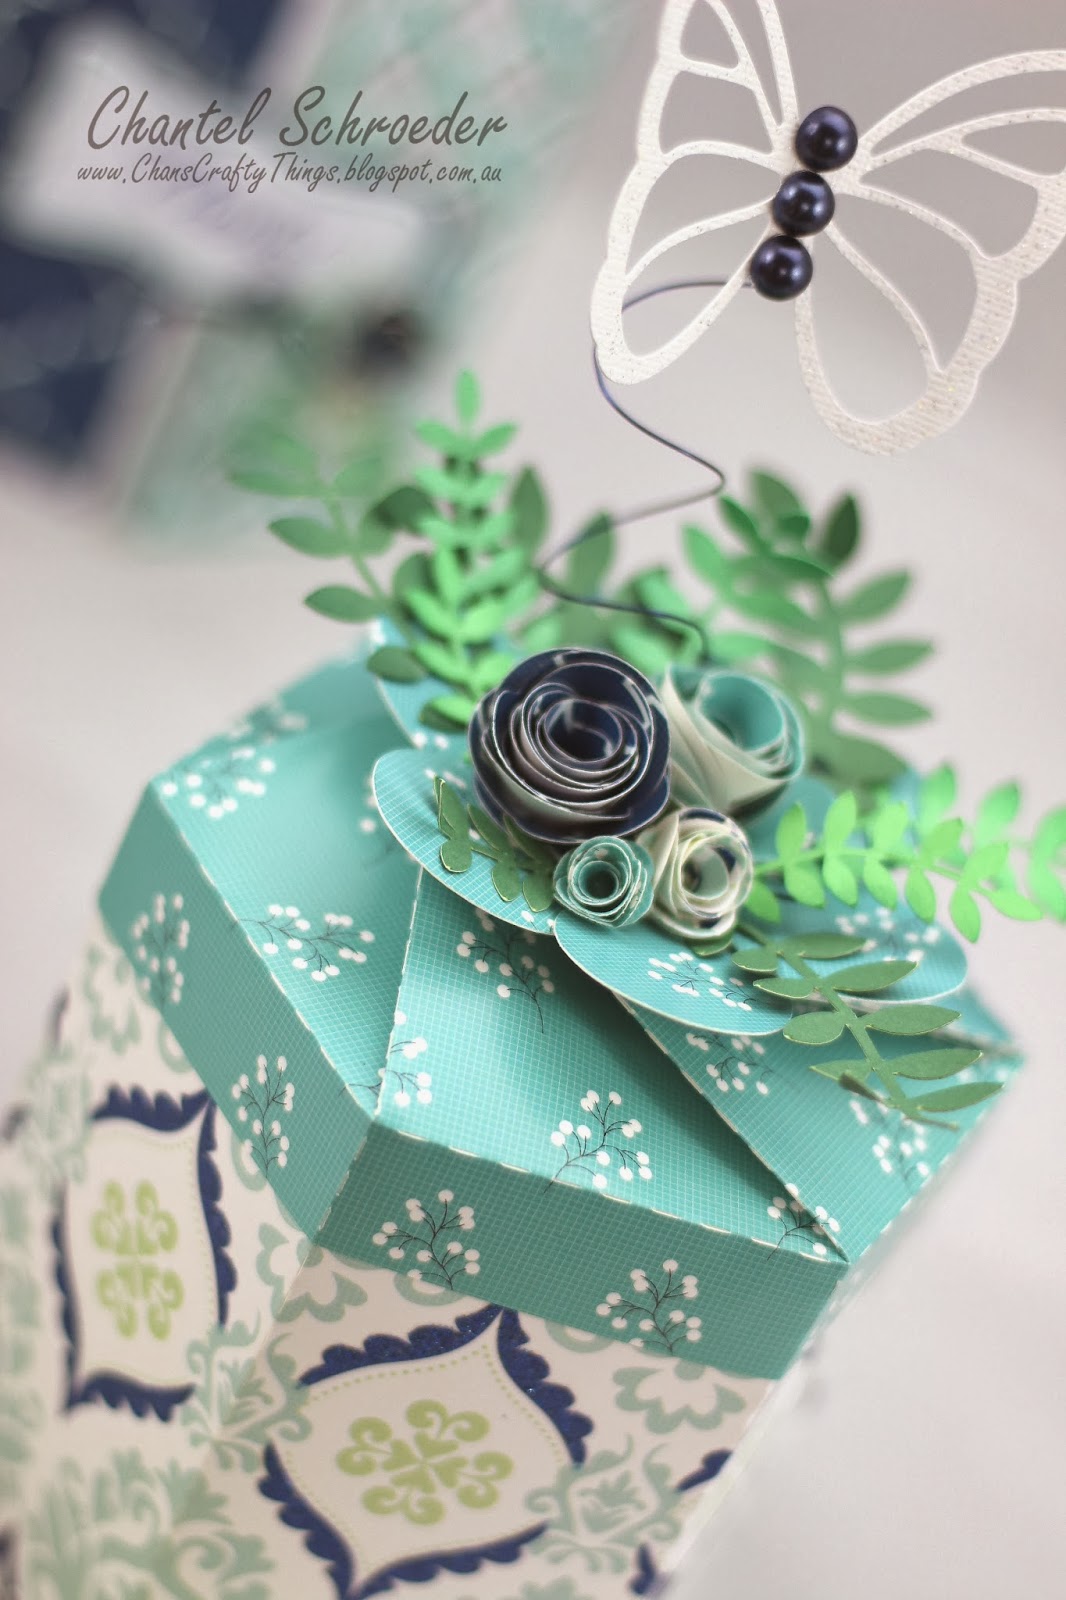
Can I just start by saying that I LOVE these papers!  it's from the DCWV Blue Citrus Stack, and it is just gorgeous!  The colours are so vibrant and I love that it has a combination of shiny and sparkly bits in the papers.  Best of all, it cuts like a dream in my Cameo!
 
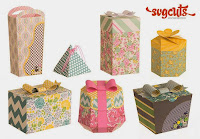
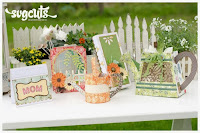
Now for the other details... I used the Blossom Box file from the Gift Boxes SVG Kit and embellished it with some rolled roses and greenery from the Mothers Garden SVG kit.  The butterfly is from the High Skies SVG kit (without the vellum) and the navy pearls are from Kaisercraft. 
The card is also from the High Skies SVG kit but instead of the anchor, I added a label from the Mothers Garden SVG kit which I stamped and heat embossed.  Again, I just added some rolled roses and greenery to finish it off.
I'm really pleased with how this gift set turned out and can't wait to give it to the recipient. I'm sure they are going to love it!


Thanks for stopping by!


Image Hosted by ImageShack.us
 

http://www.svgcuts.com/affiliates/jrox.php?id=3640&jxURL=http://svgcuts.com/index.php?main_page=product_info&cPath=29&products_id=358
http://www.svgcuts.com/affiliates/jrox.php?id=3640&jxURL=http://svgcuts.com/index.php?main_page=product_info&cPath=30&products_id=347

http://www.svgcuts.com/affiliates/jrox.php?id=3640&jxURL=http://svgcuts.com/index.php?main_page=product_info&cPath=44&products_id=306

Monday, 30 December 2013

Get ready to Celebrate the New Year!

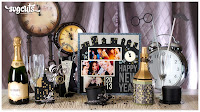
Are you ready for New Year's Eve yet?  If not, today's blog post is just for you as it is full of quick and easy ideas you can use to get ready for a fantastic party!  I'll show you how to "jazz" up anything from old frames and vases to dollar store glasses, chocolate coins and even straws!  

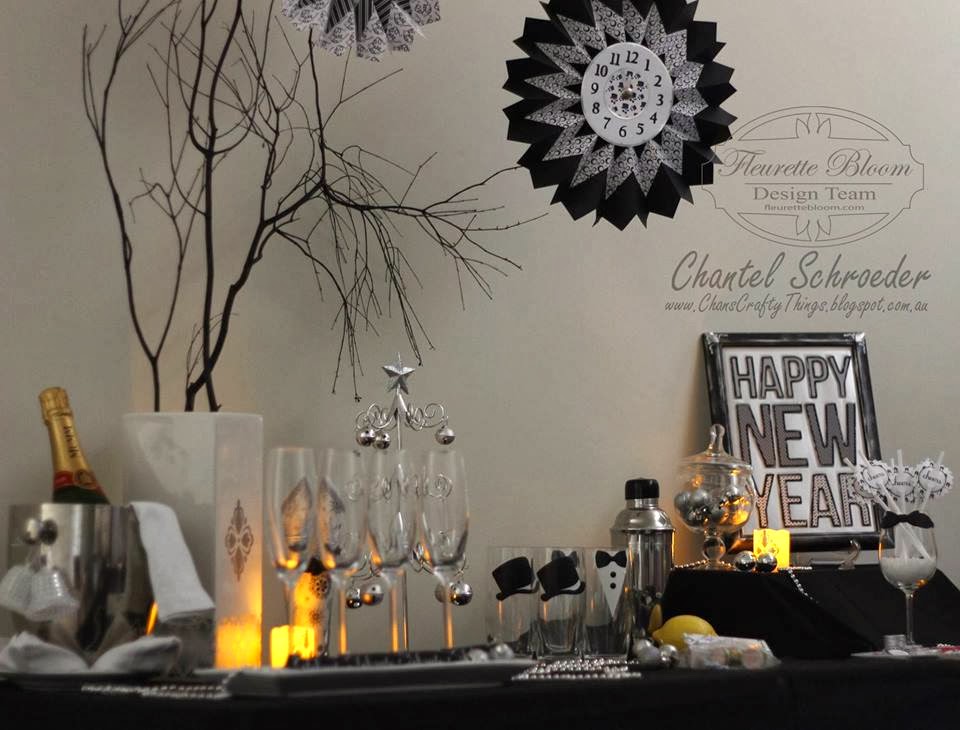
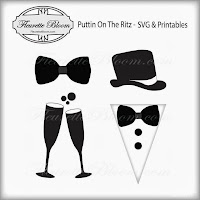
I went for a black and white theme which was totally inspired by Fleurette Bloom's new Putting on the Ritz paper collection.  If you haven't checked it out yet, you should!  I love this paper... so many possibilities!

So without any further ado... here it is...
I used a mishmash of various cut files from Fleurette Bloom's shop as well as SVGCuts kit and collections. I also used my Silhouette Designer Software and used the print and cut feature on my Cameo for almost everything (apart from the vinyl).  So, here's the scoop... 

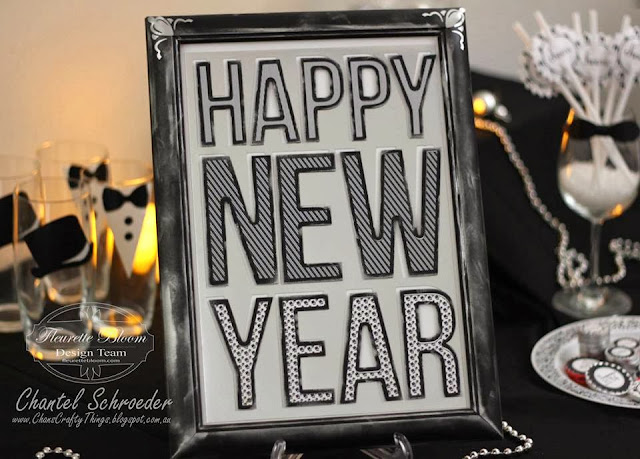
First up is the "Happy New Year" sign.  I enlarged the scrapbook page sign from the New Year's Eve SVGCuts kit to A4 size and cut the background out of silver cardstock from the dollar store.  I then filled the letters with different digital papers from the Putting on the Ritzs paper collection before cutting it out.  I had this old frame lying around so I decided to spruce it up with a bit of silver ink and vinyl cut-outs I had left over from decorating the candles.
To dress up my champagne glasses, I used the banner file from the Cards for Mom's Simple Stampable Card and added the text using a basic font (Cursif).  I lined the tray with  a rectangular piece of cardstock which I printed with the same paper collection.  I decorated the edges of the white tray with silver vinyl pieces I cut out using the brocade design from the Christmas Gifts Vinyl SVG collection.  I also used the same design to decorate my vase and candles (in the background) with vinyl so that everything would tie in together nicely.

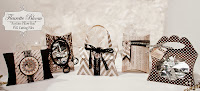
I've always liked these little champagne bottles and thought they would make a nice gift for my guests.  I made the little tag with an extra shape in the Anytime Pillow Box collection and filled it with digital paper before adding the circle with text. For the label, I drew a square in my software and filled it with the Celebrate paper which made a perfect little border.   I framed the 2014 with another element from the Christmas Gifts Vinyl Collection.   
I didn't want to use my best glassware (after all, it is New Year's Eve and people do tend to get a little merry, lol), so I picked up some cheap glasses from the dollar store and dressed them up with vinyl.  The cut files for these elements are also from Fleurette Bloom's store - aren't they just too cute?
The drinking straws also received  a make-over... For these, I used the same shape as for the champagne bottle tag but a bit smaller.  I simply replaced the text with cheers and added a couple of half-moon cuts (top and bottom) for the straw to slide through.  The paper bow-tie on the wine glass is a wonderful freebie which you can find here on the SVGCuts website.
I had a whole bunch of chocolate coins left over from gift bags I made for our friend's children over Christmas.  I really didn't want them to go to waste but they had Christmas pictures all over them... So I decided to give them new life as well and use them for my party by adding the same shape as above again (just in different sizes) to each.  I printed and cut 40 from one sheet of paper and they were so quick to put together.  I really like how they turned out.  It also gave me an idea for another party theme... hmmm... Can't tell but hopefully you will see soon...
So, after a whole night of eating and drinking, we're supposed to kiss people right?  We'll I've got just the thing to get you ready for that "mint-nite kiss"... So simple and yet so cute, right?  I know my friends will love these!  I used basic fonts for these along with the "for" and "the" from the vinyl collection.  
For the party favours, I used the same label as for the small champagne bottle and just changed the text at the top.  I added another rectangle at the top and welded the pieced together so that I could fold it over and tie together with some string. 
Finally, I made some large rosette's to hang from the ceiling above the drinks table.   The rosette file is from the Catacomb Manor SVG kit and I just love how these turned out.  They look so elegant in this colour scheme, don't you think?

I think this one is my favourite!  I used the same rosette file but enlarged it a little so that I could add the clock face from the Maison de Madelain SVGCuts kit in the centre.  I love it and think it's the perfect, final touch to complete my New Year's Eve party decorations.  Now all I need to do is whip up some canapés, blow up some balloons and enjoy the party!


I had so much fun with this project!  I hope you enjoyed looking through the pictures and that you feel inspired to decorate for your New Year's Eve party as well.

Thank you so much for stopping by.  If you like what you see, please feel free to comment, share, pin, like my fan page on Facebook or visit Fleurette's page or blog.  I would love to hear from you.
Happy New Year everyone!
 

Image Hosted by ImageShack.us
 http://www.fleurettebloom.com/Puttin-On-The-Ritz-Digital-Paper-Collection_p_134.html=&AffId=10
http://www.fleurettebloom.com/Puttin-On-The-Ritz-SVG-and-Printables-COPY_p_135.html=&AffId=10http://www.fleurettebloom.com/NEW-Anytime-Pillow-Box-SVG-Cutting-File-Collection_p_121.html=&AffId=10

http://www.svgcuts.com/affiliates/jrox.php?id=3640&jxURL=http://svgcuts.com/index.php?main_page=product_info&cPath=4&products_id=338http://www.svgcuts.com/affiliates/jrox.php?id=3640&jxURL=http://svgcuts.com/index.php?main_page=product_info&cPath=3&products_id=378http://www.svgcuts.com/affiliates/jrox.php?id=3640&jxURL=http://svgcuts.com/index.php?main_page=product_info&cPath=1&products_id=373
http://www.svgcuts.com/affiliates/jrox.php?id=3640&jxURL=http://svgcuts.com/index.php?main_page=product_info&cPath=1&products_id=373