Friday, 1 August 2014

Texture Paste Technique

Hi there, just a quick post of a thank you card I recently made using a technique I saw on YouTube...
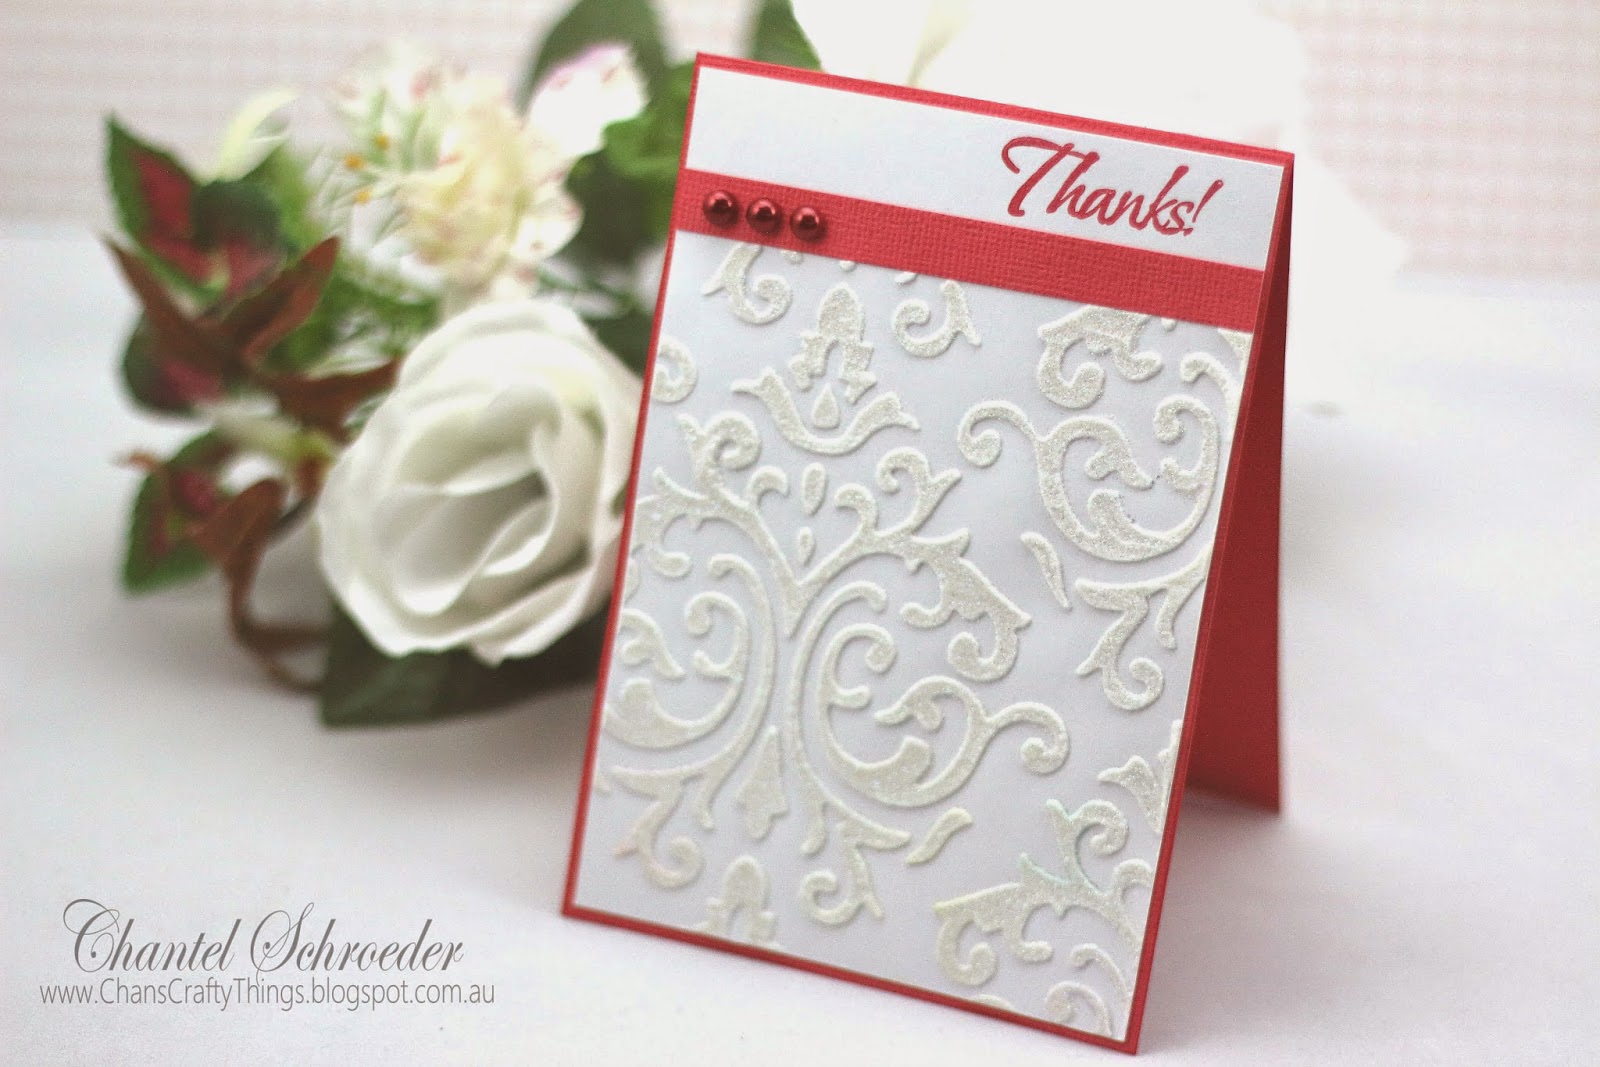


The video is by Jennifer McGuire (sorry, I looked for it again but couldn't find it to share the link) and she uses a stencil, texture paste and embossing powder to create a really cool embossed image for a card front.   So, following Jennifer's instructions, this is what I did:     

I used the 12' x 12' Damask stencil by Kaisercraft and placed it over a piece of plain white cardstock.  First I applied texture paste over the stencil and then carefully removed the stencil whilst the paste was still wet.  Then I covered the wet paste with Stampendous Kaleidoscope embossing powder and set it aside to dry for a few hours.  Once dry, I heat set the embossing powder with my heating tool.

I stamped the sentiment and added a thin strip of red cardstock with a few Kaisercraft pearls before adhering it to the card base.

The raised areas stand out so much and it looks really cool - especially with the Kaleidoscope embossing powder.  I think I'm in love with this technique and hope you like it too.  I just know I'll be using it quite often in the future.  

Thanks for stopping by!


Image Hosted by ImageShack.us

Saturday, 26 July 2014

Fleurette Bloom Design Team Blog Hop - Picnic Lunch Basket

Welcome to our July Design Team Blog Hop. 

We have some fun and creative projects to share with you. Hop to the blogs listed below and check out what we have created for you.  Be sure and enter to win a $10.00 gift card to the Fleurette Bloom SVG Shop! You have a chance to win at each Design Team Members Blog, just by leaving a comment at each stop of the hop, and become a follower if you are not already! Good Luck!

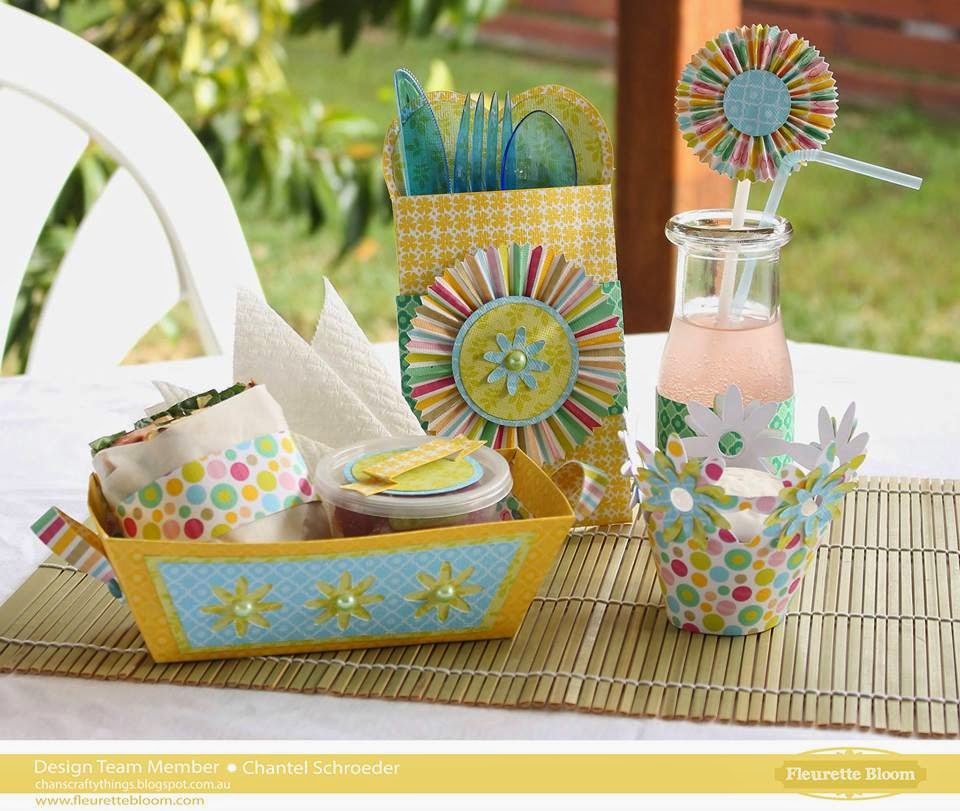
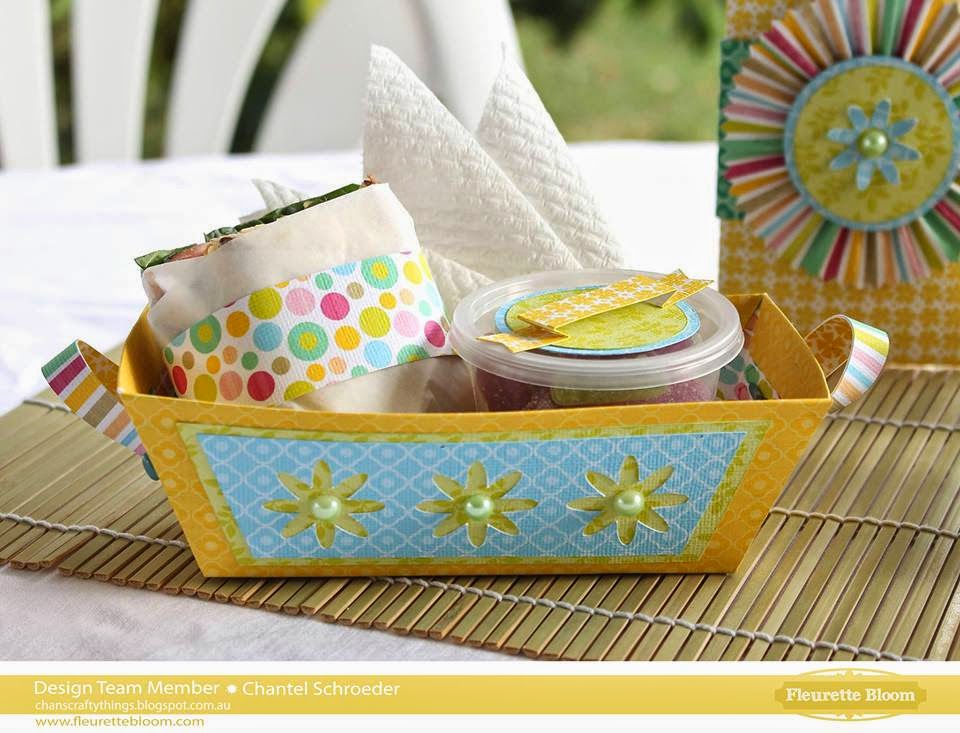
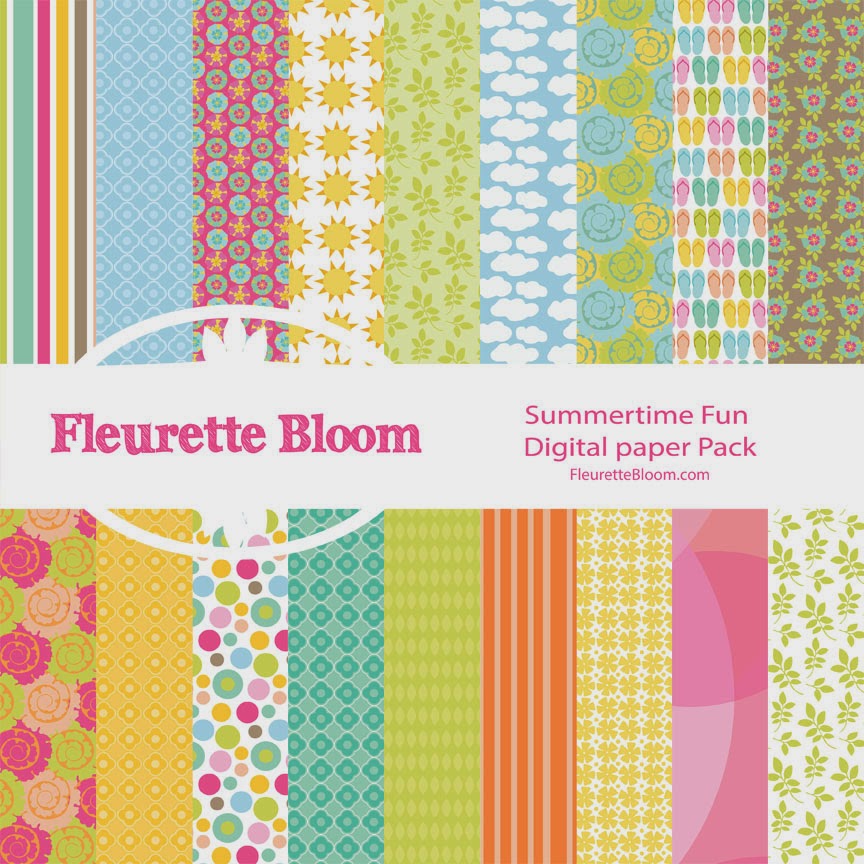
Whilst we're in the middle of winter here in Australia, the weather has been lovely and I'm certainly getting into the mood for summer!  So for my project, I created this fun summer picnic lunch basket with matching utensil holder, cupcake wrapper and juice bottle.  I used Fleurette Bloom's newest paper collection called Summertime Fun.  These are all SUPER cute and the colours and patterns simply scream summer!  

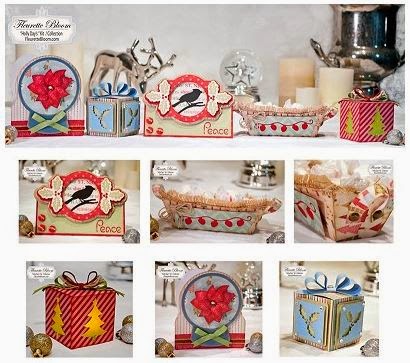
For the food basket, I used a file from the Holly Days Boxes and Cards Collection.  I removed the lights in the original file and replaced them with the little flowers from the Celebrations 3D SVG kit.  I then used the cut-out flowers on the cupcake wrapper and utensil holder to tie all the pieces together nicely.  The sandwich wrap is simply a strip of printed paper and the topper for the treat cup is a couple of circles and the small banner from the Celebrations 3D SVG kit
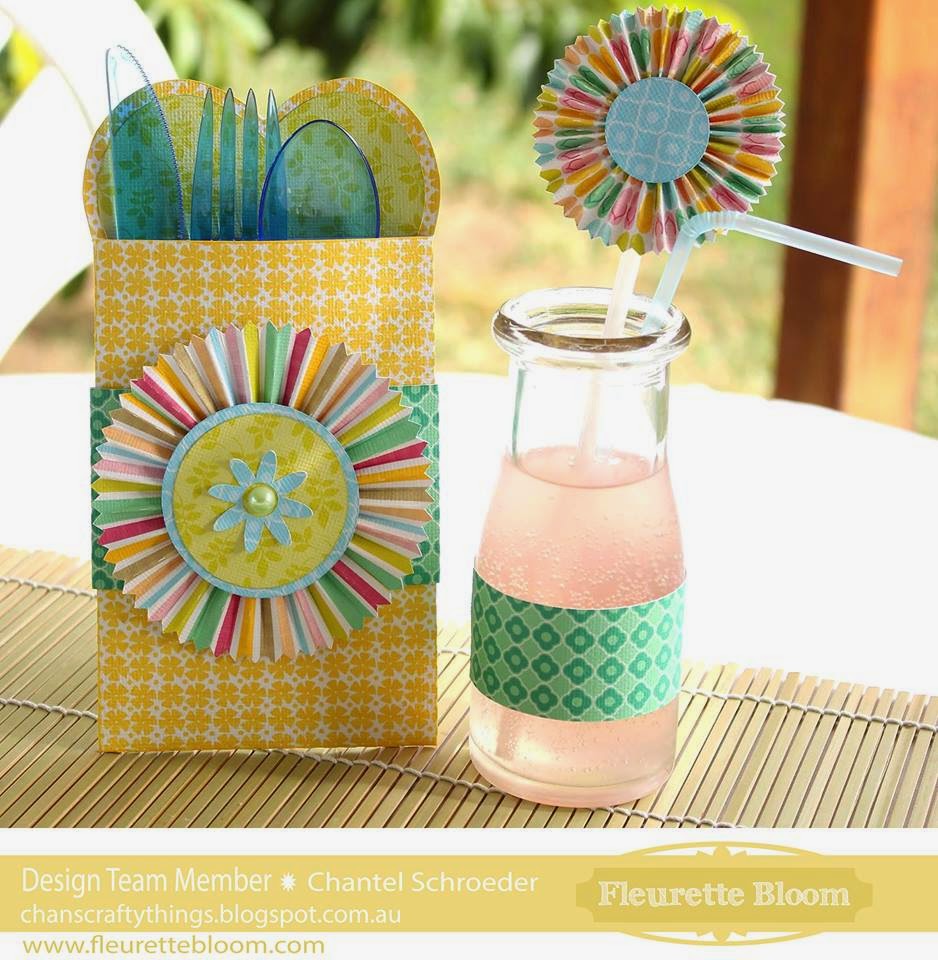
For the utensil holder, I used a file from the Valentine Be Mine 3D SVG Kit, with the rosette from the Celebrations 3D SVG kit. I then used the same rosette, just a touch smaller, to make the drink topper (which I simply glued to a straw).
As a final piece to the lunch set, I just had to make this cute cupcake wrapper, again from the Celebrations 3D SVG Kit (can you tell I love this kit? LOL).  I cut a few extra flowers out and added the ones left over from the lunch basket as well.  I think it looks super cute in this polka dot paper, don't you?
Well, that's my project for today.  I hope you enjoyed it and that it's inspired you to go on a fun picnic of your own before the summer ends!  


Next stop on the hop is over at Cheryl Hoogenstyn Becker.  If you haven't started the hop from the beginning, don't worry - here's the whole line-up for you again so you can check out the other DT member's blogs as well.  Their projects are all amazing!  


Remember, enter to win a $10.00 Gift Card to the Fleurette Bloom SVG Shop!   
Just post a comment on this blog post and become a follower of this blog (if you are not already).  
It's that easy!  
A winner from each blog on this hop will be selected, so you have multiple chances to Win!   

Thanks for stopping by and hopping with us and good luck:) 


Image Hosted by ImageShack.us


Girly Dress Form

Hi there,

Today I am sharing a little gift that I made from my friend's crafty daughter.  She celebrated her eleventh birthday last week so I wanted to make her something really special.

I've been waiting for the perfect occasion to make the dress from from the Dress Shop SVG Kit and knew that this would be it... 

The paper is by Kaisercraft and I just love it on this dress form.  It's so soft and subtle - very girly and ladylike!  I added some white tulle around the waste and finished it off with a piece of satin ribbon and some pearls (also by Kaisercraft).

For something extra, I poked a couple of small holes in the neck and worked some purple wire through.  I like the little beads on top - gives it that final touch of "bling" that every girl needs. I hope you like it!


Thanks for stopping by!


Image Hosted by ImageShack.us

Sunday, 13 July 2014

Cupcake Card and Pillow Box

Hi there, today I am sharing a gift combo I made for a young lady at work last week.  

As some of you may know, another one of my crafty addictions is soap-making...  So I whipped up a soap loaf (hope to do a blog post on that some time) and needed a small bag/box that would hold a single slice of soap.  As I was looking through the tons of great boxes in the SVGCuts library, I came across the pillow box in the Christmas Bags and Boxes SVG Kit and the dimensions were perfect for my soap bar.

So I pulled out some playful birthday paper from my stash (sorry, I don't know the brand as I've had it forever) and cut out my pillow box.  Here it is... super sweet and fun for a young lady.

Onto the card... which was totally inspired by the cupcakes on the paper.  I went straight to the Happy Birthday to You SVG Kit as I've wanted to make the cupcake lever card for ages.  I'm so glad I finally did - it's such a sweet card and so easy to assemble.  


As the paper I used for this project is quite bold and busy, I decided not to do the flower on the card but rather to keep the embellishments to a minimum.  The cupcake is so cute by itself so I thought just a little embossing for texture would be enough to finish it off. 

Thanks for stopping by!
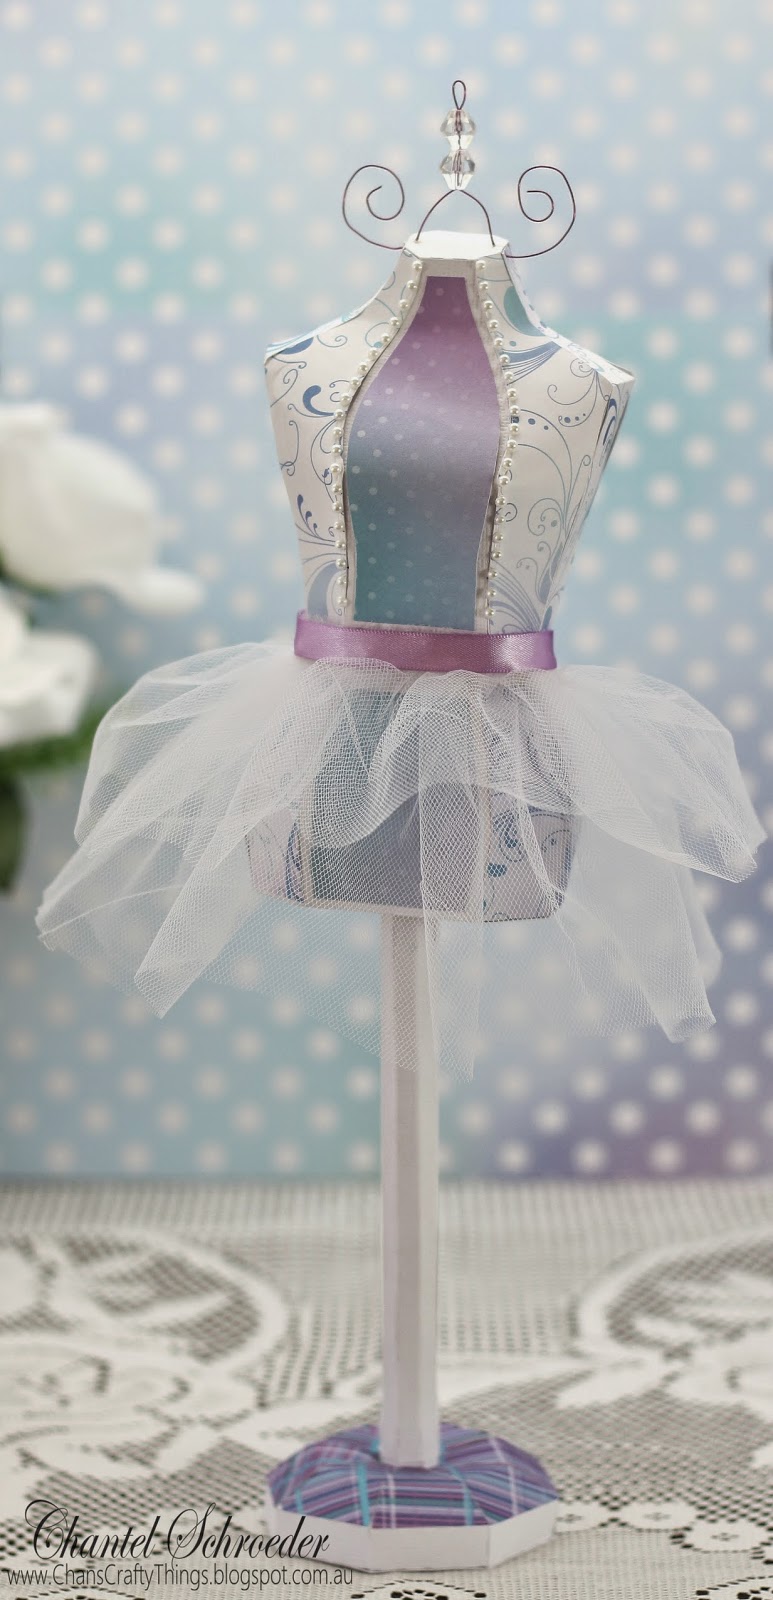

Image Hosted by ImageShack.us


Sunday, 29 June 2014

UTEE Embossed Butterfly Card

Hi, another quick post for today...

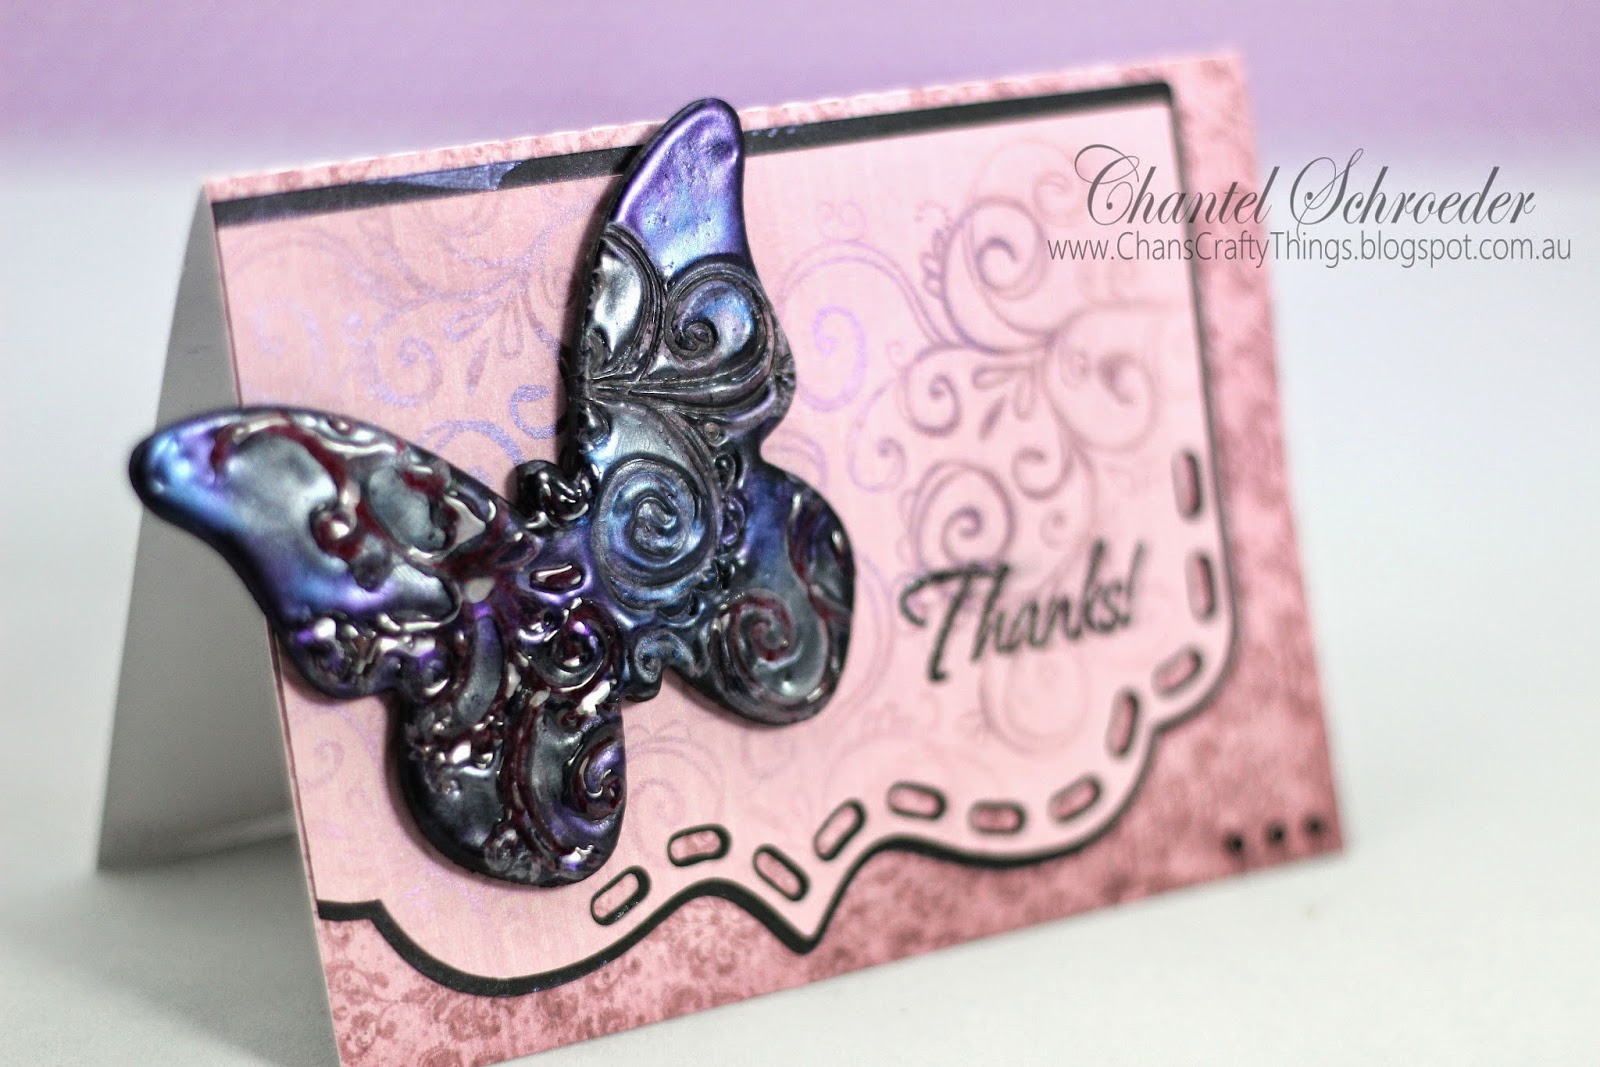
Here's a card I made for a friend a little while ago.  I used the No. 6 card from the Sweet Designer Cards and Envelopes SVG Collection. and stamped some swirls onto the top layer of plain cardstock and added some Perfect Pearls for a soft shine.


I then took a chipboard butterfly cut-out from my stash and covered it with a few layers of black UTEE.  I added some perfect pearls onto the hot UTEE and then hit it with the heat gun for a few more seconds before stamping some swirls into it. 


I love this technique - the texture of UTEE is awesome and the shine from the Perfect Pearls is just so pretty.  Hope you like it too...


Thanks for stopping by!


Image Hosted by ImageShack.us

"Beautiful" Tiger Lilly Gift Bag

Hi there,


Wow, it's been ages since my last post... Things have been crazy around here with building a new house an preparing for our first baby all at the same time.


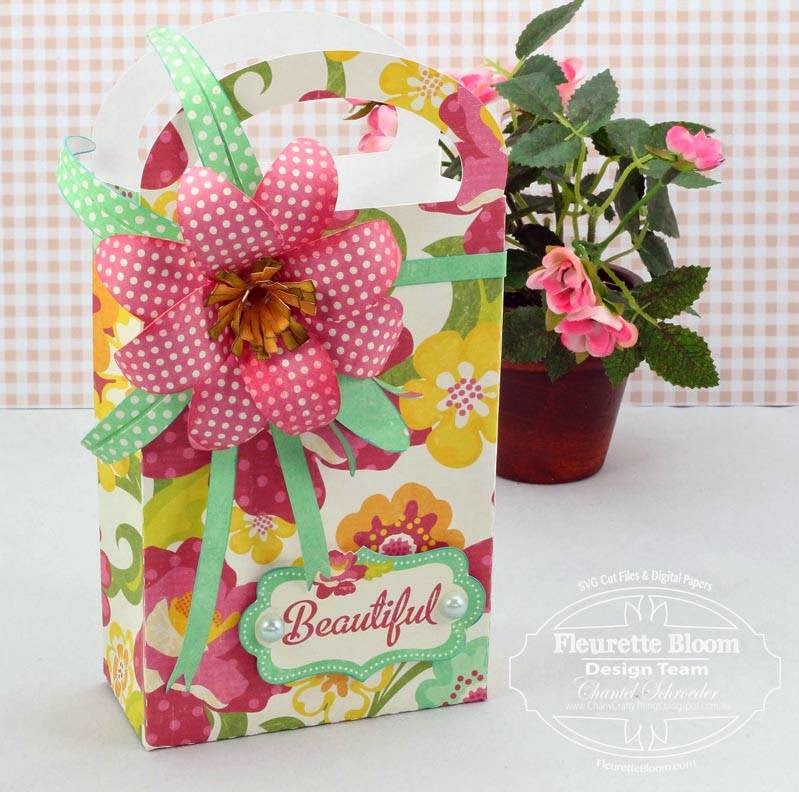
That said, I always seem to make a bit of time for crafting - not always blogging though... But I am happy to finally share this cute little bag I made for my Fleurette Bloom Design team project. 


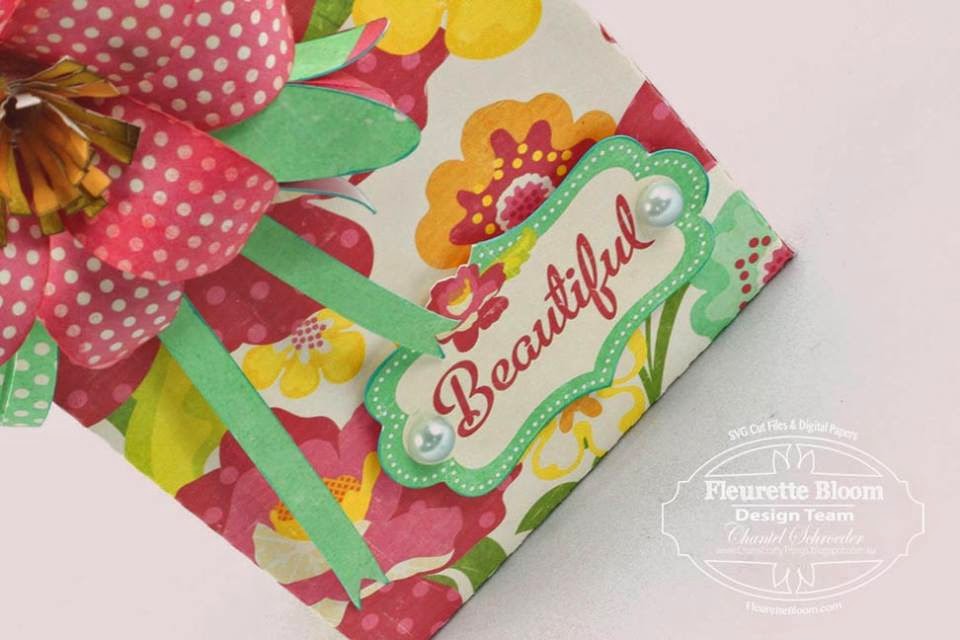
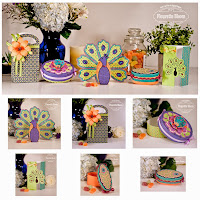
The gift bag cutting file is from the New "Peacock Palace" 3D SVG Kit - with Printables from Fleurette Bloom.  Such a fun bag to work with and I just love the Tiger Lilly embellishment. I wanted the bag to be a bit playful so decided to go with patterned paper for the lilly and leaves - rather than trying to make the flower look more realistic.


The digital papers are from Lori Whitlock's Maggie collection and so is the "beautiful" sentiment. The whole project was made using the print and cut feature on my Cameo - which as you know, is one of my favourite things to do.   


Another great file by Fleurette Bloom - super quick to put together and the perfect size for any little gift.


Thanks for stopping by!
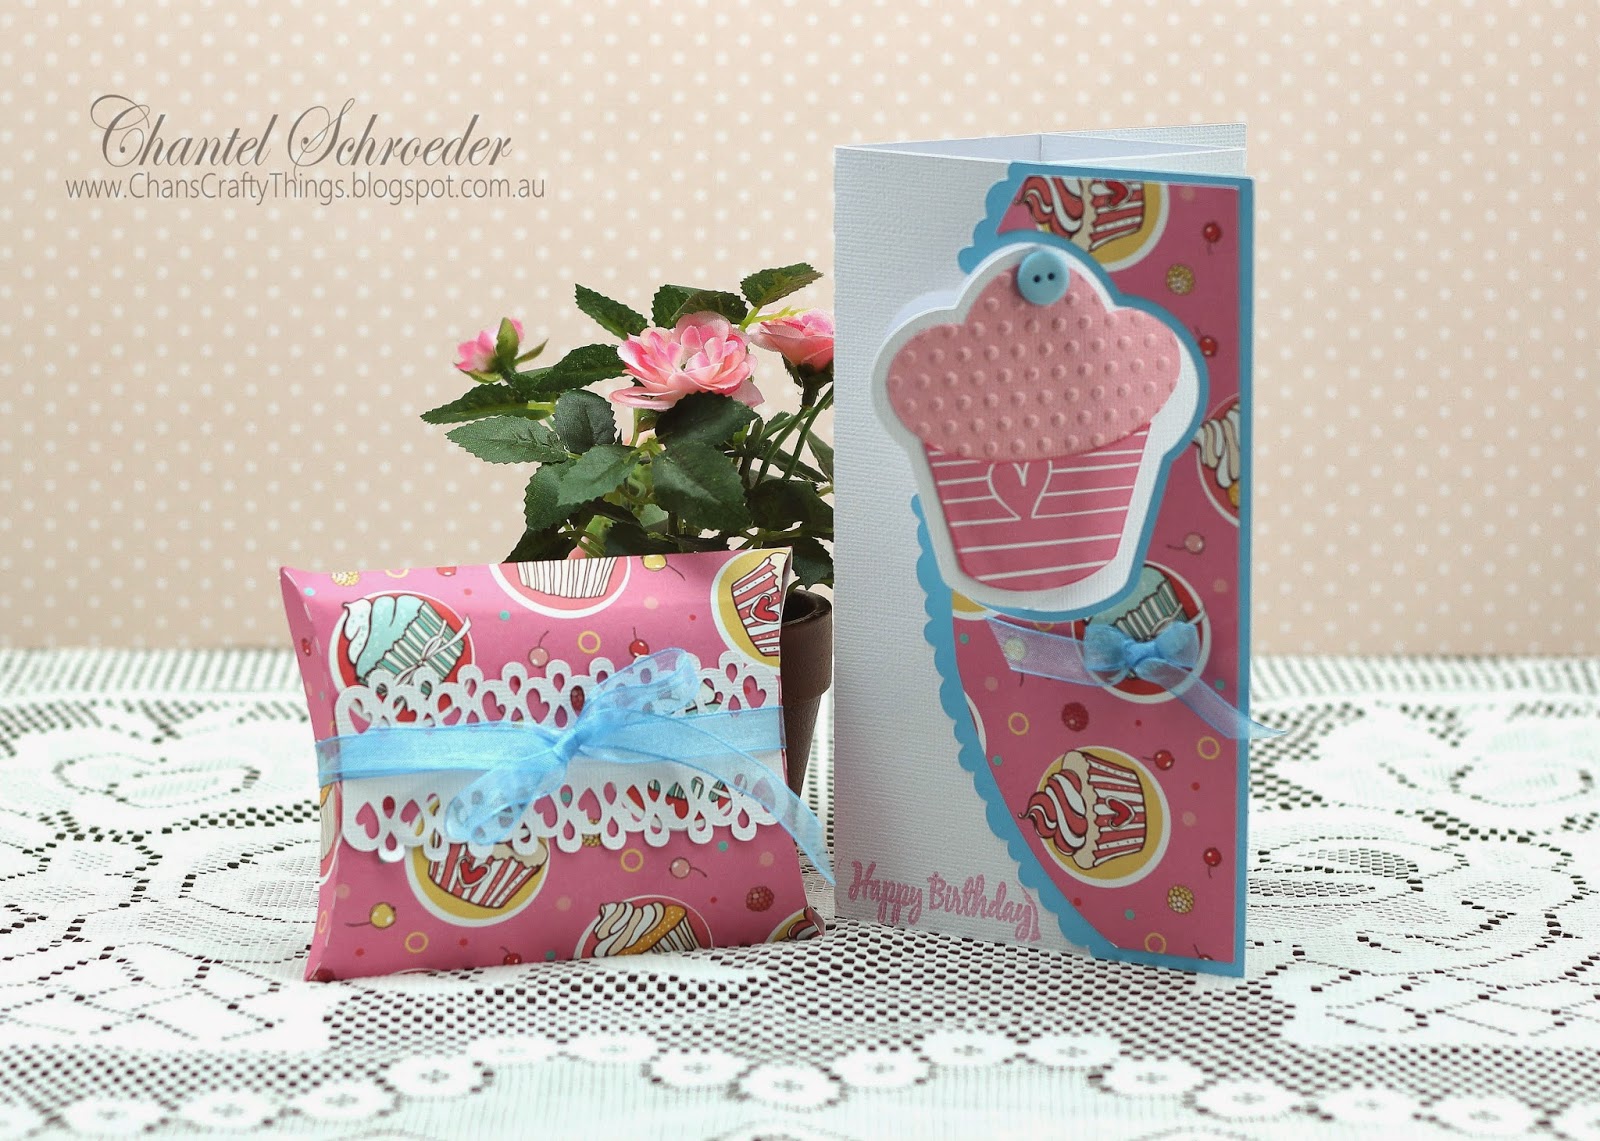

Image Hosted by ImageShack.us

Sunday, 18 May 2014

Laugh and Smile Flower Gift Bag

Hi everyone!


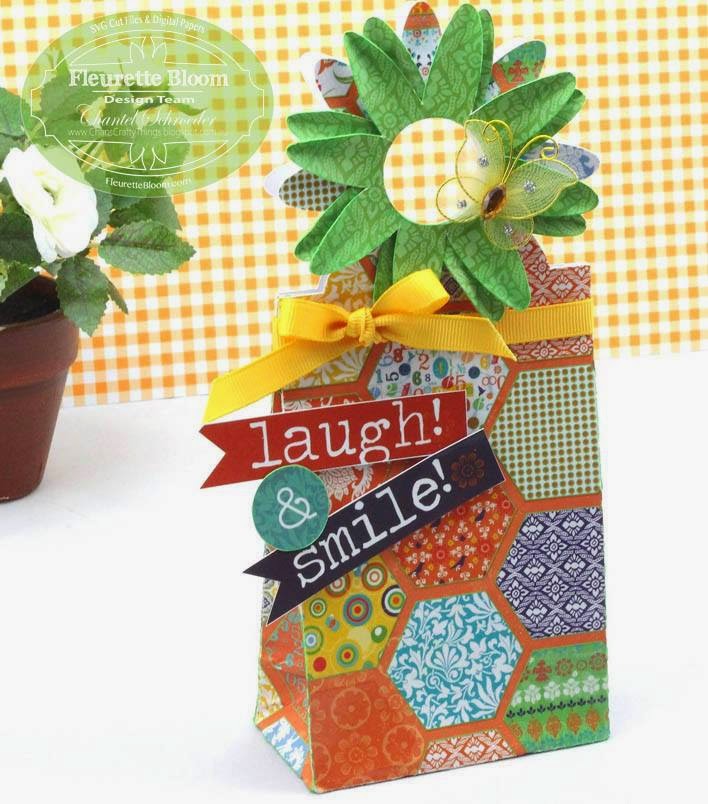
I'm excited to finally share this cute little flower gift bag I made from the New "Celebrations" 3D SVG Kit and Printables by Fleurette Bloom.

I cut and assembled the gift bag and then cut a couple of the extra flower elements from the same kit to add on top.  I then embellished with a small butterfly I had in my stash along with some hand cut elements from coordinating paper. I used the Fiesta paper stack by DCWV and just love all the bright colours.  

I finished the bag off with a bright ribbon as the final touch.  Really pleased with how quick and easy this one to put together and can't wait to make some of the other elements in this great new kit from Fleurette!

Thanks for stopping by!


Image Hosted by ImageShack.us

Saturday, 17 May 2014

Lantern Card

Hi everyone,

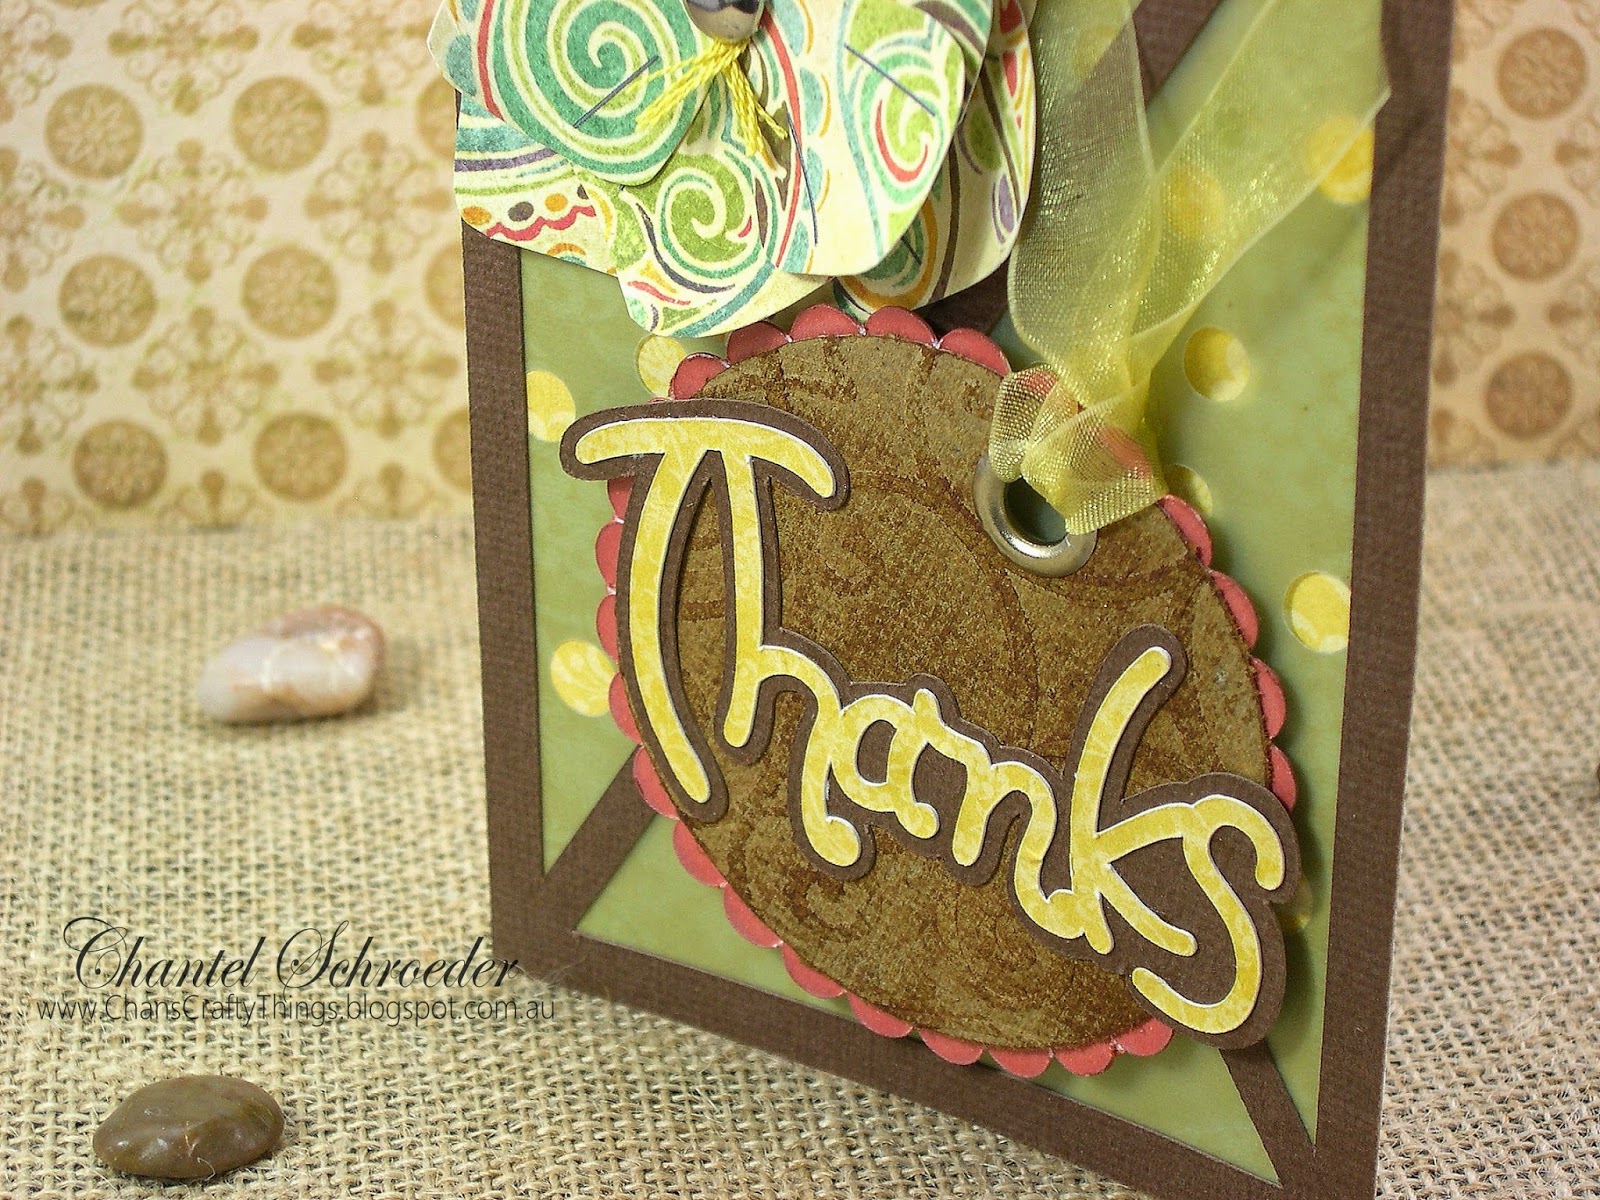
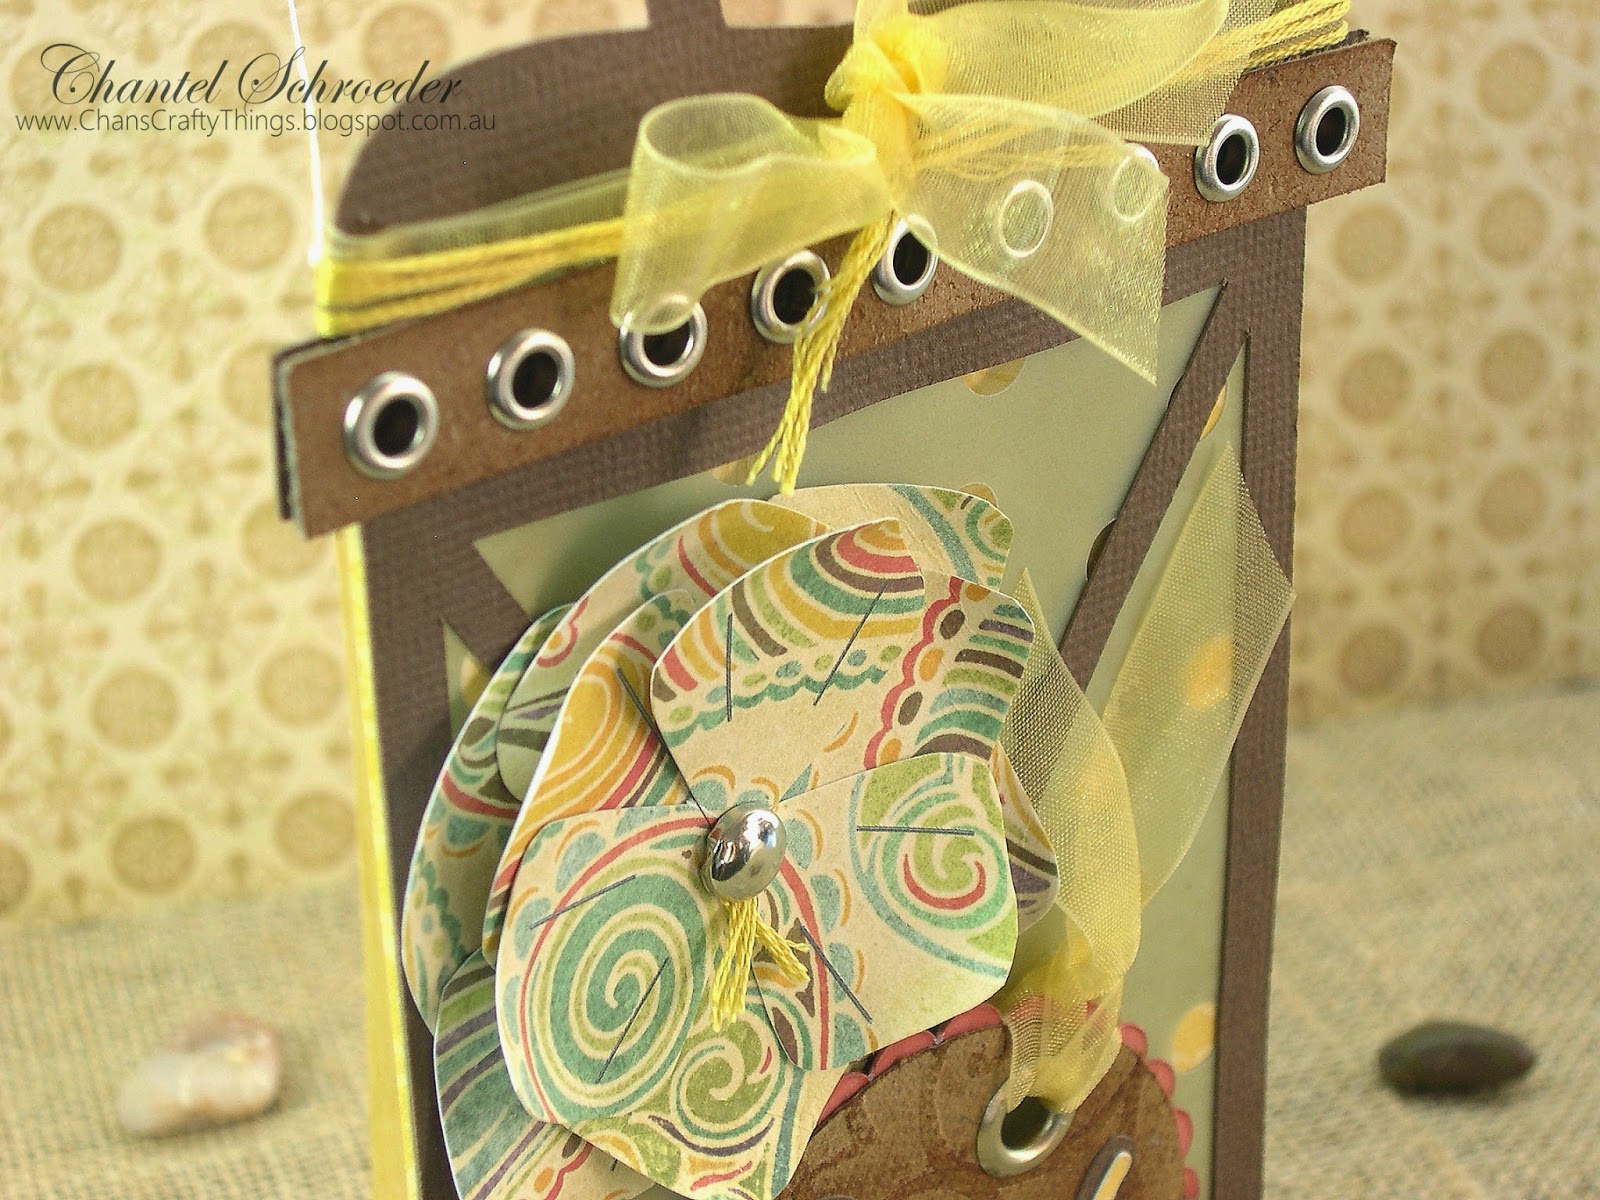
Just wanted to share my take on the lantern card form the Chamomile Friendship Cards SVGCuts Kit.  

I used grunge paper from Tim Holtz for the top strip on the card and also on the tag.  I love this stuff as it cuts really well in my Cameo and there is so much you can do with it.  Here I ran it through my BogShot and then used some distress ink to make the embossed pattern pop.


I initially thought about using gold eylets and brads but then decided on the silver for a bit of contrast.  This is such a unique card and it was fun to do something a little bit different. Hope you like it! 


Thanks for stopping by!


Image Hosted by ImageShack.us

Dinosaur Birthday Card

Hi everyone, I just quickly wanted to share this cute little dinosaur card I made for my friend's son on his birthday... 


The card base is from the Oak Manor Step Card in the Edisto Island Cards SVG Kit.  I also used the label, trees and leaves from this kit but I substituted the manor with the cute FREE dinosaur from SVGCuts. 


I think little Drayer liked his card, but you should have seen his little face when he noticed the money tucked away inside:)  So adorable!

Thanks for stopping by!
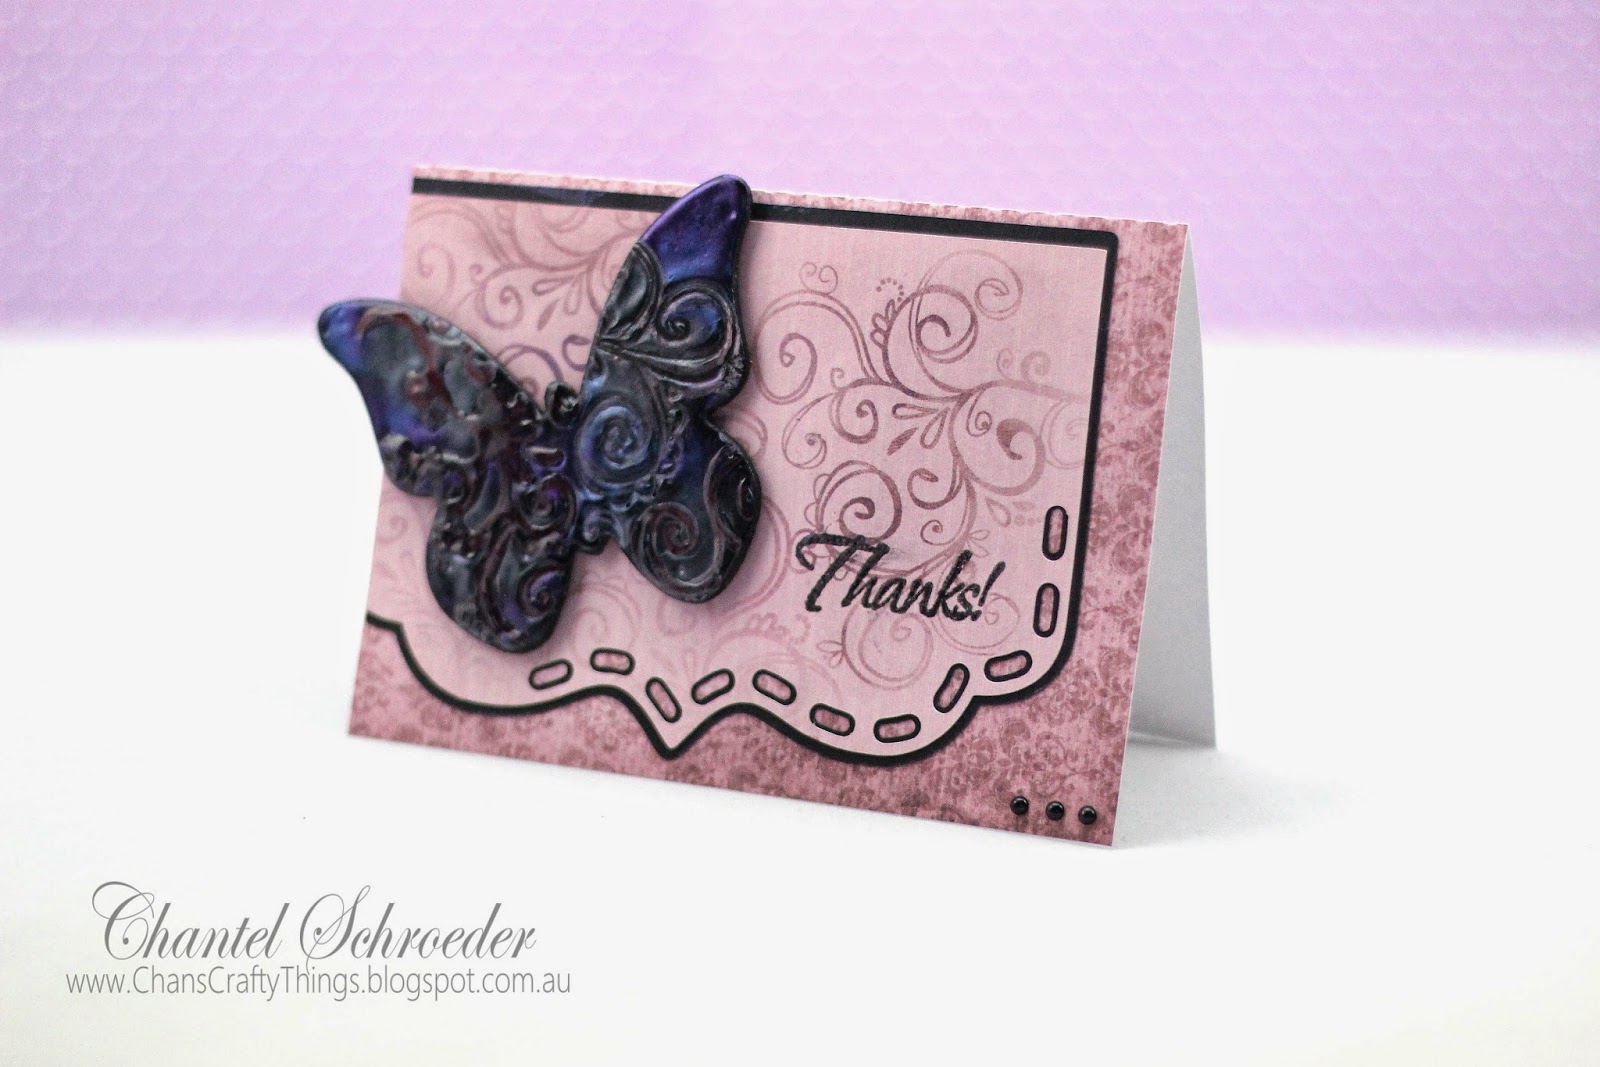

Image Hosted by ImageShack.us